Graphics Programs Reference
In-Depth Information
BONUS VIDEO:
I did a little bonus video for you, to show
you step by step how to create Identity
Plate graphics with transparency. You'll
find it at
www.kelbytraining.com/
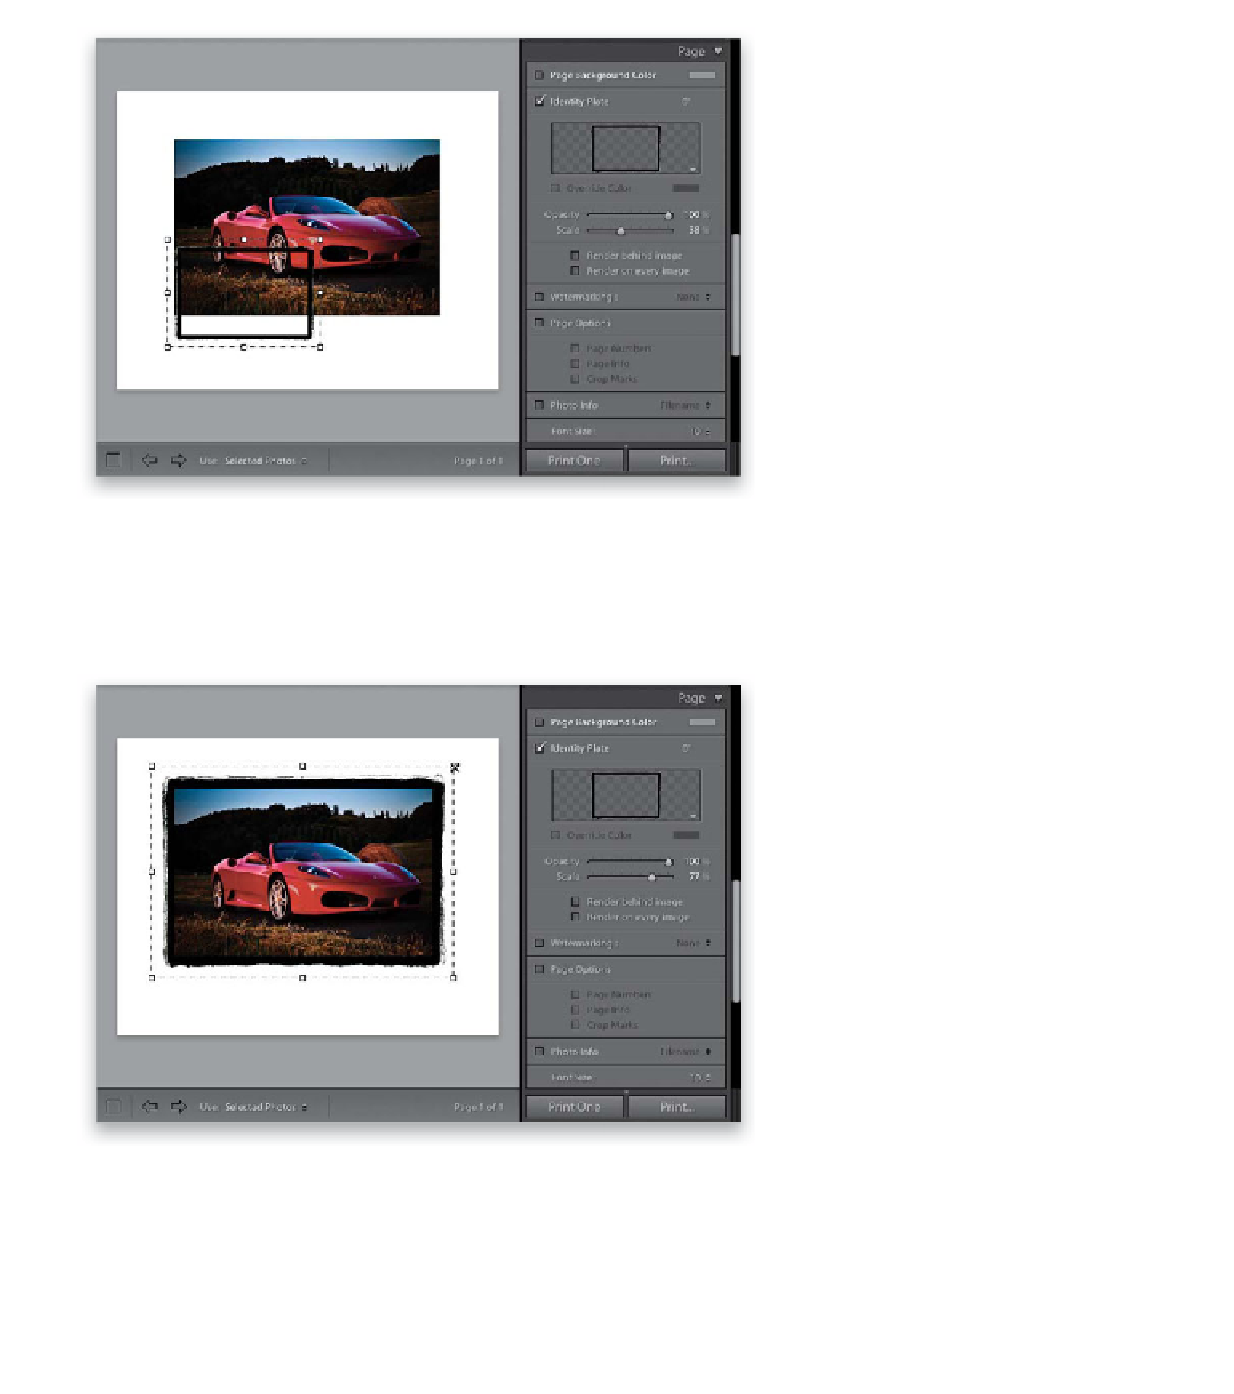
Step Three:
When you click OK, your edge frame will
appear, hovering over your print (almost
like it's on its own layer). The size and
position won't be right, so that's the first
thing you'll want to fix (which we'll do in
the next step, but while we're here, notice
how the center of our frame is transpar-
ent—you can see right through it to the
photo below it. That's why we had to
save this file without the Background
layer, and as a PNG—to keep that trans-
parency intact).
Step Four:
To resize your border, you can either
click-and-drag a corner point outward
(as shown here), or use the Scale slider
in the Page panel. Once the size looks
about right, you can reposition the
frame edge by simply clicking-and-drag-
ging inside its borders. You may need
to resize your image, as well, using the
Margins sliders in the Layout panel.
Continued