Graphics Programs Reference
In-Depth Information
Step Three:
The Segment Photos By Shots feature lets
you organize your tethered shots as you go.
For example, let's say you're doing a fashion
shoot, and your subject changes outfits.
You'll be able to separate each of these
different looks into different folders by
clicking the Shot Name (this will make
more sense in a moment). Try it out by
turning on the Segment Photos By Shot
checkbox. When you do this, a naming
dialog appears (shown here), where you
can type in a descriptive name for the
first shoot of your session.
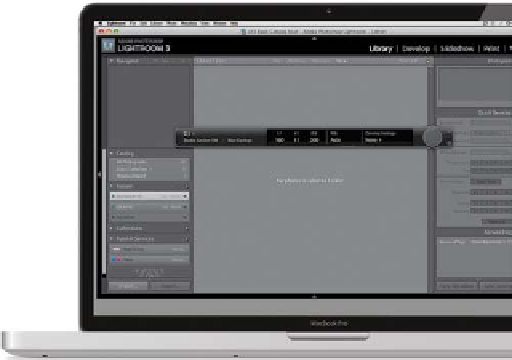
Step Four:
When you click OK, the Tethered Capture
window appears (seen here), and if Light-
room sees your camera, you'll see your
camera model's name appear on the
left (if you have more than one camera
connected, you can choose which camera
you want to use by clicking on the camera's
name and choosing from the pop-up
menu). If Lightroom doesn't see your
camera, it'll read “No Camera Detected,”
in which case you need to make sure your
USB cable is connected correctly, and that
Lightroom supports your camera's make
and model. To the right of the camera's
model, you'll see the camera's current set-
tings, including f-stop, shutter speed, and
ISO. To the right of that, you have the op-
tion of applying a Develop module preset
(see Chapter 4 for more on those, but for
now just leave it set at None).
TIP: Hiding the Tethered Bar
Press
Command-T (PC: Ctrl-T)
to show/
hide the Tethered Capture window.
Continued