Graphics Programs Reference
In-Depth Information
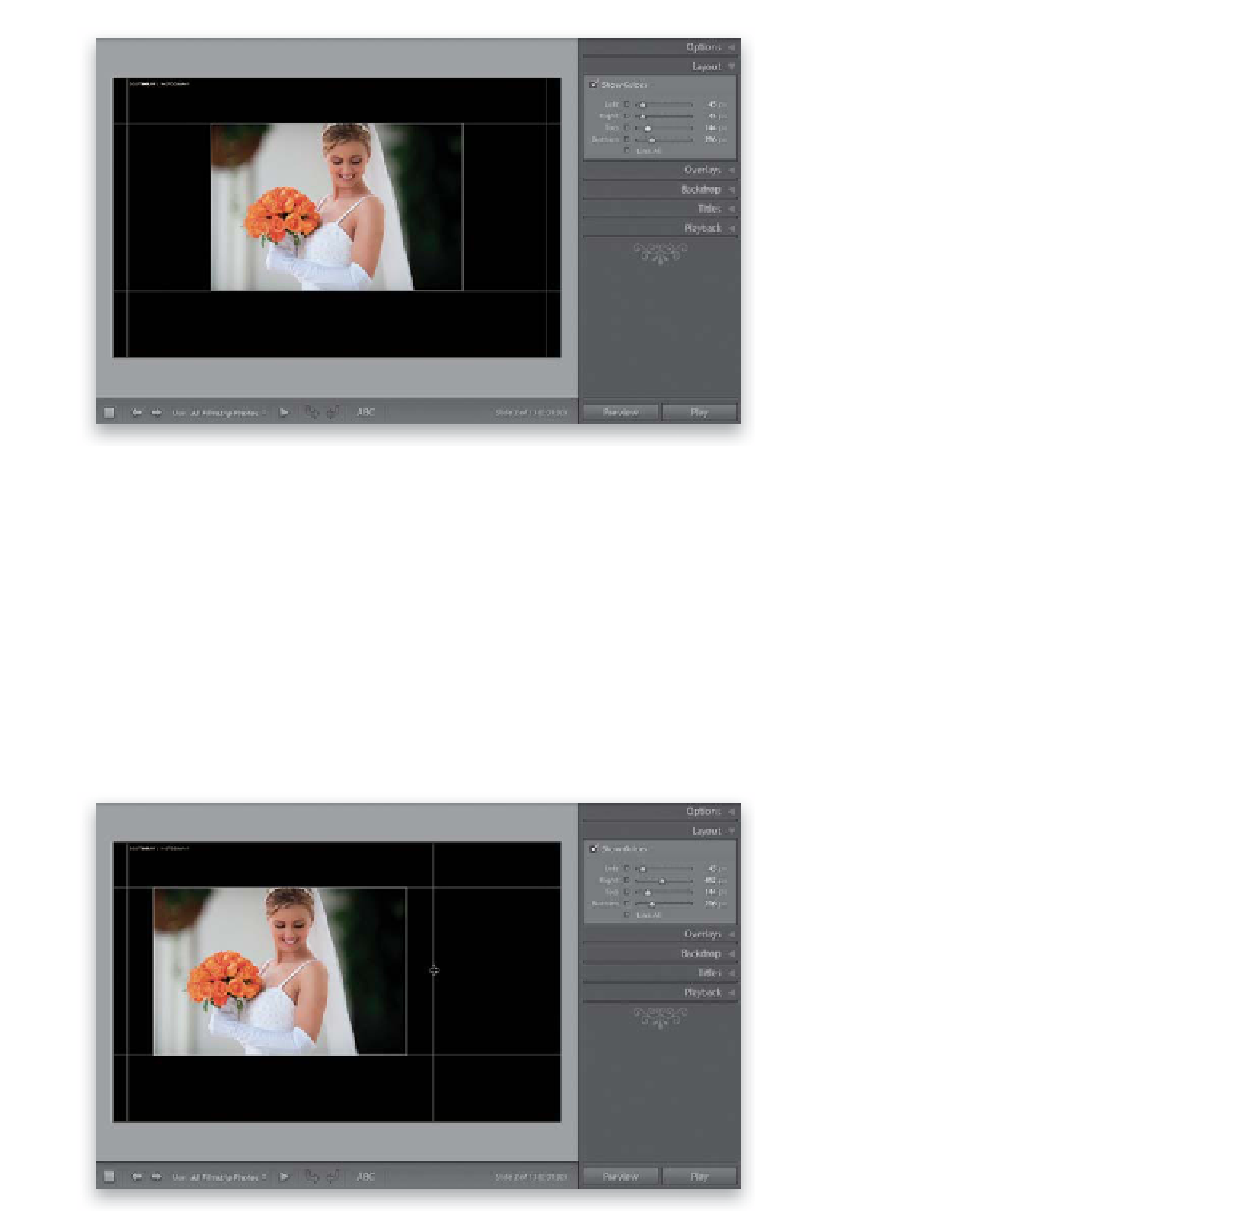
Step Three:
Now let's choose how big your photos
are going to appear on the slide. For this
design, we're going to shrink the size of
the photos a bit, and then move them
up toward the top of the slide, so we can
add our studio's name below them. Your
photo is positioned inside four page mar-
gins (left, right, top, and bottom), and you
can control how big/small these margins
are in the Layout panel found in the right
side Panels area. To see the margins, turn
on the Show Guides checkbox. By default,
all four margin guides are linked together,
so if you increase the left margin to 81
pixels, all of the other margins adjust so
they're 81 pixels, as well. In our case, we
want to adjust the top and bottom sepa-
rately, so first click on Link All to unlink
the margins (the little “lights” beside each
margin go out). Now, click-and-drag the
Bottom margin slider to the right to 216
px and the Top margin slider to 144 px,
and you'll see the photo scale down in size
inward, leaving a larger margin below the
photo (as shown here).
TIP: Moving Guides
You don't actually resize the photos
on your slide—you move the margin
guides and your photo resizes within
the margins you create. You can do
this visually (rather than in the Layout
panel) by moving your cursor over a
guide, and you'll see it change into a
“moving bar” cursor (by the way, I have
no idea if “moving bar” is its official
name, but it is a double-headed arrow),
and now you can click-and-drag the
margins to resize the photo. If you move
your cursor over a corner (where two
guides intersect) you can drag diago-
nally to resize those two guides at the
same time.
Continued