Graphics Programs Reference
In-Depth Information
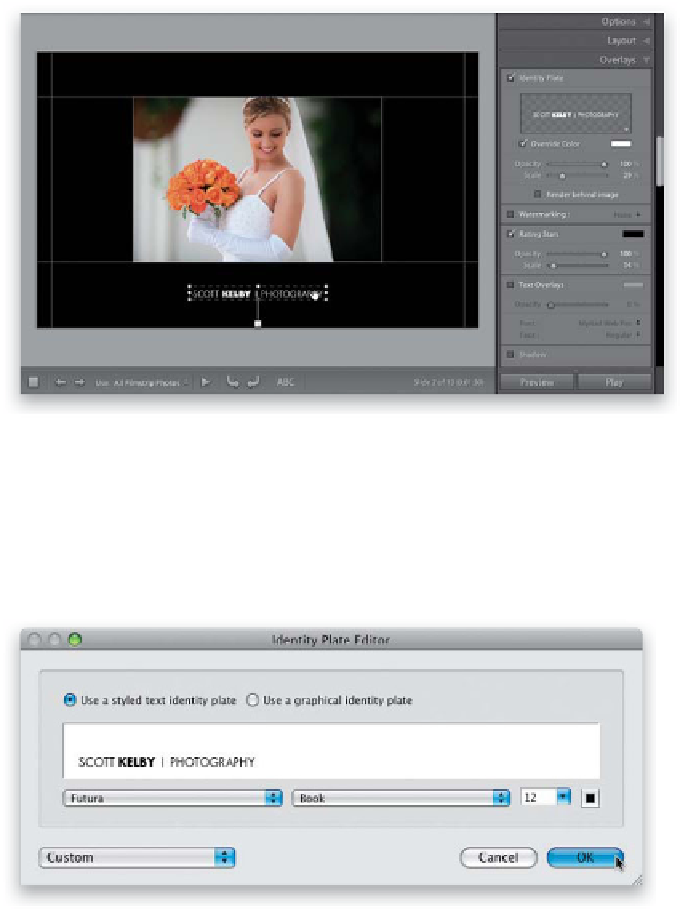
Step Four:
Now that our photo is in position, let's
move our studio name Identity Plate below
the photo. Click on it (up in the top-left
corner of your slide) and drag it so it
appears under your photo (when you drag
it, it does this weird Spiderman thing of
clinging to the edges. This is supposed to
help you center your text by having it snap
to the edges. At least, that's the theory).
TIP: Zoom to Fill Frame
If you see a gap between the edges of your
photo and the margin guides, you can fill
that gap instantly with a very cool feature
called Zoom to Fill Frame. Turning on this
checkbox (found in the Options panel at
the very top of the right side Panels area)
increases the size of your photos propor-
tionally until they completely fill the area
inside the margins. Give this a try—you'll
probably use it more than you'd think.
Step Five:
To customize your Identity Plate text, go
to the Overlays panel, click on the little
triangle in the bottom-right corner of
the Identity Plate preview, and choose
Edit
to bring up the Identity Plate Editor
(seen here). Type in the name you want
to appear below each photo (in my case,
I'm using my Main Identity Plate, where
I typed in Scott Kelby | Photography in
the font Futura Book and Futura Bold at
24 points—you get that little bar by typ-
ing Shift-\ [backslash] on your keyboard.
I clicked on the color swatch here and
changed the font color temporarily to
black, to make it easier to see), and click
OK. Choosing the right point size isn't so
critical, because you can change the size of
your Identity Plate by either using the Scale
slider (in the Overlays panel), or by clicking
on your Identity Plate text on the slide and
then clicking-and-dragging any corner point
outward (which scales the text up).