Graphics Programs Reference
In-Depth Information
Step 11:
Start by clicking on the Set Up button next
to Hard Drive in the Publish Services panel.
We'll configure this one so it saves any files
we drag onto it as high-resolution JPEGs
to your hard drive (so think of this as a
drag-and-drop shortcut to make JPEGs,
rather than having to go through the
whole Export dialog). Give this publish
service a name now—call this one “Save
as JPEG” (as shown here)—then fill out
the rest just like you would for exporting a
high-res JPEG to your hard disk (like we did
back on page 222). When you click Save,
it replaces Set Up with the name of your
service (in this case, now it reads: “Hard
Drive: Save as JPEG,” so you know at a
glance that it's going to save images you
drag-and-drop on it to your hard drive
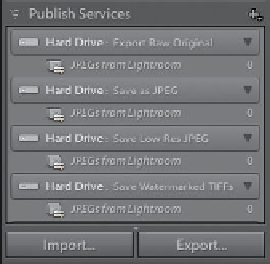
as JPEGs). You can add as many of these
as you'd like, so you can have some that
export your images as originals, or some
for emailing, or…well…you get the idea
(look at the Publish Services panel here
where I published a few extra setups, just
so you can see what they'd look like).
Step 12:
Now that you've got at least one config-
ured, let's put it to work. In the Library
module, go ahead and select four RAW
files you want saved as JPEGs (they don't
have to be RAW files—they can already
be JPEGs that you just want exported from
Lightroom), and drag-and-drop those
selected photos onto your Hard Drive:
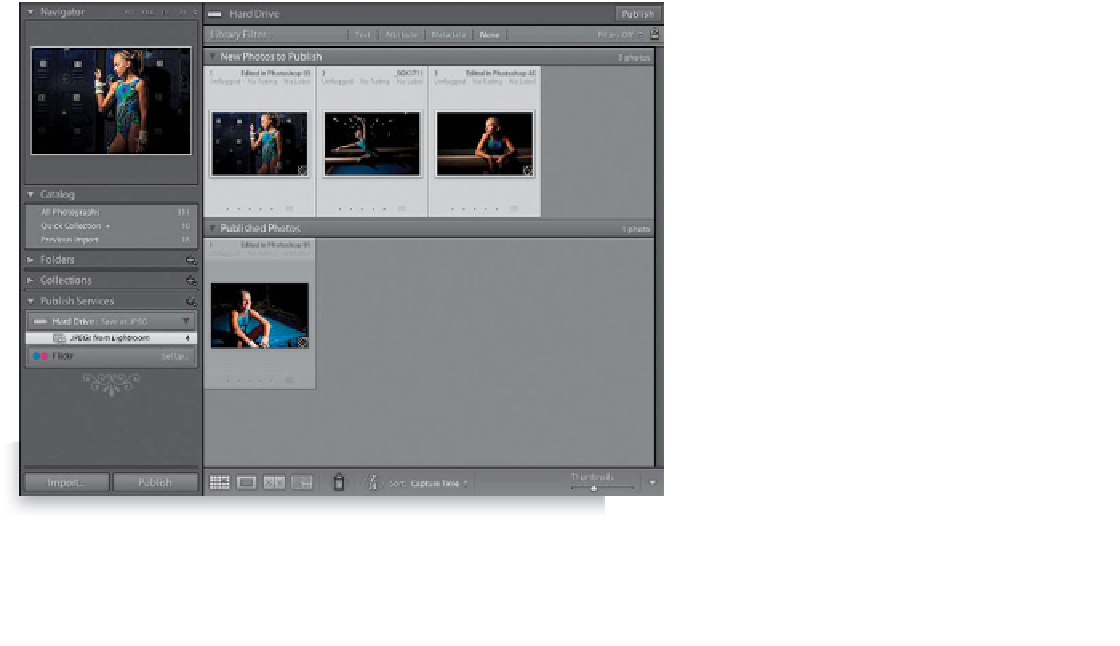
Save as JPEG publish service. From here, it's
pretty much the same as you just learned
with Flickr—the images appear in a New
Photos to Publish section until you click
the Publish button, then it writes them
as JPEGs into whichever folder you chose
when you set this publish service up (here,
three of the four images being saved as
JPEGs are in progress). Keep an eye on my
daily blog at
www.scottkelby.com,
as I'll
post when other online Publish Services
(like Flickr) are released.


