Graphics Programs Reference
In-Depth Information
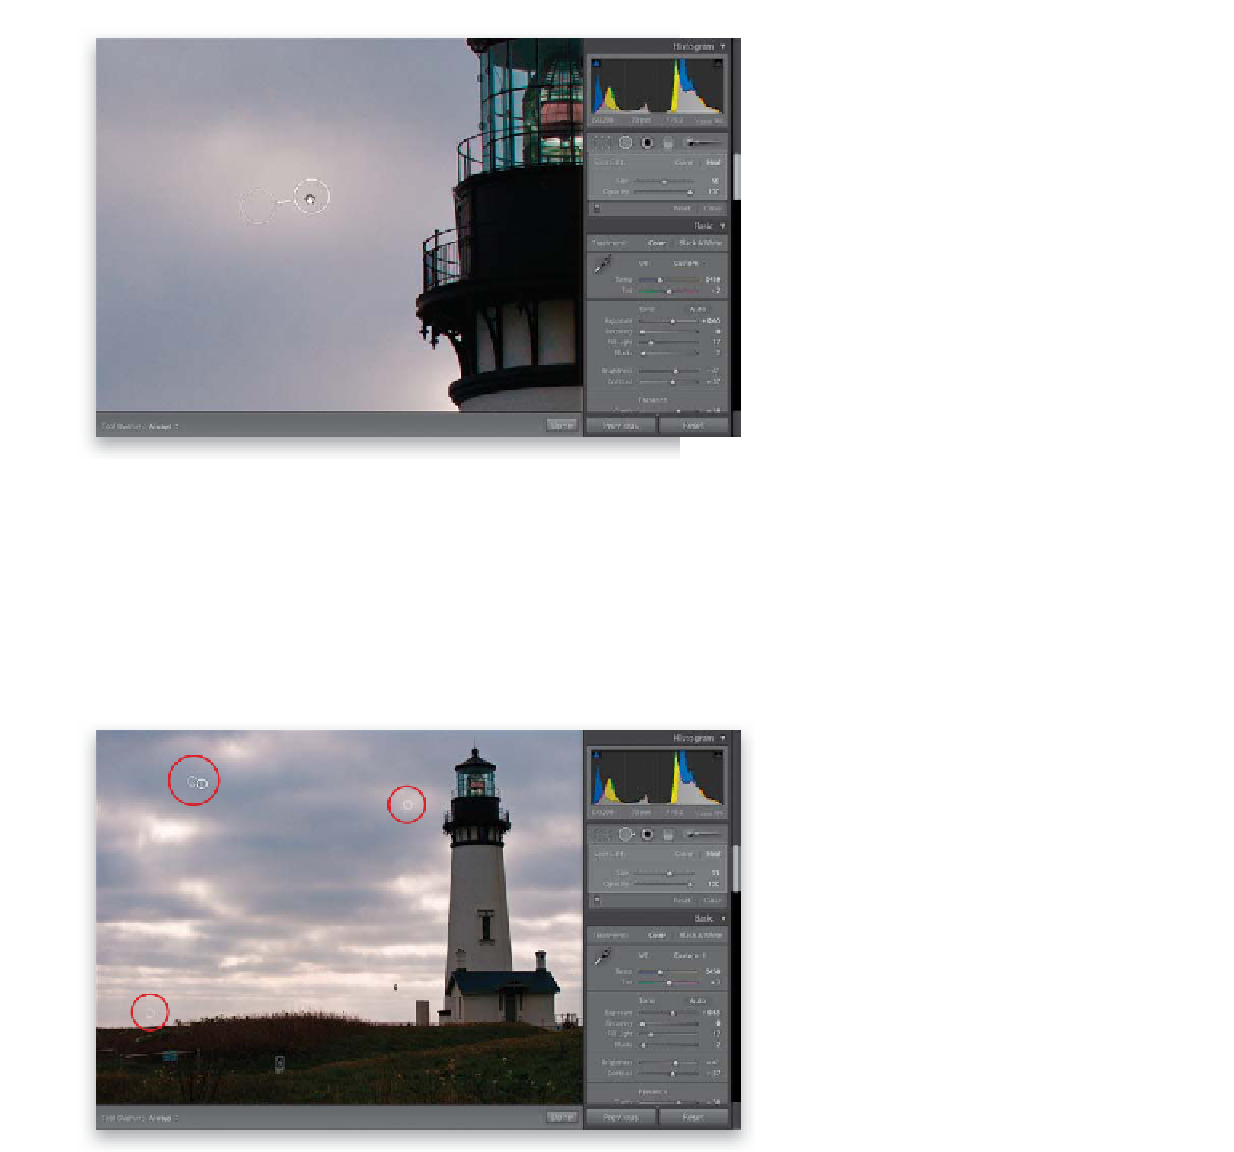
Step Five:
When you click with this tool, you'll see
two circles appear: (1) a thinner one that
shows the area being fixed, and (2) a thicker
one that shows the clean area that the tool
is sampling from to make the repair. If your
background is pretty simple, like the one
shown here, this one-click-and-you're-done
method works pretty well, because Light-
room can find lots of open areas nearby.
But, if you don't like the place it sampled
from (you see an obvious change in tone
or texture), you can click-and-drag that
thicker sampling circle to a new spot, and
as you drag, you'll see the area inside the
first circle update live, so you can find a
clean spot that will work pretty quickly.
Also, if you think Lightroom will have a
hard time finding a clean area nearby, you
can lead it there—instead of just clicking
once, click over the spot, hold, and drag
your cursor to the area you'd like to have
it sample from. When you first start drag-
ging, a line connects both circles, and as
you move further away, an arrow appears
that points back to the area you're repairing.
Step Six:
To remove more spots, either click directly
over them, or if they're in trickier locations,
move the Spot Removal tool over the spot,
click, hold, and drag out your sampler, and
when you release the mouse button, the
fix is in! I used that trick from the previous
tutorial to make sure I didn't miss any
spots in my image. You can see all the
little repair circles here (I've really got
to get that sensor cleaned!).
TIP: Hiding the Circles
To hide all those circles, press
Q
, which
disengages the tool.
Continued