Graphics Programs Reference
In-Depth Information
6.
Move the cursor over one of the wall edges to the right and then
press and release the Tab key. Your selection cycles from one wall to
the series of walls. When all of the walls highlight, select them with
one pick.
7.
In the Properties palette set the Height Offset From Level parameter
to
0
″
(0 mm). Click Finish Edit Mode to exit the sketch. Select and
move some of the walls that were used to determine the floor sketch.
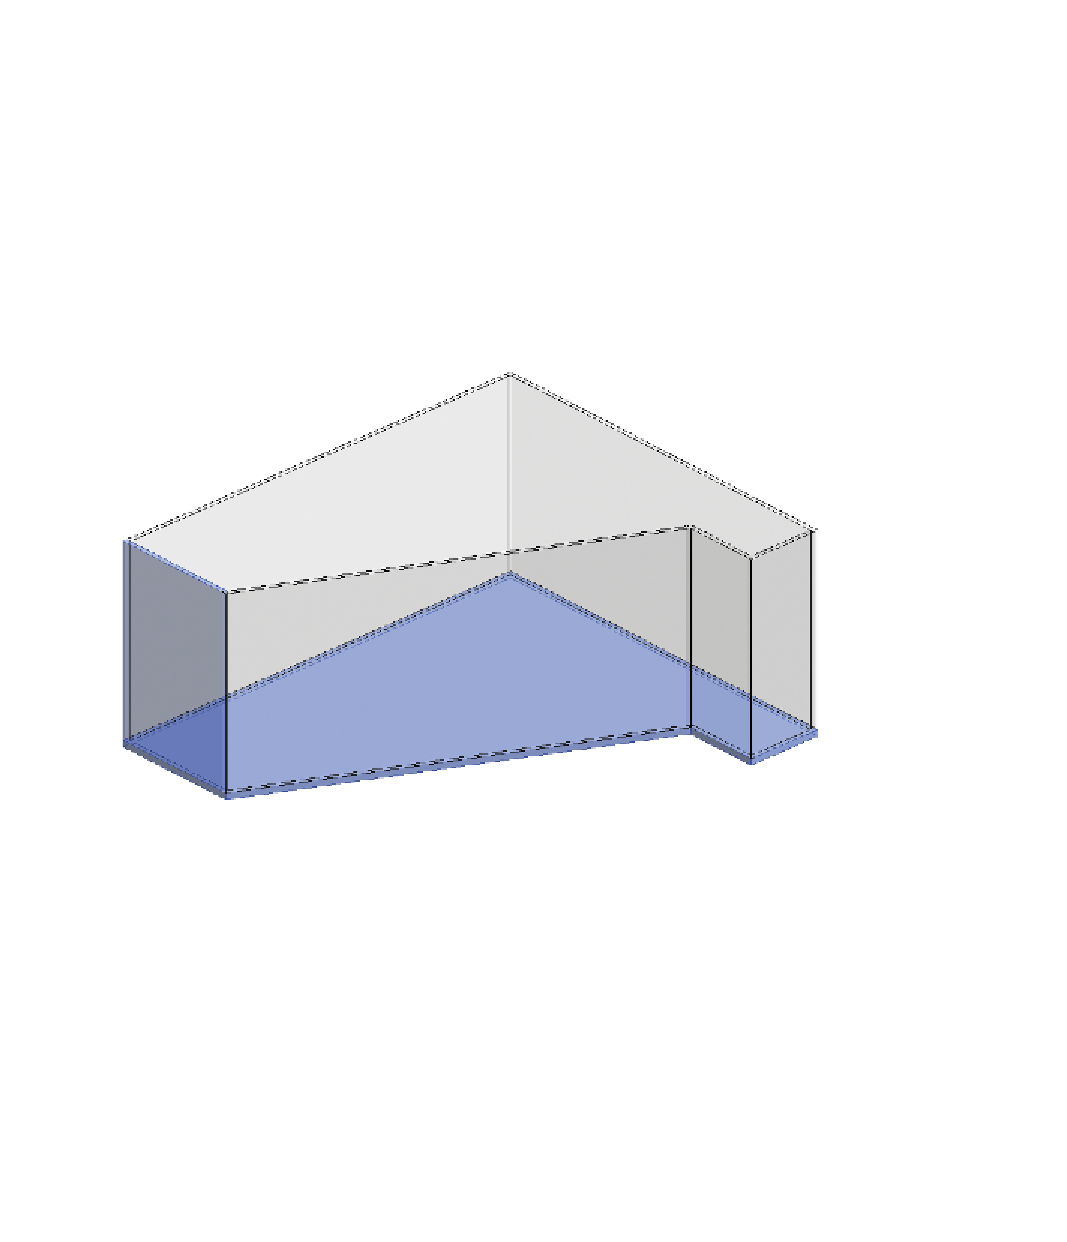
Notice that the boundary of the floor automatically updates (Figure
3.2). This is incredibly powerful for a multistory building, where
updating one floor at a time would be nearly impossible.
Figure 3.2
The finished floor by picking walls
Note that the edge of the new floor is constructed where you click
your mouse when you pick the wall in reference to the interior or
exterior of the wall. The floor goes to the outside of the wall; to do
that, you have to pick the outside edge of the wall — otherwise, the
floor aligns with the interior. The entire chain of sketch lines is cre-
ated that corresponds to all the walls.


Search WWH ::

Custom Search