Graphics Programs Reference
In-Depth Information
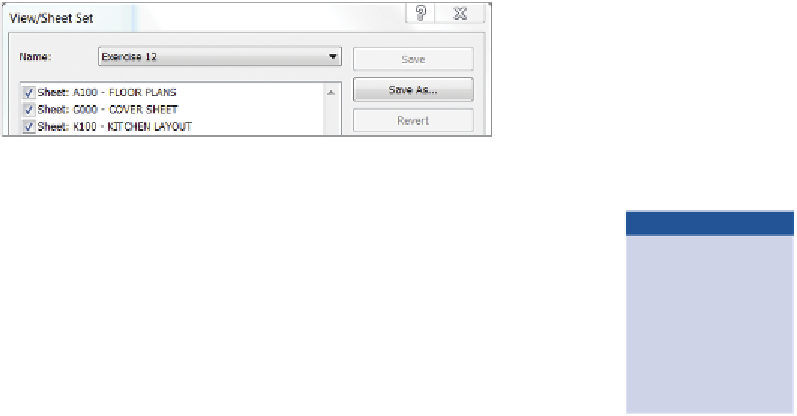
FigUre 12.29
Specify the sheet set.
9.
Click the Setup button in the Settings group (refer back to
Figure 12.28). The Print Setup dialog opens with options for print
settings such as paper size, zoom, and orientation. You can also save
these settings with a name so that you can reuse them later.
◀
The print settings can
be transferred to other
project files if neces-
sary, using the Transfer
Project Standards tool
located on the Manage
tab in the ribbon.
10.
Choose your desired paper size. Then choose the desired Zoom level;
for this exercise choose 50 percent. To print the sheets to a specific
scale, remember that every view is assigned a scale factor; therefore,
printing a view is a factor of that assigned scale. For example, if a
floor plan is assigned a scale factor of 1/4
″
=1
′
-0
″
(1:50) and you would
like to generate a print of the plan at 1/8
″
=1
′
-0
″
(1:100), set the Zoom
level to 50 percent. Sheets should be printed at 100 percent for full
size or 50 percent for a half-size set.
11.
Next, spend a few moments reviewing the options at the bottom of
the dialog. Make sure to check the Hide Ref/Work Planes, Hide Scope
Boxes, and Hide Crop Boundaries boxes. These three options let you
decide whether to see elements that are usually only helpful refer-
ences when modeling the project.
12.
Check the Hide Unreferenced View Tags box. During the course of
modeling your project, you usually create helpful working views that
you don't end up using on sheets, such as elevations, sections, or
detail callouts. If these views are not placed on any sheets, these view
tags are blank and therefore unreferenced. This is a helpful way to
avoid printing them.
13.
Once your options are set, click the Save As button, and name the
current setup
Exercise 12 - Half Size
; then click OK. Like the sheet
set, you can reuse these settings on future prints. Your Print Setup
dialog should look like Figure 12.30. Click OK to close this dialog.


Search WWH ::

Custom Search