Graphics Programs Reference
In-Depth Information
3.
The next group box is named File, and it appears only if you are print-
ing documents to a file instead of a printer. If you're using a PDF
printer, then name the output something specific, and browse to
the file location you desire. You should choose to combine multiple
sheets into a single file. This is a very important property to double-
check
before
printing!
4.
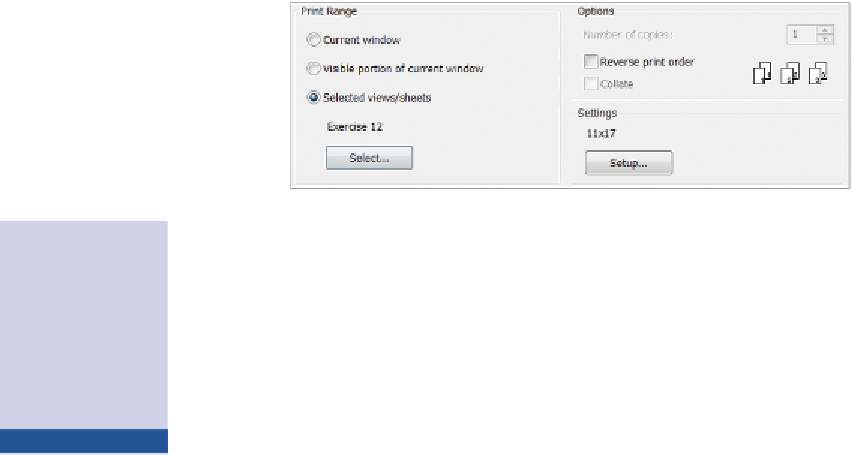
The Print Range settings allow you to specify what you want to print.
The Current Window option prints the full extent of the current view,
regardless of what extents of that view are currently visible on your
screen. The Visible portion of current window option prints only what
you currently see in the frame of the open view. Note that both of
these options allow you to do a print preview.
▶
Note that both the
Current Window option
and Visible Portion Of
Current Window option
allow you to do a print
preview.
5.
Click the Selected views/sheets option. Then click the Select button.
This option allows you to choose multiple sheets or views to print at
once. You cannot do a print preview, but you do end up saving time
by batch printing (Figure 12.28).
FigUre 12.28
The Print Range, Options, and Settings properties
If you add more sheets
to your project, they
won't automatically be
added to this print set.
You'll need to revisit
this dialog box, add the
sheets, and click the
Save button.
6.
The View/Sheet Set dialog opens. You should start out by clicking the
Check None button. This will give you a clean slate.
7.
At the bottom of the dialog is an important filtering check box.
Uncheck the Views option, so that you're viewing only sheets. There
should be three sheets; let's check each of them.
▶
8.
Click the Save As button, and name the sheet set
Exercise 12
(Figure 12.29). This will speed up the process if you ever need to reprint
this same set of sheets. Click OK twice to return to the Print dialog.


Search WWH ::

Custom Search