Graphics Programs Reference
In-Depth Information
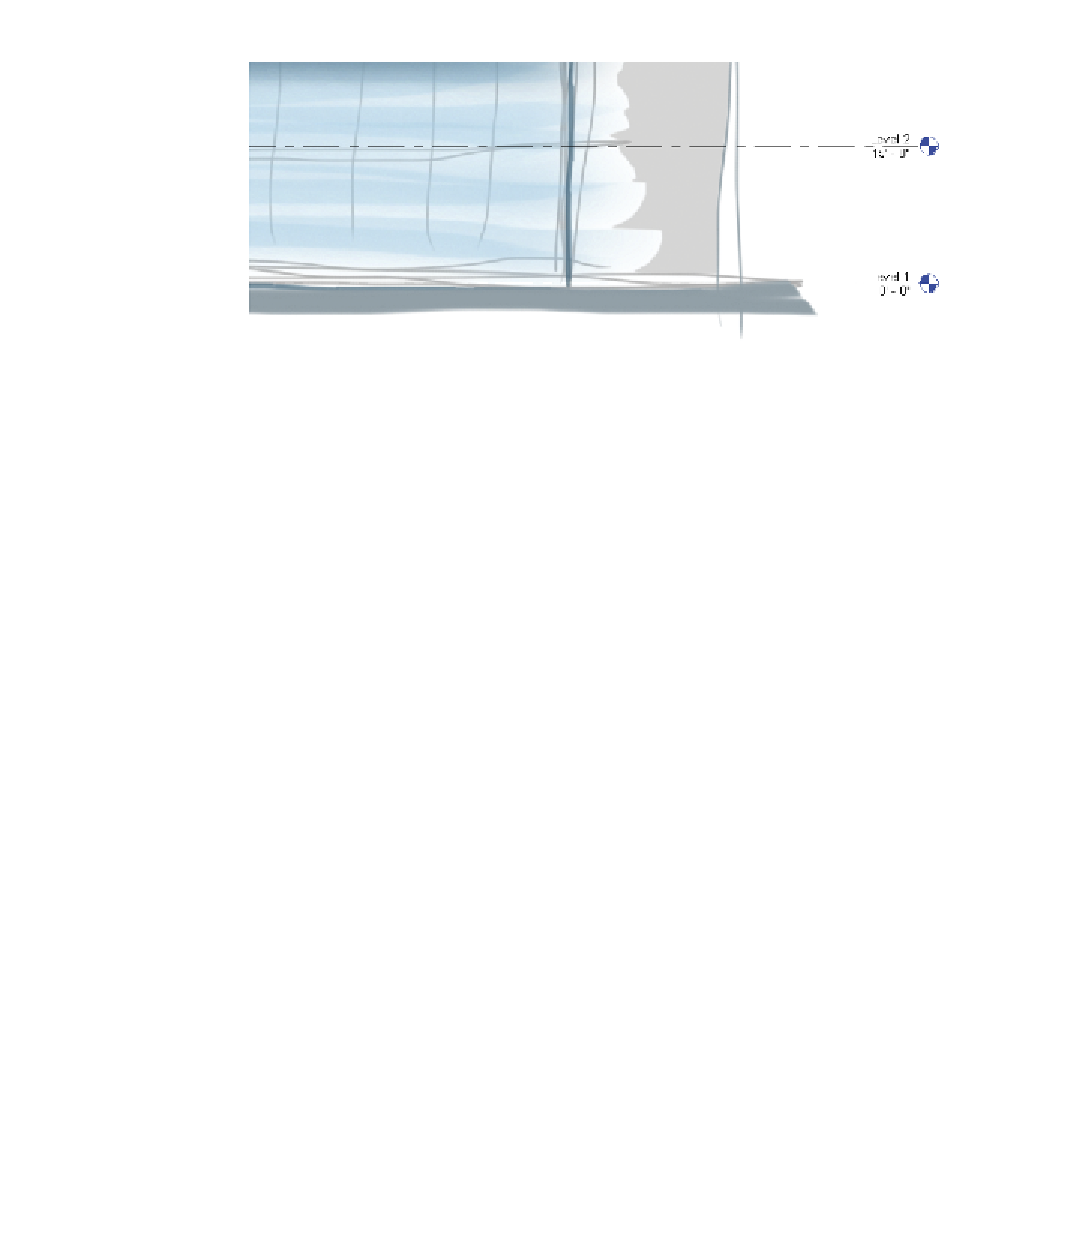
FIgure 7.3
The scaled image
9.
Once the imported image is scaled and in the right place, it is best to
pin the image so it doesn't accidentally move. Select the image and
click the Pin tool from the Modify panel.
▶
Each image you import
in Revit Architecture
can be seen only in
the view in which it's
placed. In other words,
an image placed in the
East elevation view
is seen only in that
elevation view.
This concludes Exercise 7.1. You can compare your results with the sample
file c07-ex-07.1end.rvt
available in the files you downloaded from the Sybex
website.
Designing with a 3D Sketch
Autodesk has also released a 3D digital sketch tool for iPad and Android
devices called FormIt. This is a conceptual design modeling tool that allows
you to create building forms and then export the geometry to Revit for further
development. The FormIt tablet apps are fun and intuitive, so I recommend
you try them out. Figure 7.4 was created on an iPad in roughly 20 minutes.
You can upload your 3D sketch to Autodesk 360, automatically convert it to
an
.sat
file and a
.rvt
file, and then download it locally. We'll go through the
steps to link the
.sat
file into Revit and update the linked file when changes
are made.
If you create your own
FormIt models and then
send them to Autodesk
360 for conversion to
.sat
files, notice
that there is a Revit
(
.rvt
) version of your
file available as well!
The
.rvt
file will be
created using the same
steps we outline here
but will be imported
instead of linked.
exercise 7.2: Link a 3D Sketch
To begin, open the file
c07-ex-07.2start.rvt
from this chapter's download.
1.
To link the 3D sketch you need to insert the FormIt geometry into
an In-Place Mass family. On the ribbon, find the Massing & Site tab,
then find the Conceptual Mass panel, and click the In-Place Mass
icon.
▶


Search WWH ::

Custom Search