Database Reference
In-Depth Information
8
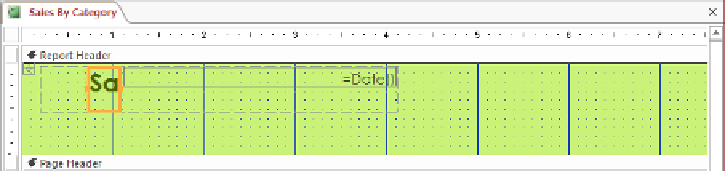
With the
Include Date
check box and the first date format option selected, clear the
Include Time
check box. Then click
OK
to insert a control containing the
=Date()
function in the upper-right cell of the layout in the
Report Header
section.
Because the layout constrains the controls, the control containing the title shrinks to make room
for the control containing the date.
TIP
If you insert a date and time control in a report that doesn't have a Report Header
section, Access adds the section and inserts the control. This control's function will
insert the current date whenever you generate the report.
Let's remove the layout from the Report Header section so that we have more
options for arranging the controls.
9
Hold down the
Ctrl
key, and select all the controls and placeholders in the
Report
Header
section. Then right-click the selection, click
Layout
, and click
Remove Layout
.
10
Point to the alert button that appears, and read the warning about the two controls
in this section not being associated with each other. Then click the button, and in the
list, click
Dismiss Error
.
TIP
It is always wise to investigate these alerts, but in this exercise, you can dismiss
any alerts displayed about unassociated controls.
11
Click a blank area of the section to release the selection. Then drag the date control
below the title control.
TIP
When you release the mouse button, the date control snaps into position against
the grid. You can prevent grid snapping by clicking the Size/Space button in the
Sizing & Ordering group on the Arrange tab, and then clicking Snap To Grid to turn it
off. If you want to override Snap To Grid and position a control precisely, set the Top
and Left properties in the Property Sheet pane.