Graphics Programs Reference
In-Depth Information
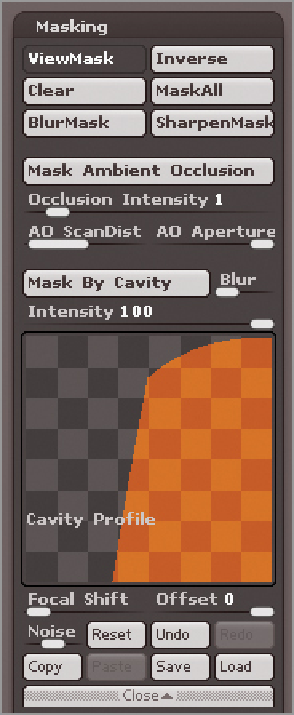
11.
Press the Cavity Mask button to create the mask. The darker areas of the surface will appear darker.
Turn off the View Mask button. This hides the mask without removing it.
12.
Now you are ready to start painting the material. Set the Draw size to a small value such as 10, zoom
in on the head, and use the Standard brush to paint the enforcerSkinWet material on the surface of the
skin. Choose areas of the face where the surface tends to be oilier, such as the nose, lips, forehead, and
cheeks below the eyes (see upper left in
Figure 10-24
).
13.
Paint on the arms and chest to create the look of damp, clammy skin.
14.
Paint a fair amount of the enforcerSkinWet material on the fingernails to make them appear shinier
than the surrounding skin (see lower left on Figure 10-24).
15.
Continue to paint over the surface of the Enforcer's skin. Try to vary the size and placement of the
strokes (see Figure 10-24).
16.
In the Render palette, set the material blend radius to 4. This setting will blend the materials together,
removing the jagged edges where the two materials meet on the surface when rendered. If you set the
value too high, the blending might blur the transition too much, and the effect is lost. This setting may
need to be adjusted, depending on whether you are rendering the model close up or from far away.
17.
Create a test BPR render by pressing Shift + R (see
Figure 10-25
).
Search WWH ::

Custom Search