Graphics Programs Reference
In-Depth Information
4.
Orient the camera to the figure to get the best possible composition. You may choose to keyframe sever-
al camera positions. You can also rotate the group node containing the figure to get various angles. These
rotations can be keyframed as well. Check the sample scene file on the DVD or download files for an
example of how keyframes have been set for the camera as well as the figure group.
5.
Save your scene file before moving on to the next steps. Create a new project by going to File
⇒
Project
⇒
New. Name the project “forestSpiritRender.” Note the fact that there are no spaces in the project name.
In the new project window, click the Use Defaults button, to fill in the directories (
Figure 9-50
).
6.
Click Accept and then save your file as “render.mb.” Take notice of where your project folder is located.
Your final renders will store here in the image subfolder. We will need to get them for the Photoshop stage.
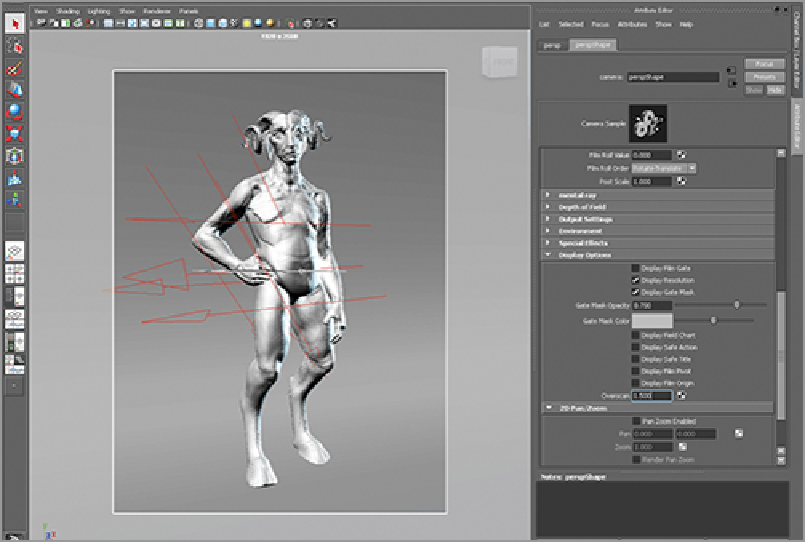
Figure 9-49:
The overscan value can adjust the visibility of the resolution gate.
Figure 9-50:
Create a new project.

Search WWH ::

Custom Search