Graphics Programs Reference
In-Depth Information
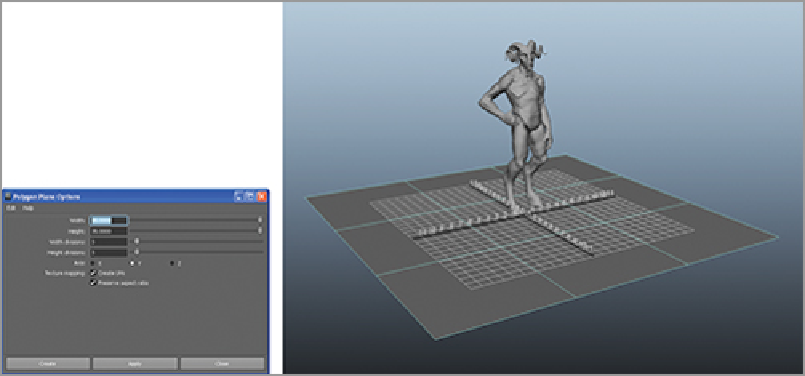
Figure 9-12:
The create Polygon Plane options are shown on the left of the screen here. The polygon plane
moved to the level of the feet to serve as a ground plane.
2.
With the plane selected, press the F9 key to enter into the vertex selection mask. Select the back row of
vertices as shown in
Figure 9-13
.
3.
Press W to enter move mode and drag those vertices up in the Y direction. Invert the selected vertices
by going to Edit
⇒
Invert selection. Now the other control vertices will be ready to move. Shift these back
in Z until the backdrop looks like
Figure 9-14
.
4.
Press the F8 key to return to Object Select mode from Vertex mode. Make sure the selection mask in
Maya is set to Polygons (
Figure 9-15
). If this part of the UI is not visible, go to Display
⇒
UI Elements
⇒
Show All UI Elements (
Figure 9-16
). Alternatively, you can open the hotbox by holding the spacebar and
then click in the left region to bring up menu masks. Select polygons from there to switch the main menu
to polygon model (
Figure 9-17
)
. Now the main menu at the top of the screen will display the polygon
modeling options.
Figure 9-13:
The back row of vertices selected
Search WWH ::

Custom Search