Graphics Programs Reference
In-Depth Information
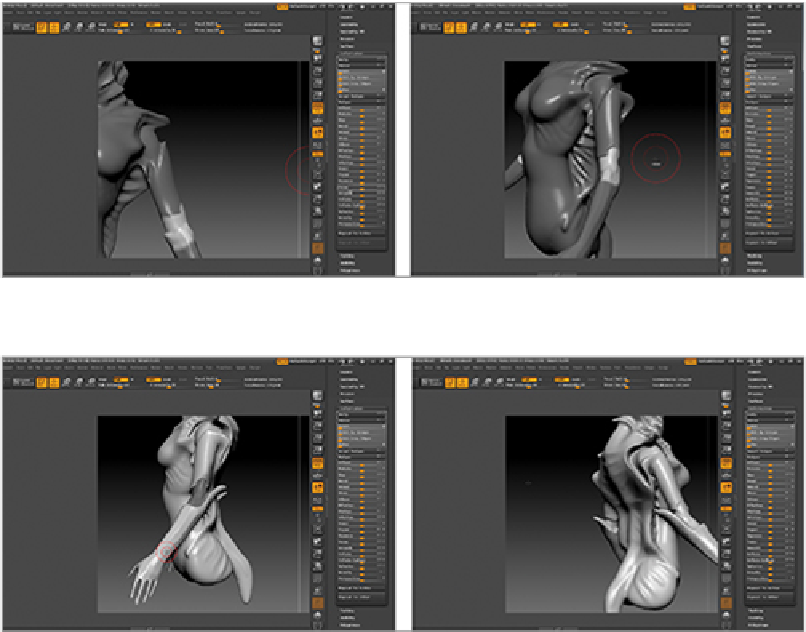
11.
At this point, I pull a kick off the elbow. This serves as a defense structure, biologically. Aesthetically,
it suggests an elbow length glove and helps extend the graceful line of the arm back from the figure (
Fig-
Figure 7-65:
Using a mask to create detail in the joints at the elbows
Figure 7-66:
Using the Move brush, pull a spike from the elbow—this suggests a defensive structure and
helps to create an elegant line in the arm.
All the various parts of the figure are in place—we now want to move on to detailing the figure. The first
step will be to turn off Dynamesh.
Adding Final Details
At this phase, we are done with the need for Dynamesh. While we could execute Dynamesh with a higher
resolution setting to get more detail, in my experience this is an inefficient way to work. I like to use Dy-
namesh to establish the primary and secondary forms of the character and then switch into normal subdivi-
sion level sculpting to further refine the forms. This allows us to have a range of subdivision levels to move
between as we work. Turn off Dynamesh by clicking the Tool
⇒
Geometry
⇒
Dynamesh button. Now we
will start to finesse the figure by adding finer lips and other details.
Sculpting the Lips
Now that we are out of Dynamesh mode, we can start to add subdivision levels and include more fine detail
in the model. In this section, we will refine the lips. The lips and eyes are the central humanizing features in
Search WWH ::

Custom Search