Pivot
Pivot is designed to show a number of data and enable selections, and view items based on a certain category. Pivot is used to manage application views that have several layouts or pages with built-in navigations that support, such as:
1. Horizontal pan (press and drag left or right)
2. Horizontal flick (press and slide quickly left or right)
3. Navigation hosted controls
A sample of pivot implementation is the following figure:
FIGURE 3 PIVOT VIEW [6]
Some best practices that can be put into account in developing application using Pivot controls are:
• Reduce the number of pages in Pivot control for performance reasons.
• Boost application performance by displaying data on-demand as opposed to loading all of them at once in the beginning.
• Make sure that each item displayed to users is of the same type.
• Pivot control should only be used if it suits the desired user experience.
Now let us learn how to use Pivot control in an application.
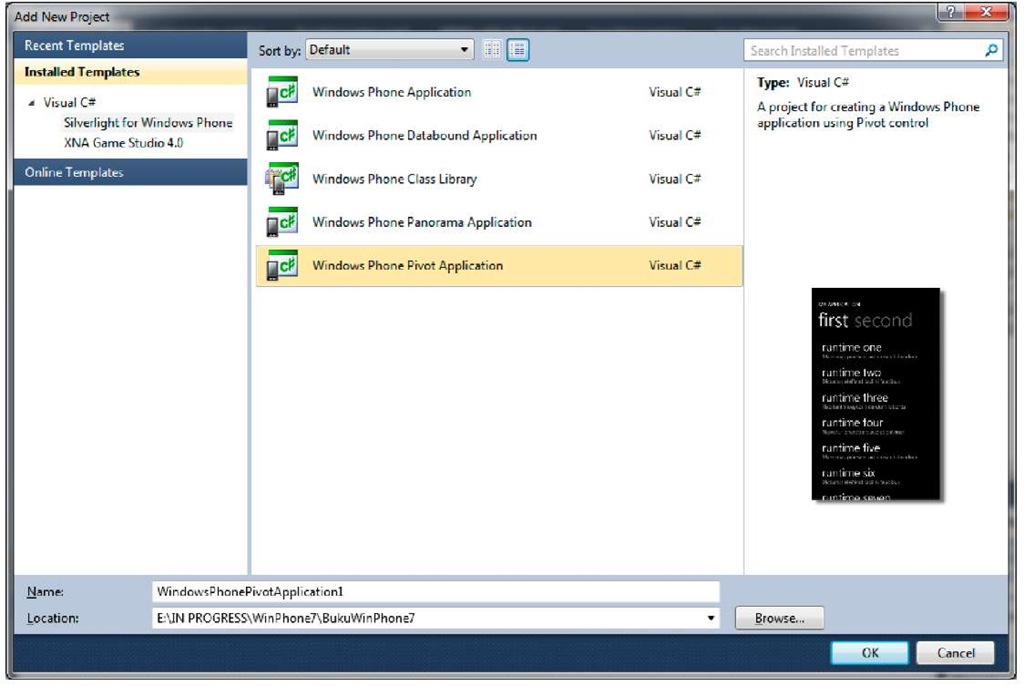
1. Create a new Windows Phone Pivot Application.
Note:
To continue from the previous exercise, right click on the project and select Add Windows Phone Pivot Page. Or if you want to add Pivot control on existing page, drag and drop from the toolbox to your page.
2. We will only use the template that is generated automatically while creating the application. Press F5 and see the results.
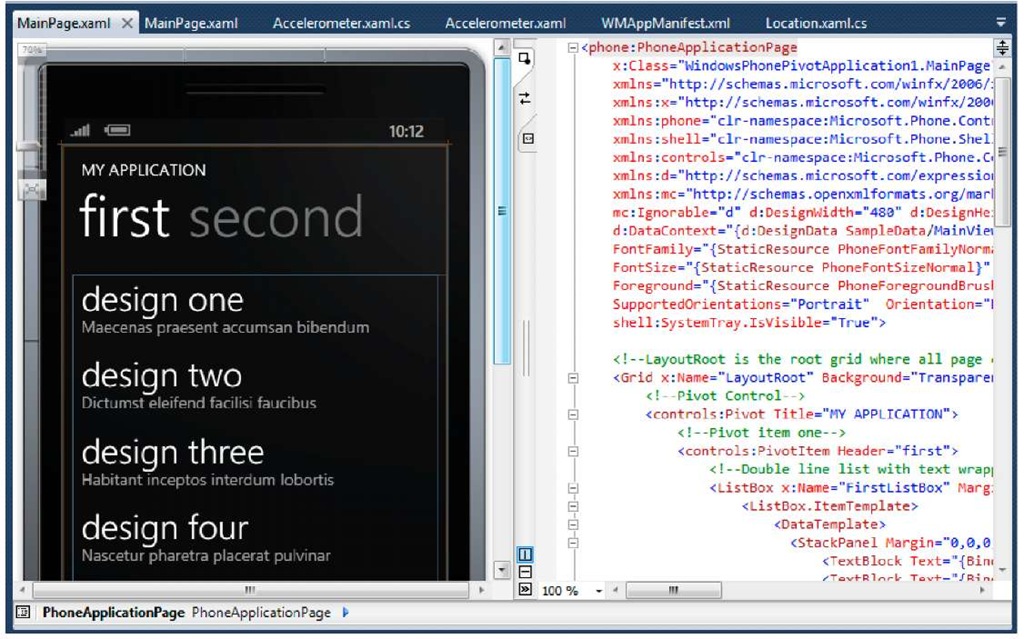
3. Now let’s review the code in the main page. This is what it looks like:
Examine that it is basically similar to Panorama View’s schematics. In Pivot control there is one main container which includes several PivotItem. Pivotltem can be used as containers equal to other containers such as grid or canvas in which we can place other controls. 4. To add a new item, here is the example:
Don’t forget to add the following reference in the class declaration:
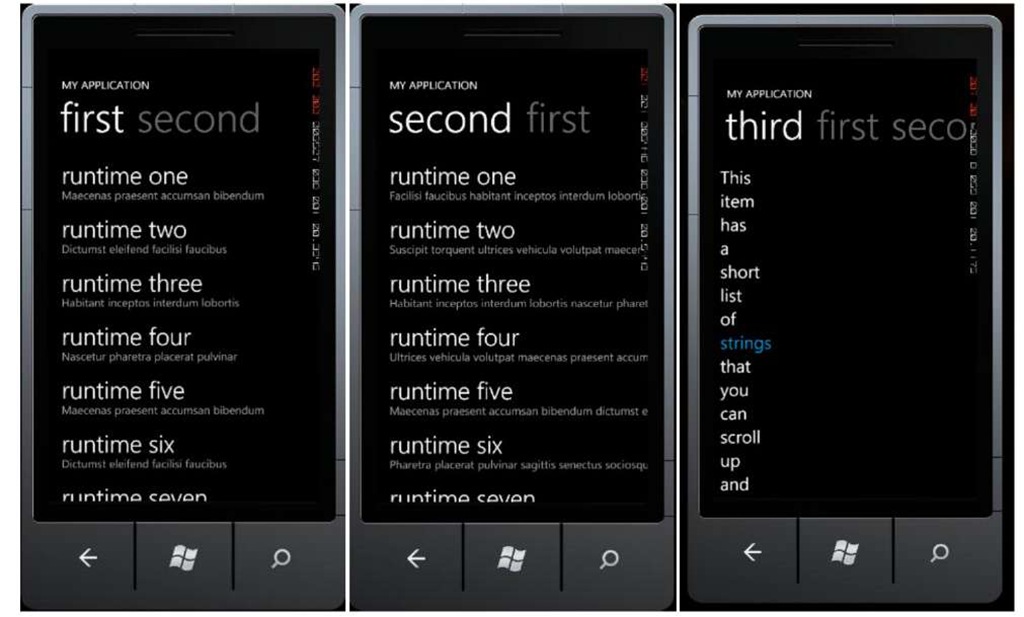
5. Press F5 for results.
![PIVOT VIEW [6] PIVOT VIEW [6]](http://what-when-how.com/wp-content/uploads/2011/08/tmp1C26_thumb.jpg)


![tmp1C-29_thumb[2] tmp1C-29_thumb[2]](http://what-when-how.com/wp-content/uploads/2011/08/tmp1C29_thumb2_thumb.jpg)
![tmp1C-30_thumb[2] tmp1C-30_thumb[2]](http://what-when-how.com/wp-content/uploads/2011/08/tmp1C30_thumb2_thumb.jpg)
![tmp1C-31_thumb[2] tmp1C-31_thumb[2]](http://what-when-how.com/wp-content/uploads/2011/08/tmp1C31_thumb2_thumb.jpg)
![tmp1C-32_thumb[2] tmp1C-32_thumb[2]](http://what-when-how.com/wp-content/uploads/2011/08/tmp1C32_thumb2_thumb.jpg)

