Digital intermediate (DI) is a process that might be necessary while working on your title sequence if your project requires transposing your source footage from one medium to another— from digital video to film, for example, or from film to video and from film to digital, then back to film.
A typical digital intermediate workflow consists of three steps:
1. A film scanner scans the original film negative frame by frame. A typical scanner, such as the Arriscan, flashes each frame with a red, green, and blue light, and each frame is captured on a sensor as a “raw" file that is uncorrected. Based on an EDL (edit decision list) provided by the editor, the film scanner is capable of identifying and selecting each original roll of film to find the exact start and end frame of each needed shot. The scanning process varies from facility to facility and might offer a variety of image resolutions (2K, 4K, 6K; the higher the value, the sharper the image) and color bit depths (such as 10 bits per color channel). Each scanned frame is then recorded onto a hard drive and is numbered sequentially.
2. The image sequence is conformed and manipulated. The scanned film frames are delivered to the title designer as an image sequence so that titles can be composited over the footage. This is also the appropriate time to perform any necessary special effects or color corrections. Look-up tables (LUTs) are frequently used to make sure that the footage will match both the digital projector and the print film stock of choice. Once all the manipulation is completed, the image sequence needs to be prepared and exported so that it can be printed back onto film.
3. The image sequence is printed back onto film (film-out). This step involves the use of a film printer, which reads the information of each digital frame and uses a laser to engrave it frame by frame onto a film roll.
Depending on the project you are working on, there might be slight variables to this workflow. For example, if you are working on an opening title sequence that requires titles superimposed over the picture, a film lab will be requested to scan only the opening sequence (rather than the entire film!) so that once you complete your job, the sequence can be printed back onto film and spliced with the rest of the original negative.
Also, depending on the project, the digital intermediate could be performed only through its first part (film scanner scans the original film) or its latter one (film printer prints onto film).
Table 1.2 will help you understand the general video and film workflows while working on your titles.
Table 1.2 General Video and Film workflows
|
Source |
working Format/Process |
Final Deliverable |
|
1. Digital video |
Digital video |
Digital video |
|
2. Film |
Digital intermediate |
Digital video |
|
3. Film |
Digital intermediate or film |
Film |
|
4. Digital video |
Digital video |
Film |
1. If your source is digital video and your final deliverable is digital video, your best bet is to work in digital video as well. Before you begin working on your title sequence, you should make sure that the source footage is of equal or higher image resolution than your final deliverable. If your source footage is lower resolution, you must immediately notify your client that higher image resolution footage is needed to avoid the final deliverable being blurry or pixilated—unless your creative plan is to heavily manipulate the source footage so that the low quality of the footage will be unnoticed.
2. If your source footage is film and your final deliverable is digital video, you must go through the first half of the typical digital intermediate workflow. The film will need to be digitized and delivered to you so that you will be able to start working on it at your workstation. When the titles are completed, you can export the final digital deliverable using the requested frame size and codec.
3. If both your source footage and your final deliverable are film, you could either remain in film or go through a digital intermediate workflow. If your client decides to continue to work in film, two options are to (a) create titles with an animation stand, shoot them on film, and then splice them onto the film’s negative, or to (b) create titles (either handwritten or computer-generated), shoot them on film, and then go through an optical printing process that will allow you to superimpose your titles directly onto the film footage. If, on the other hand, your client has allocated enough budget to go through a digital intermediate, the footage needs to be scanned and delivered to you as an image sequence. Once digitized, the titles can be created, animated, and, if needed, composited over the digital footage. On completion, the titles need to be exported again as an image sequence so that each frame can be printed back onto film.
4. If your source footage is digital video and your final deliverable is film, you must go through the second half of the typical digital intermediate workflow. You should make sure that the source digital video footage you are provided with is of a sufficient frame size to print on film without incurring any quality loss (typically either 2K or 4K resolution). Before you begin working on your title sequence, make sure that you contact your client, the postproduction facility, or the film laboratory that will print the image sequence back onto film, to verify the resolution, file format, color bit depth, and any other file specification they require the image sequence to be delivered in. Printing at 2K or 4K resolution will result in a considerable budget difference, so this decision will most likely need to involve the client, the studio, or the distributor.
There are many variations of film and video frame size when you begin to add codecs and frame rates, transferring from film to video and vice versa. Conversions could become a bit of a headache, especially when dealing with 3:2 pull-down (when converting 24 fps to 29.97 fps) and its removal or reverse pull-down (when digitizing footage from an NTSC tape at 29.97 fps but you need to work at 24 fps so that you can output to film). The headaches immediately cease when:
1. You work entirely in a digital system. For example, suppose the film was edited in Final Cut Pro and exported to After Effects via the Automatic Duck plug-in. The edits are preserved and there is no need for frame rate conversion.
2. The film has been scanned at a postproduction facility and you receive a 24 fps digital image sequence. You can create titles and then re-export a 24 fps image sequence to be output onto film.
For more information on this topic, refer to Creating Motion Graphics with After Effects, by Chris and Trish Meyer (Focal Press, 2007).
Interview rock Ross: on Making Film Titles for independent Filmmakers
Rock Ross is a title designer, independent filmmaker, and musician living and working in San Francisco. He has created thousands of titles for independent films, shooting directly on film using his own animation stand, without even touching a computer. He has screened thousands of independent short films in his New Nothing Cinema and scored a number of films with his band, The Goat Family.
“It’s more satisfaction if it’s a hard job and you do it anyway, and quickly deliver those good-looking titles."
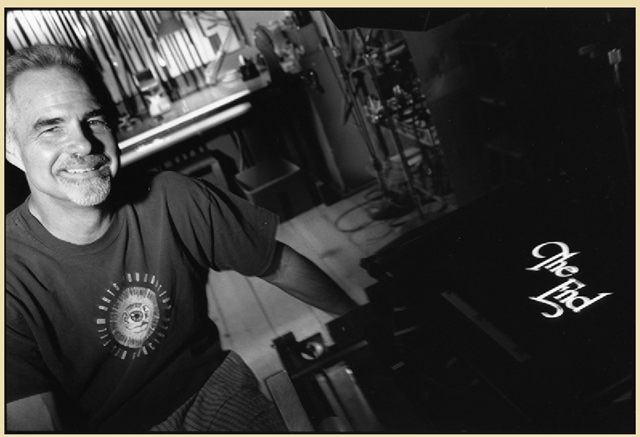
Figure 1.6 Rock Ross.
What originally sparked your interest in filmmaking and film titles?
I started making films when I was about 12, using my dad’s regular 8 mm Bolex, which he was using to shoot home movies. My sister and I started doing scenes ourselves, filming each other for fun, and acting like little hams. And then I started making longer films with my friends, playing reel-to-reel tape recorder soundtracks with them.
I went to Mercer University in Macon, Georgia, where I received a degree in history with a minor in art, and then I went to the San Francisco Art Institute, to the undergraduate and graduate school of filmmaking, where I received a BFA and an MFA. I was educated by film artists on art film, mainly; it wasn’t a vocational school but ended up being my vocation.
I started off doing location sound recording, and it was unpleasant because I had to travel to film locations and deal with a lot of stressful people; I didn’t enjoy it. I liked sound recording but I didn’t enjoy working on crews. I started working on titles because I didn’t have to go anywhere; I could sit in a room and work on titles whenever I wanted.
How does your life experience influence your work?
I get to see lots of work, lots of independent work, since we have a little cinema here in the building, the New Nothing. So I’ve seen thousands of short experimental works since 1971. That has influenced me: what not to do, what I don’t want to see, what works really well, when someone overdoes it, when it wears out its welcome, and when it’s just right. When that works—when it’s just right—it’s sublime and transcendent. That’s what remains with me—the good stuff.
Can you talk about your creative process when working on titles—from the early inspiration through development and to the final deliverable?
Usually filmmakers have a pretty good idea of what they want. Very often they direct you, or they will have an art director who will direct you, and I just follow the directions they give me or use the artwork they give me. When they have the artwork for the titles all done, ready to go, they might simply email it to me and tell me: "I want this seven seconds, no fades.” I want them to give me a log, the order they want me to shoot them in, how big they want the titles in the frame, if they want a colored gel, if they want white type on black or red on black, for example.
Sometimes some people say, "I just want simple titles, white on black, here they are. Easy to read. I want them to be TV safe.” And that’s it. They won’t tell me what their film is about; they’ll say, "Shoot each title 10 seconds long and I’ll cut them and I’ll do the fades, and I’ll decide how long they are going to be.” Sometimes I don’t even meet the filmmaker; it will be over the phone or email. They’ll just email the file, their credits and titles, and I get to pick out the typeface, the typesetting, and shoot the titles.
But sometimes people give me a lot more creative freedom. They might say: "This is what I want, help me realize it. Here’s the theme, here’s the mood, here’s the music I want for the main titles. You can be creative and make something dynamic, and make something subtle.” And that’s always fun to do. For example, I could do multiple passes, like having titles burn in on top of objects that are from the film: a leather jacket, or a bowl of onions, a wall, a knife or a gun, or a tire.
That’s fun, laying an object down on the animation stand, like a leather jacket, and lighting it creatively with gels, and leaving a spot for the title to burn in and out of.
Or to go and shoot something that you know is going to be used for the titles. You go and shoot it with a precise plan in mind, then come back to the studio, and without processing it, you back up the film and burn in the titles on top of the live action that you’ve shot: that can be incredibly inexpensive and really satisfying. It’s great to make something that looks good and satisfying to the filmmaker.
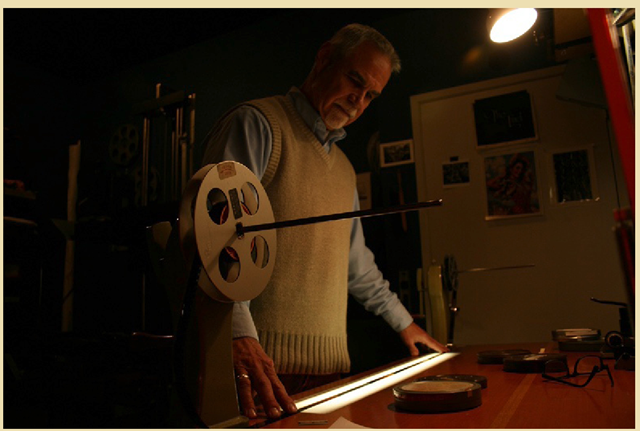
Figure 1.7 Rock Ross examining a 16mm film at his light table.
Can you elaborate on your creative process when you are given total creative freedom?
If a filmmaker wants me to do the creative part of the titles, I’ll ask them a lot of questions. I want to see their film’s work in progress, so I can study the colors and the mood of the film and try to accentuate that mood, or complement it, expand the mood of the music or of the opening scene. I need to get a feeling for the film, so I can pick a typeface and make the titles look right. Also, I pay attention to the pacing of the film—if it’s moody or if it’s peppy.
If someone is thoughtful, they can save themselves lots and lots of money by giving me a perfect log saying exactly how long the screen should be black, when the titles should pop on, how long they should be up, how long fades should be.
If they can give me a log like that, they’ve saved themselves many hundreds of dollars, instead of saying, "Shoot each one 10 seconds.” They should just ask me to edit the titles in camera and then they’re done. And for the end title crawl they should know how long they need them to run.
Can you talk about readability when you are working with your title sequences?
As a screen time guideline for readability, I generally calculate about a second per word, not including articles—the as or thes or /s’s.
The most important thing is that the titles can be read. Why have information up there if you can’t read it or if it’s gone too quick or if it’s too tiny to read or if, when they transfer it to video or digital, it starts falling apart?
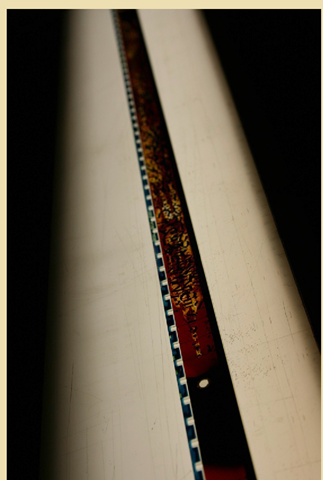
Figure 1.8 A film strip from "Thoughtless", a 16mm film
I like simple, clean fonts that are easy to read and big and bold when they are up there on-screen.
If they are going to burn through objects, they must burn through well, nothing too delicate or stylized that is hard to read. They shouldn’t have elements that are too fragile. If you expose the film stock for the fragile elements of the titles, the big ones become bold and hot, and if you expose for the bold elements, the fragile ones fade out and they are almost indecipherable. Titles have to be clean and neat,I think—nothing too stylized.
For the titles of my own films, very often I use a tip and I scratch them directly into the film’s emulsion, so they appear to be panning across the frame. I like that look. And it’s easy to read, too, it’s like scanning down a sentence.
Do you work on your titles with the score/ soundtrack already in place? If so, how does that affect your work?
If the filmmaker has the music in mind that sets up the mood of the film, I can listen to that music and try to shoot the titles so that they are a complement or a juxtaposition of the music.
If there’s peppy, wild music, sometimes it’s nice to have slow, atmospheric titles. Sometimes it’s nice to have a surprise, to have it be a different look. They seem to complement each other if they are different looking.
And sometimes the opposite can be very effective, too. Sometimes it’s nice to have peppy titles and peppy music.
You can do all kinds of nice stuff—popping titles on with a slow fade-off, and you can cut right to the beat.


