The realism of 3D animation can be very eye-catching, and a good part of this realism comes from two key factors: lighting and surfacing. In your 3D career, professional or otherwise, you’ll find that achieving this realism is a never-ending battle. Note, however, that this struggle is a blessing in disguise. You see, your mission, should you choose to accept it, is to continually better your work. Once you create a fantastic piece of 3D art, it’s time to make a better one! Without forgetting that lighting setups play a big role in determining the realism of your scenes,this topic will introduce you to LightWave’s texturing capabilities. This topic helps you take the next step with LightWave by introducing you to the powerful Texture Editor and teaching you how to navigate and use its interface.
Note
The word surface is used three different but related ways in this topic—to denote a specific group of polygons on the skin of a 3D object;to describe a collection of attributes (color, reflectivity, bumpiness, and so on) applied to a region to determine its appearance and behavior in a 3D scene; and as a verb ("to surface"), meaning the process of applying those attributes to polygon regions.
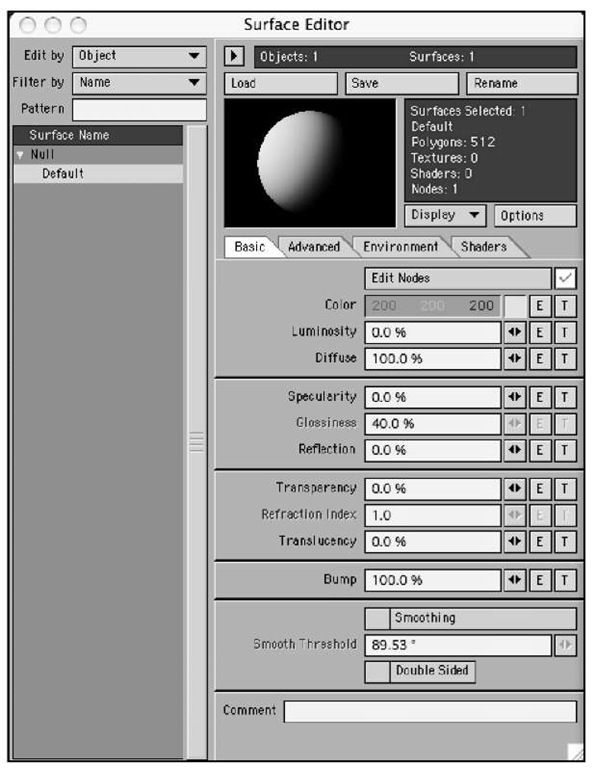
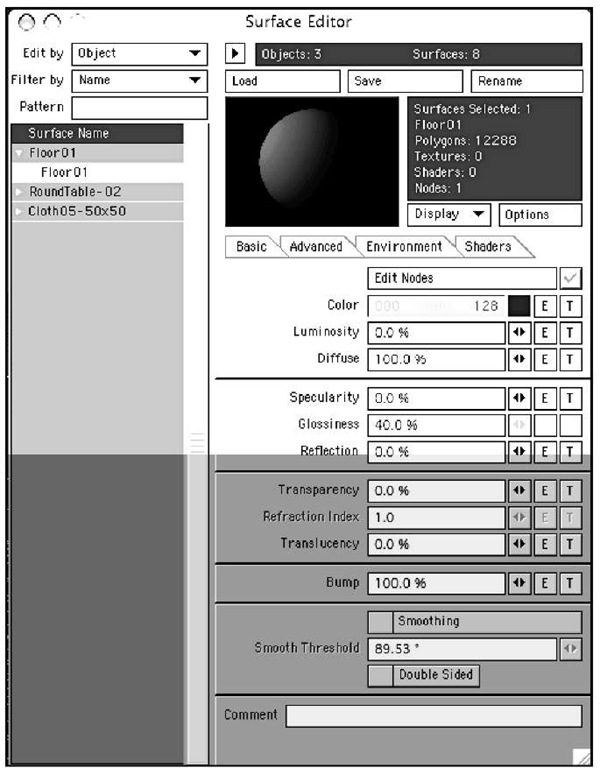
Perhaps one of the best things about LightWave’s Surface Editor is that it puts everything you need to set up simple-to-complex surfaces in one location. The Surface Editor gives you control over everything you need to create a blue ball, an old man, or a modern city. If you are familiar with the Surface Editor in previous versions of LightWave, you’ll find the updated Surface Editor works in much the same way but is definitely improved. Most notably, LightWave v9 brings a completely new way of texturing to the table with the Node Editor. Figure 3.1 shows the Surface Editor interface at startup, with the Node Editor open.
Figure 3.1 LightWave’s Surface Editor at startup.
You’ll get a brief introduction to the Node Editor in this topic.
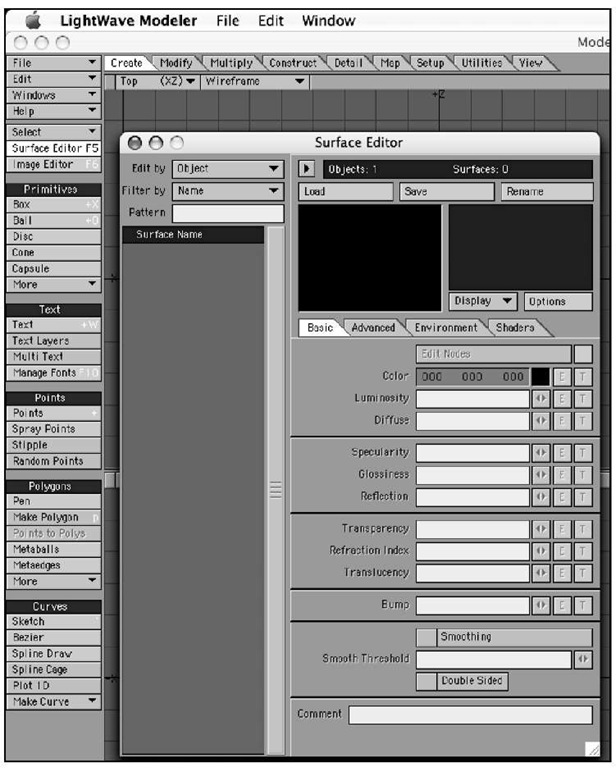
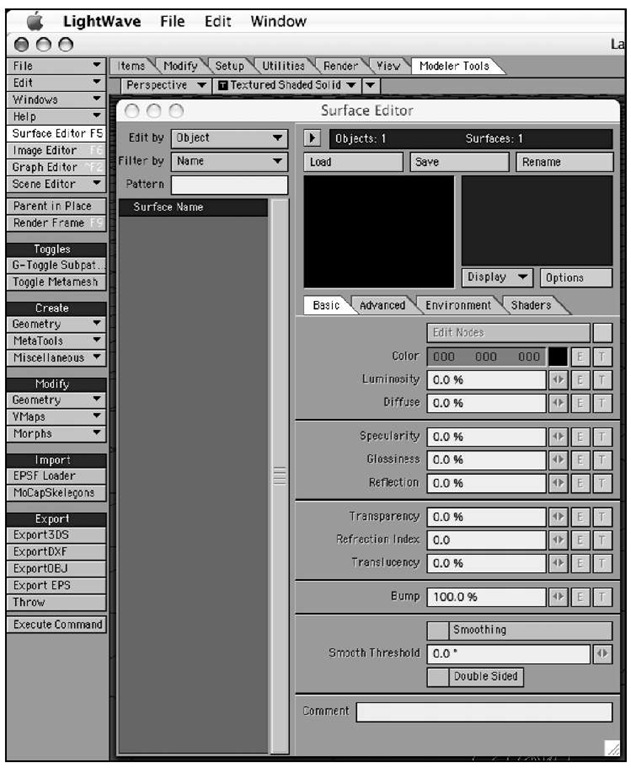
It’s important to understand how basic texturing works, and the Surface Editor is the place to start. In early versions of LightWave, the process of setting up a model’s surfaces began during construction, in Modeler. However, you could make only basic surface changes in Modeler—essentially, you could only select a group of polygons and name them as a surface. Defining and applying surface attributes such as color and shininess, or adding more complex textures, required moving over to Layout. In LightWave v9, the Surface Editor is accessible in both Modeler and Layout, so you can set up surfaces in either part of the program. This topic applies to both Modeler and Layout, except for the section on the Node Editor, which is available only within Layout. The Surface Editor button is sixth from the top in Modeler (Figure 3.2) and fifth from the top in Layout.The F5 key also opens the Surface Editor in both Modeler and Layout.
Figure 3.2 LightWave’s Surface Editor can always be accessed at the top left in Modeler.
Note
Using the Surface Editor in Modeler does not give you access to LightWave’s VIPER, discussed in detail later in this topic, nor does it provide access to v9′s powerful Node Editor. So for major surfacing projects, use the Surface Editor in Layout and take advantage of VIPER and the nodes.VIPER requires rendered data to work, and you can only render in Layout.VIPER uses information stored in LightWave’s internal buffers for instant feedback. (Actually, it really works by magic. Honest!)
Figure 3.3 LightWave’s Surface Editor is the same in Layout, and it’s always accessed at the top left of the interface.
Note
Remember that LightWave enables you to completely customize the user interfaces of both Modeler and Layout. However, you should be working with the LightWave default Configure Keys (Alt+F9) and Menu Layout (Alt+Fl0) settings throughout this topic.
As mentioned earlier, all of your surfacing needs can be accomplished within the Surface Editor, so you should be familiar with its features. This section guides you through its uses and helps you make sense of the panel. It’s much easier than you might think! As with any task, you start by getting organized.
Organizing Surfaces
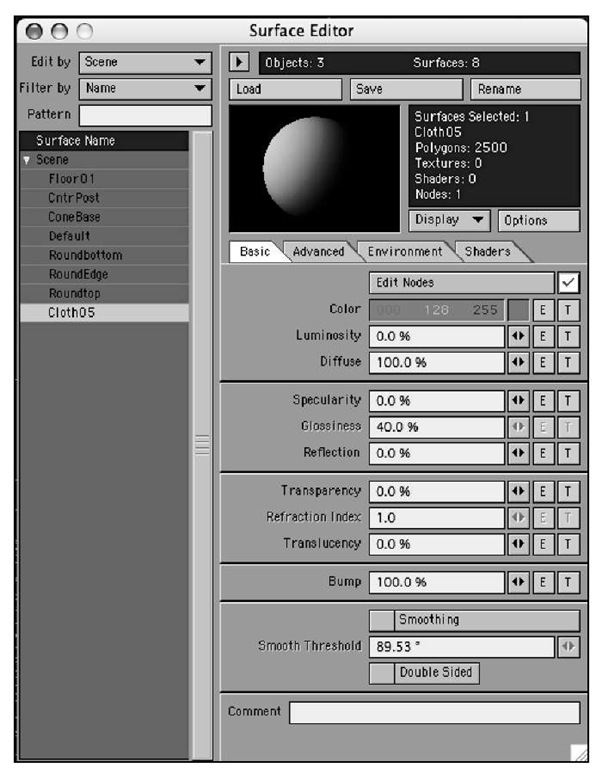
Good management of your 3D work, from models to keyframes to surfaces, will help you become a better artist. The Surface Editor makes it easy for you to manage your surfaces. Figure 3.4 shows the Surface Editor as it appears when an object with multiple surfaces is loaded into Layout.
Figure 3.4 The Surface Editor enables you to manage your surfaces easily on an object or scene basis.You also can use filters to organize your surfaces by name.
When you open the Surface Editor after a scene has been loaded, the scene’s surfaces are listed in the Surface Name list, as you can see in Figure 3.4. The Surface Name list contains information on every surface in the scene; by default it groups surfaces by object. Clicking the small triangle next to an object’s name reveals a list of all the surfaces associated with that object. Note that by default, if an object is selected in Layout when you open the
Surface Editor, its first surface will be opened in the Surface Editor. Figure 3.5 shows the same scene as Figure 3.4, but with a surface of the first object selected. Note that this setup is using the Edit By Object selection from the top left of the Surface Editor, which lists the surfaces with their appropriate objects.
Figure 3.5 Surfaces are grouped with their respective objects if Edit By Object is selected.
When you click the small white triangle next to a surface name in the surface list, your surface settings, such as color, diffusion, or texture maps, won’t be available until you click on a surface name. You must select one of the surfaces in the list before you can begin to work with it. When you select a surface, you see the surface properties change. Working with a hierarchy like this is extremely productive and enables you to quickly access any surface in your scene.
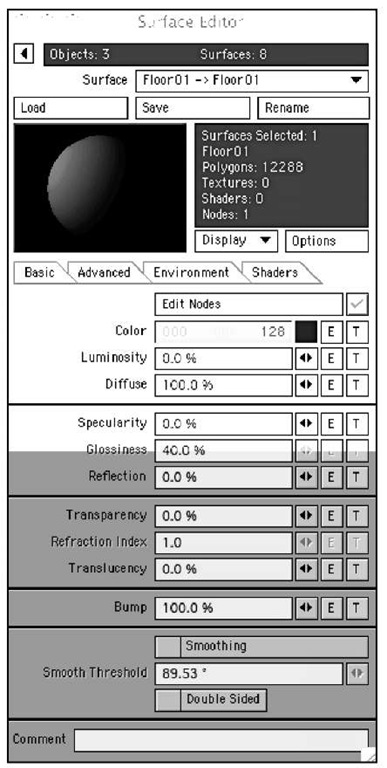
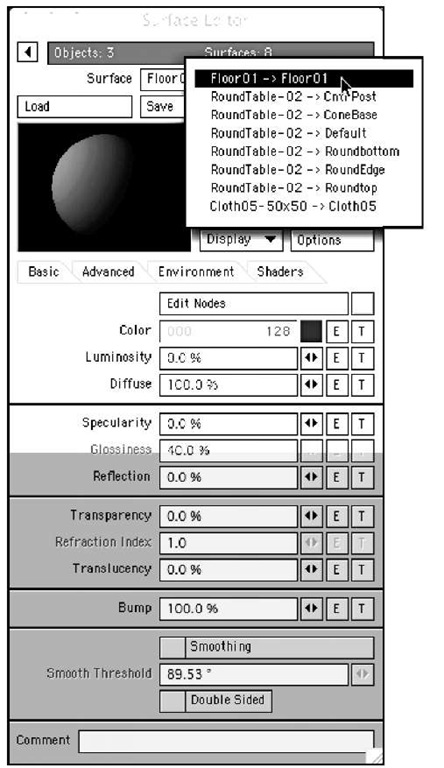
To save screen space, LightWave’s Surface Editor allows you to collapse the Surface Name list by clicking the button marked with a right-pointing triangle above the Load button at the top of the panel. Figure 3.6 shows the Surface Editor with the collapsed Surface Name list. Click the button again (it now points left) to expand the list, or choose a surface using the Surface drop-down at the top of the panel, as in Figure 3.7.
Figure 3.6 We clicked the small triangle at the top of the Surface Editor panel to collapse the Surface Name list.
Figure 3.7 You select surface names in a collapsed view by using the Surface drop-down list.
