Windows Menu
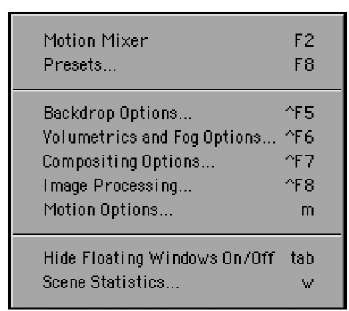
Beneath the Edit menu drop-down list is the Windows menu (Figure 2.28). Here, you can access various windows or panels throughout LightWave. These windows are controls for Motion Options, including access to LightWave’s nonlinear animation controller; Backdrop Options; Compositing Options; and the Image Processing tab.
You’ll be employing all of these windows throughout this topic’s tutorials. Note the keyboard shortcuts to the right of the listings for quicker access.
Figure 2.28
The Windows drop-down menu gives you access to many key panels throughout LightWave Layout.
Help Menu
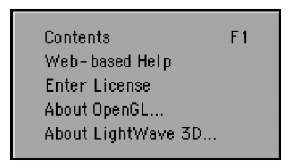
LightWave’s Help menu (Figure 2.29) can be found directly in Layout all the time. This is helpful (pun intended) for accessing LightWave’s Web-based help system.
Additionally, you can enter your valid license key in this panel, as well as access LightWave’s About section to check your version number, including information about your system’s graphic card.
Figure 2.29
The LightWave v9 Help menu gives you quick access to online help and licensing.
Surface Editor
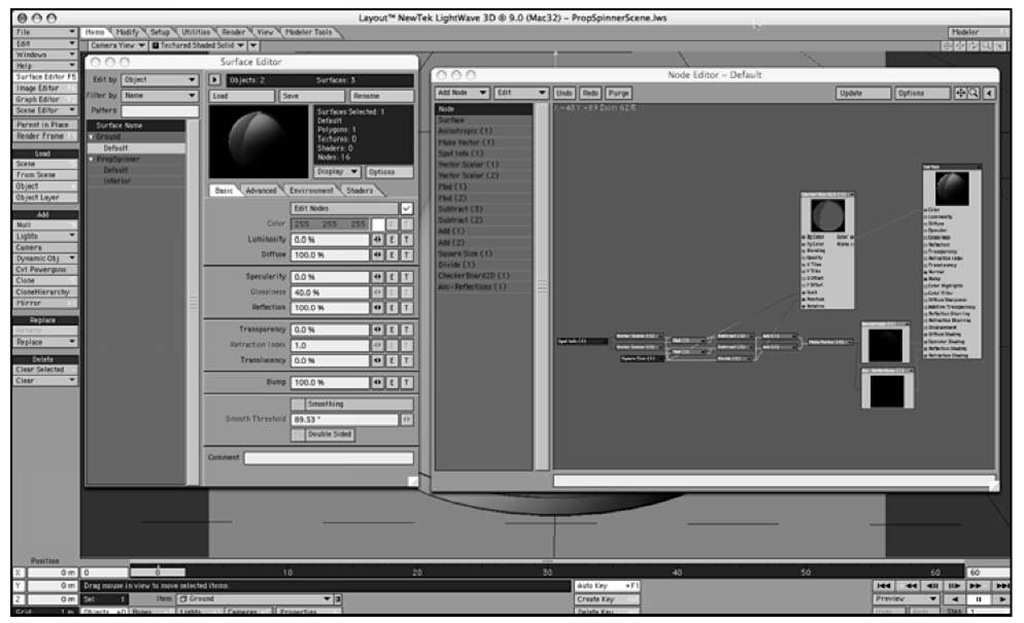
Beneath the Help menu is the Surface Editor. Here, you can apply all of the texturing to your objects. Within the Surface Editor is the Node Editor, new for LightWave v9. We’ll explore its powerful network of surface functions later in this topic. Figure 2.30 shows the surface list for a loaded object in the Surface Editor; also, the Node Editor is open.
The Surface Editor is easier to work with than you might think. Again, if you think about the process you can easily navigate through the panel. First, you tell the Surface Editor which surface you want to work with. Where did you get that surface? You created it in Modeler with the Change Surface requester, accessed via the Surface button at the bottom of the Modeler interface. After choosing a surface, you work your way down the panel from color to luminosity to transparency and more.
Texturing can be a painstaking aspect of 3D animation and art, but as you’ll see in the next topic, applying basic surfaces and textures is easier than you might think.
Figure 2.30 The Surface Editor in LightWave is your home for all surfacing.
Note
Throughout the Surface Editor and LightWave, you’ll see little E and T buttons.These are important.The E allows you to create an Envelope for the given parameter.What’s an envelope? It’s a change in value over time.The E button opens the Graph Editor, which lets you animate that change.The T button allows you to apply textures— spatial variations in value, distributed over a surface. Pressing a T button opens the Texture Editor. If you click on an E or a T accidentally, simply hold the Shift key and click the button again to release. Undo does not work for this.
Image Editor
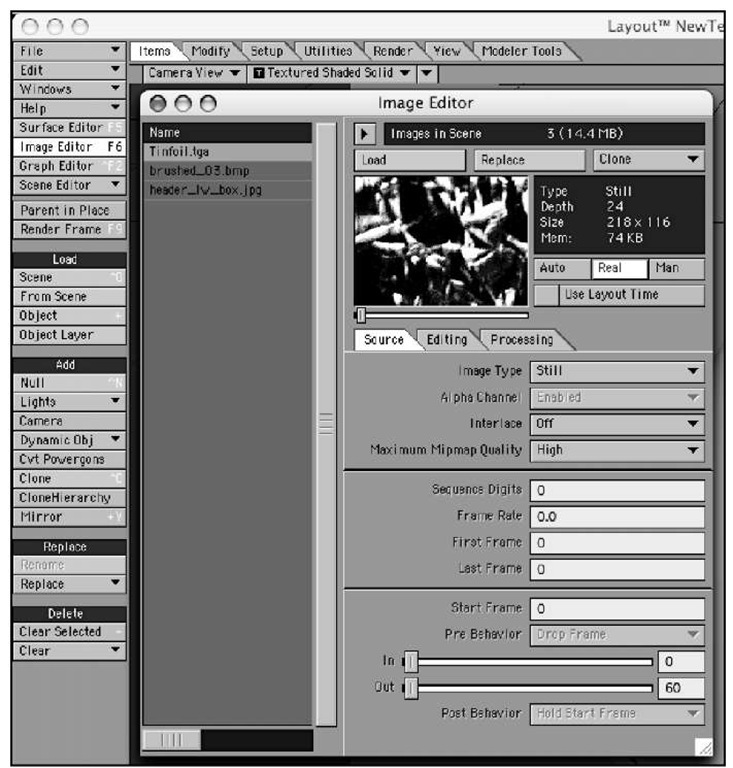
Below the Surface Editor button is the one for the Image Editor (Figure 2.31), which is used to load and manage image and movie files within LightWave.
Figure 2.31 The Image Editor in LightWave 9 allows you to load images and movies, as well as edit them and apply effects.
You can do more than just load images in the Image Editor; you can edit them! The Processing tab allows you to apply simple enhancements to your images and movies. Additionally, you can apply textures to your images with the T buttons. You’ll use the Image Editor in the next topic to load reflection maps.
Graph Editor
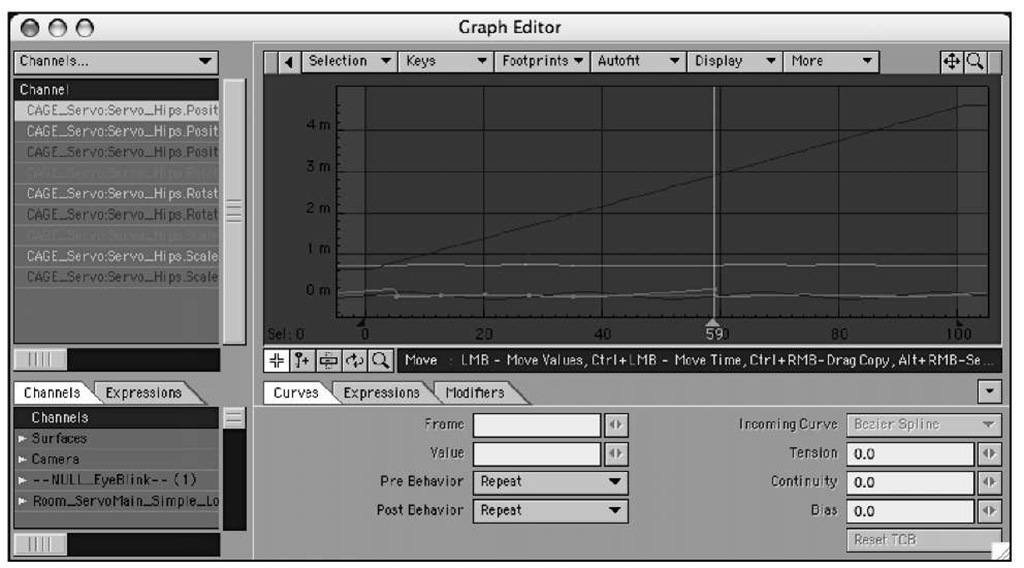
Also part of the eight key menus in Layout is the LightWave Graph Editor (Figure 2.32). This panel gives you specific control over the motion channels of your Layout items. Each item, such as a light, camera, bone, or object, has nine motion channels. There is a specific channel of motion for the X-, Y-, and Z-axes for Movement, Scale, and motion on the H, P, and B (heading, pitch, and bank) for Rotation. You can control all of these channels in the Graph Editor.
In the Graph Editor, you can adjust the timing of specific channels. For example, say you’ve created a spinning top. You have rotated the top over 30 frames, but you need it to continue for 300. Rather than re-keyframing it, you can use the Graph Editor to "repeat" the past behavior of that specific motion channel. But you can do so much more, such as edit keyframes or create them. You can apply various motion plug-ins, such as a texture environment to the Y (up and down) motion channel to simulate an earthquake. As you work through tutorials in this topic, you’ll use the Graph Editor to perform these functions as well as learn how to navigate the panel.
Figure 2.32 The LightWave Graph Editor offers specific control over motion channels for your Layout items.
Scene Editor
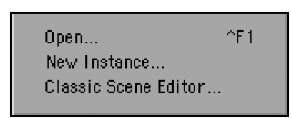
In the past, you accessed the Scene Editor by clicking a button. Now LightWave offers a drop-down menu for opening different versions of the Scene Editor—the newer version of the Scene Editor or the classic version you may know and love (Figure 2.33).
The LightWave v9 Scene Editor is quite powerful, incorporating spreadsheet capabilities, a Dope Sheet, and overall editing of various scene parameters. It does not give you control over every aspect of LightWave, but it can significantly improve workflow by allowing control of multiple items at once. There are five main areas within the Scene Editor: Items, Surfaces, Channels, Property, and Dope Sheet. Exercise 2.5 guides you through a quick overview of the tool.
Figure 2.33
The Scene Editor menu gives you access to both the classic LightWave Scene Editor and the newer version.
Exercise 2.5 Working with the Scene Editor
1. From the File drop-down menu, select Clear Scene.
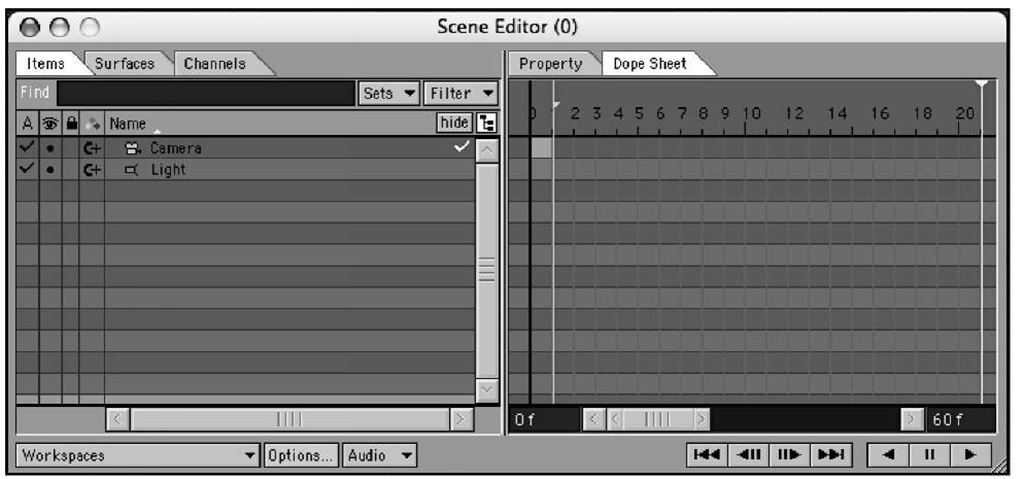
2. From the Scene Editor drop-down menu, select Open. Because of the design of the Scene Editor, you can have multiple instances of the panel open at the same time; to do so, simply select New Instance. Figure 2.34 shows the Scene Editor panel.
Figure 2.34 A new instance of the LightWave Scene Editor is created, and the panel appears.
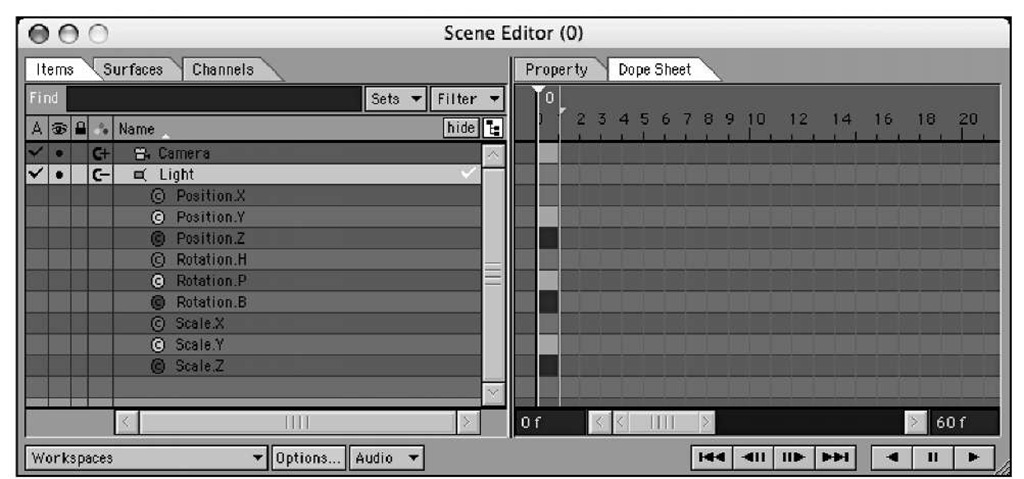
3. On the left of the panel are the items in your scene, currently just one camera and one light. Figure 2.35 shows that by clicking the small mark in front of an item, you can expand it to see its channels.
Figure 2.35 The left side of the Scene Editor contains the items you want to control.
4. At the top left of the Scene Editor are three tabs: Items, Surfaces, and Channels. Click the Surfaces tab, and the list changes, giving you access to any surfaces in your scene.
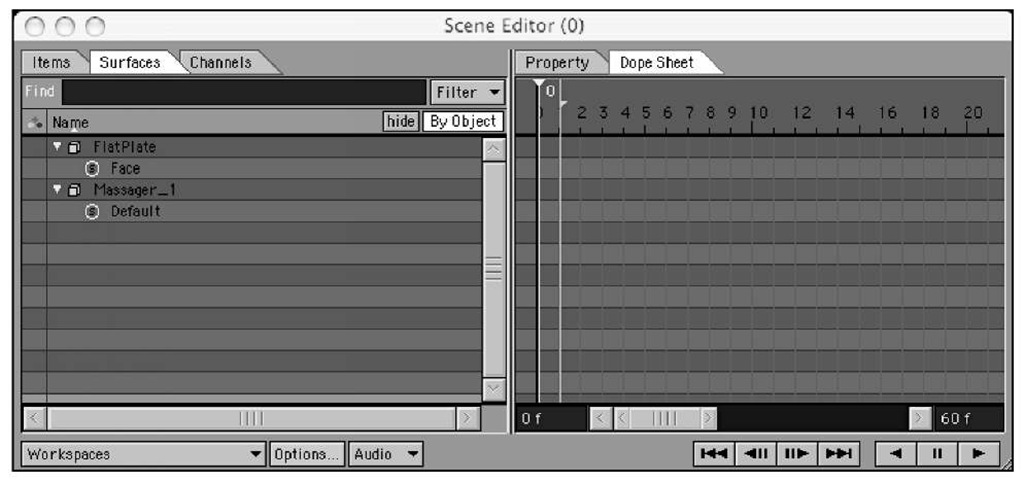
5. After you’ve selected certain surfaces to work with, you can select them on the right and make changes. This is useful for quickly seeing and editing all of your surfaces outside of LightWave Surface Editor. Figure 2.36 shows a simple scene loaded so you can see the surfaces.
Figure 2.36 With a simple scene loaded, you can quickly see controls for enabling group editing of surfaces.
Dope Sheet
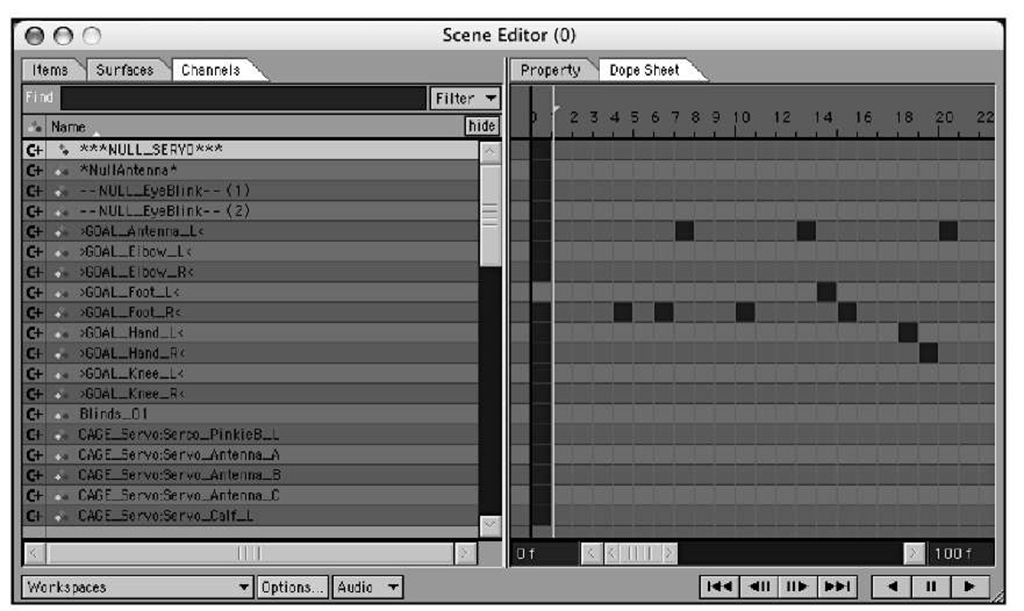
Within the Scene Editor is the Dope Sheet. You can find it in a tab on the right side of the panel. After you set up keyframes and complex motions, especially for characters, the Dope Sheet will be your best friend. The Dope Sheet allows you to see all of your keyframes for multiple items at once. You use it to set the times and numeric offsets, and even to erase keyframes. When you select specific keyframes in the Dope Sheet, you can change their settings values and edit them in the Graph Editor. Figure 2.37 shows Dope Sheet contents for a character scene loaded from the LightWave Content Directory.
Figure 2.37 When a scene with keyframes is loaded, the Scene Editor’s Dope Sheet gives you enhanced control over time, movement, and other parameters.
The Scene Editor is powerful, and to show its uses, we’re going to dive right into it in some tutorials later in this topic. This topic’s coverage should give you a quick overview of the power behind this cool new addition.
