Saving a Macro
You already know that AutoCAD uses drawing files with the extension .dwg to save your drawings, and VBA uses project files with the extension .dvb to save all the components of your application from the IDE. These components include all your Visual Basic code, UserForms, and modules. Because the AutoCAD and VBA components are kept in separate files, you must remember to save both files individually. And when you come to open your project again, you must open them individually, too.
I’m sure you’re already an expert at saving your drawings by choosing File ^ Save in the AutoCAD window. To save your DrawText macro in a project file, choose File ^ Save from the VBA IDE. Because you are saving your macro for the first time, Globali is appended to the Save menu command, as shown here:
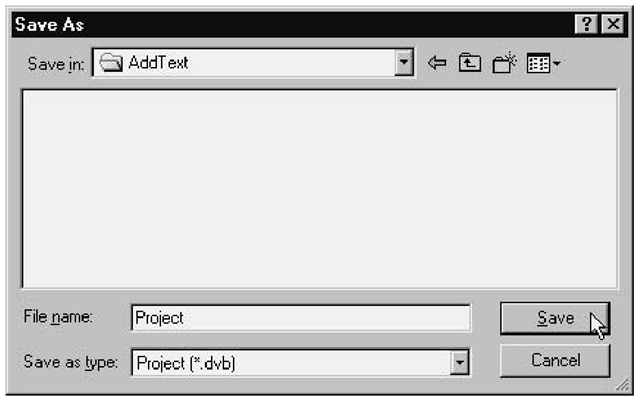
The Save As dialog box shown in Figure 2.7 appears next, with Project already in the File Name box, and Project (*.dvb) in the Save As Type box. You can maneuver your way around your directory system to the folder required, the same way you do in AutoCAD. You can also overtype the default filename Project with any name of your choice.
Figure 2.7 Using the Save As dialog box to save your VBA macro
In subsequent saves, the full pathname of the Project.dvb file will be appended to the Save menu command, as shown here:
Running a Macro
Throughout the development stage of a project, it’s much better to do trial runs from the IDE until you’re satisfied that your macro is working the way you want it to. The IDE has many debugging features to help you during these tests, especially when your macros become longer and more complex.
Once your macro is working exactly as planned, it’s better to run it straight from AutoCAD without opening the IDE at all. Let’s look now at both ways of running a macro.
Running a Macro from the IDE
To run your DrawText macro from the IDE, select the Run Sub/UserForm button from the toolbar:
Running a Macro from AutoCAD
When it is inconvenient to open the IDE just to run your macro, follow these steps to run it from the AutoCAD window:
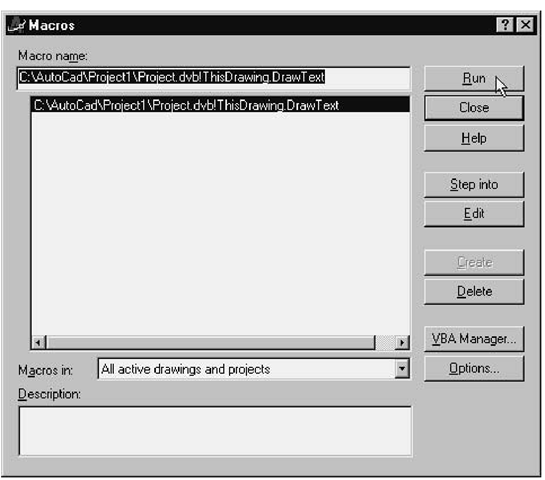
1. From the AutoCAD menu, choose Tools ^ Macro ^ Macros. The Macros dialog box appears, containing a list of all the macros associated with the current ThisDrawing object, as shown in Figure 2.8.
2. Highlight your DrawText macro, and click Run to execute it.
Figure 2.8 Macros dialog box listing the macro associated with the current drawing object
If your macro isn’t listed in the Macro dialog box, make sure you have loaded the project file that contains it, and that it has been placed into either ThisDrawing or Module# (where # stands for any number). Procedures placed into UserForm modules are private and are not listed in the Macro dialog box.The section "Loading VBA Project Files"later in this topic describes how a macro can be loaded manually or automatically.
Returning to AutoCAD
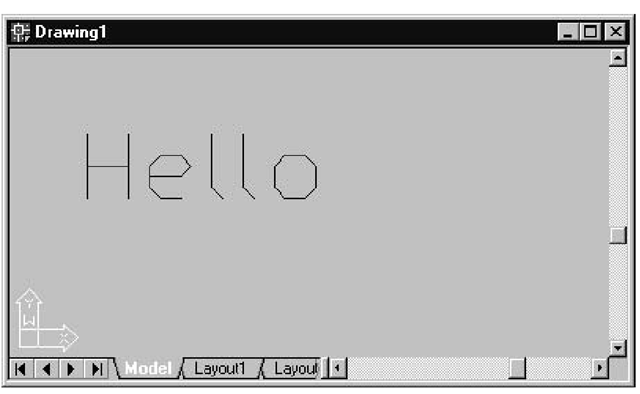
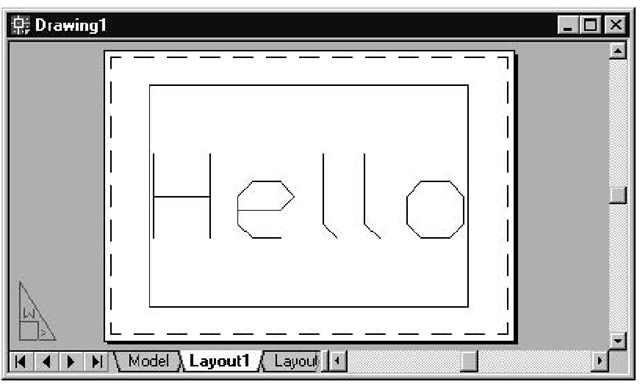
When you return to AutoCAD after running the DrawText macro, the text added by the macro is displayed in the Model Space, as shown in Figure 2.9. Your new text will also appear in the Layout1 (see Figure 2.10) and Layout2 tabs. Drawings are designed in the Model Space, and the two Layout tabs are used to plot your drawing to Paper Space.
Figure 2.9 The text has been added to the Model Space by the AddText method.
Figure 2.10 The AddText method also updates the images in the Layout tabs for the current drawing.
![tmp757e-58_thumb[2] tmp757e-58_thumb[2]](http://what-when-how.com/wp-content/uploads/2012/07/tmp757e58_thumb2_thumb.png)

![tmp757e-60_thumb[2] tmp757e-60_thumb[2]](http://what-when-how.com/wp-content/uploads/2012/07/tmp757e60_thumb2_thumb.png)
![tmp757e-61_thumb[2] tmp757e-61_thumb[2]](http://what-when-how.com/wp-content/uploads/2012/07/tmp757e61_thumb2_thumb.png)


