Web Page Backgrounds
Each new Web page you create is displayed with a default white or gray background and other default properties. You can modify these default properties using the Page Properties dialog box. The Page Properties dialog box lets you specify appearance, links, and many other aspects of page design. You can assign new page properties for each new page you create, and modify properties for existing pages. The page properties you select apply only to the active document.
Add a background for the Web page.
As you design and plan a Web page, consider the following guidelines for applying color and images to the background:
• You can change the default background and enhance your Web page by adding a background image or background color. If you use both a background image and a background color, the color appears while the image downloads, and then the image covers the color.
• Use a background image to add texture and interesting color to a Web page. You can find copyright-free background images on the Web or you can design them yourself.
• Be cautious when selecting or designing background images. Web page images displayed on top of a busy background image may not mix well, and text may be difficult to read.
To Add a Background Image to the Index Page
When you copied the data file earlier in this topic, you copied an image file that will be the background for the Montana Parks Web site pages. The following steps illustrate how to use the Page Properties dialog box to add that background image to the index page.
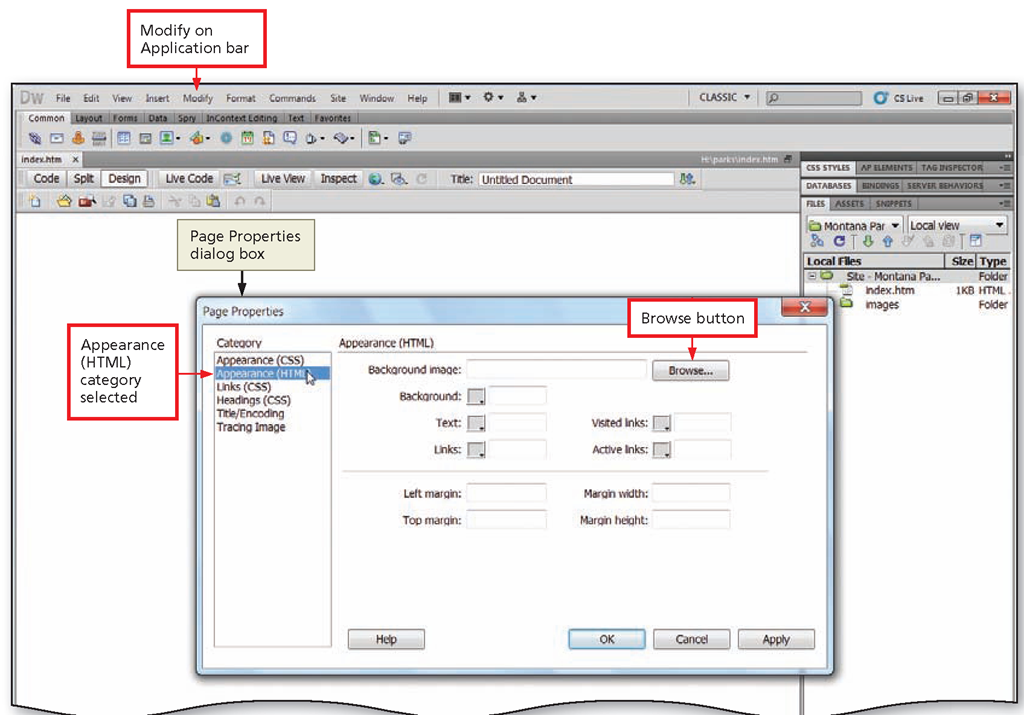
Figure 1-36
1
• Click Modify on the Application bar and then click Page Properties to display the Page Properties dialog box.
• Click the Appearance (HTML) category to display options for adding a background image to the page (Figure 1-36).
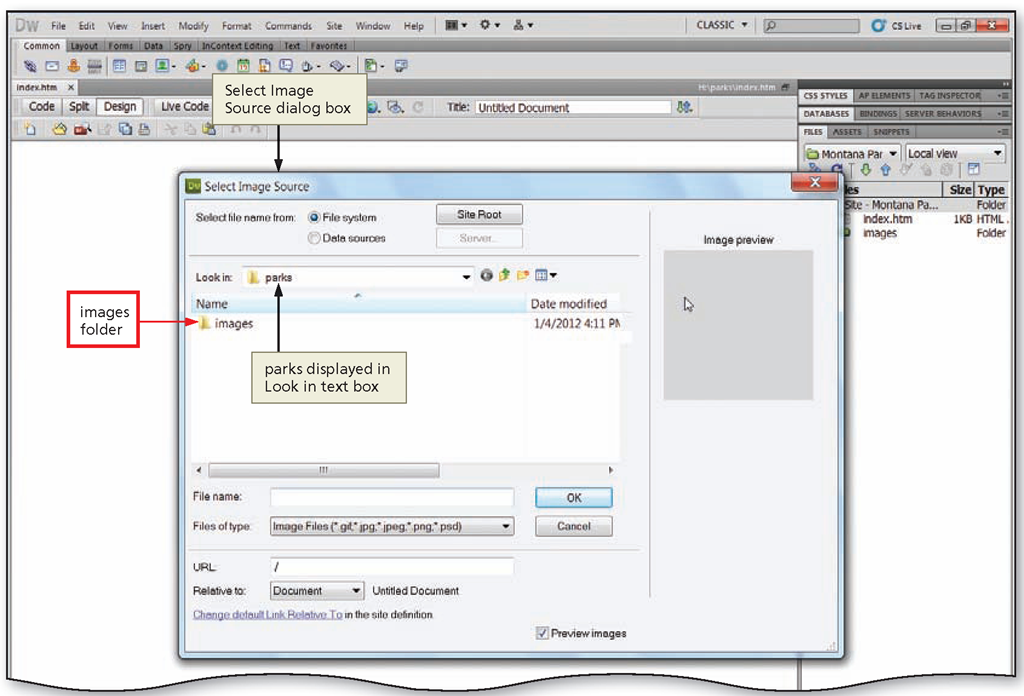
Figure 1-37
2
• Click the Background image Browse button to display the Select Image Source dialog box (Figure 1-37).
Q&A
Why should I use a Q background image on my Web pages? Background images add texture and visual interest to your Web pages.
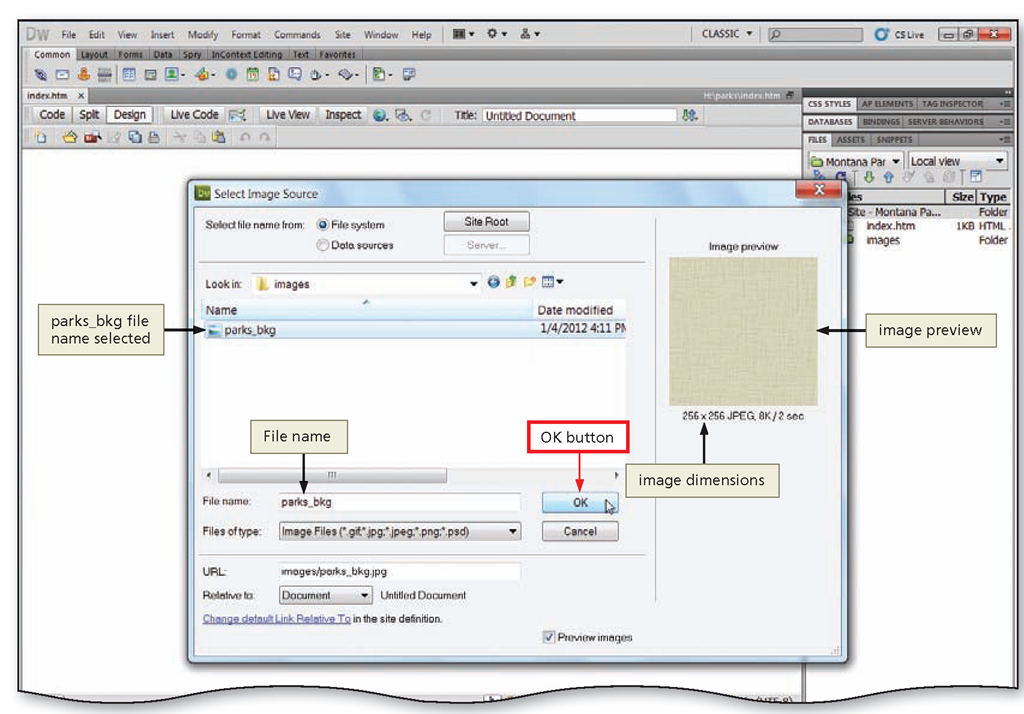
Figure 1-38
3
• Double-click the images folder to display the images file list.
• If necessary, click the View Menu button and then click Details to display the file list in Details view.
• Click the parks_bkg file to select the file (Figure 1-38).
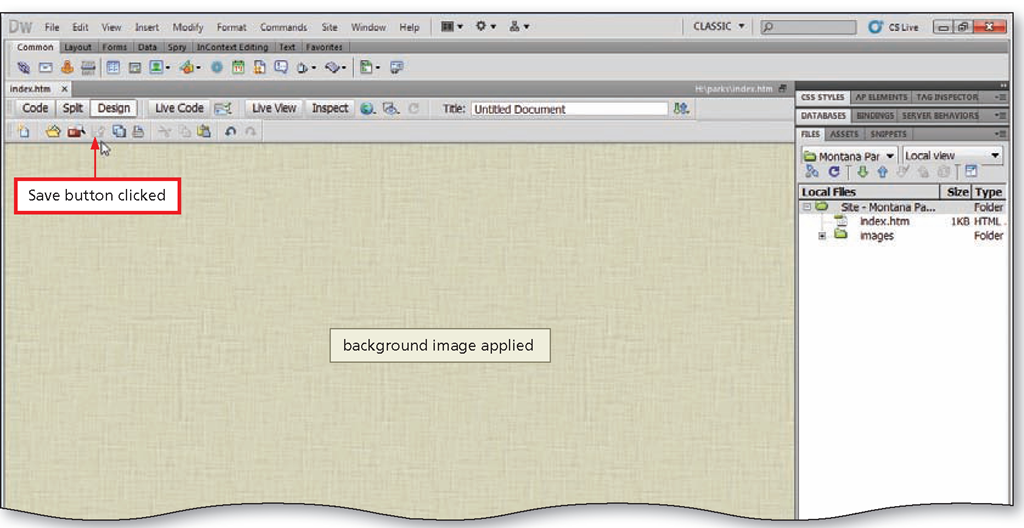
Figure 1-39
4
• Click the OK button to accept the background image and close the Select Image Source dialog box.
• Click the OK button to apply the image to the page.
• Click the Save button on the Standard toolbar to save the document (Figure 1-39).
A How do I know the O document is saved? When the document is saved, the Save button on the Standard toolbar is dimmed.
Adding Text to a Web Page
In Dreamweaver, you can create a Web page in several ways: (1) add text to a new document; (2) open an existing HTML document, even if it was not created in Dreamweaver; (3) copy and paste text; and (4) import a Word or Excel document or tabular data.
In this topic, you create the index page for the Montana Parks Web page by typing the text in the Document window. Entering text into a Dreamweaver document is similar to typing text in a word-processing document. You can position the insertion point at the upper-left corner of the Document window or within another object, such as a table cell. Pressing the enter key creates a new paragraph and inserts a blank line. Web browsers automatically insert a blank line of space between paragraphs. To start a new single line without a blank line between lines of text requires a line break. You can insert a line break by holding down the shift key and then pressing the enter key.
Plan Ahead
Select the words and fonts for the text.
Most informational Web pages start with a heading, include paragraphs of text, provide one or more lists, and end with a closing line. Before you add text to a Web page, consider the following guidelines for organizing and formatting text:
• Headings: Start by identifying the headings you will use. Determine which headings are for main topics (Heading 1) and which are for subtopics (Heading 2 or 3).
• Paragraphs: For descriptions or other information, include short paragraphs of text. To emphasize important terms, format them as bold or italic.
• Lists: Use lists to organize key points, a sequence of steps, or other information you want to highlight. If amount or sequence matter, number each item in a list. Otherwise, use a bullet (a dot or other symbol that appears at the beginning of the paragraph).
• Closing: The closing is usually one sentence that provides information of interest to most Web page viewers or that indicates where people can find more information about your topic.
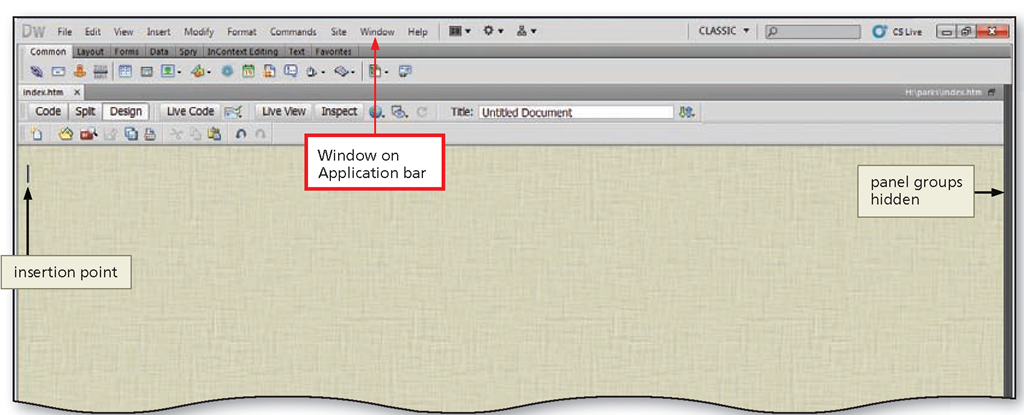
To Hide the Panel Groups
The following step shows how to provide more workspace by hiding the panel groups.
Figure 1-40
5
• Click Window on the Application bar and then click Hide Panels to close the Files panel and the Property inspector (Figure 1-40).
