This can be as simple as the sky’s color turning from day to night, or as complex as a three-headed dog chasing a busload of screaming babies. The common thread is that over a period of time, things change.
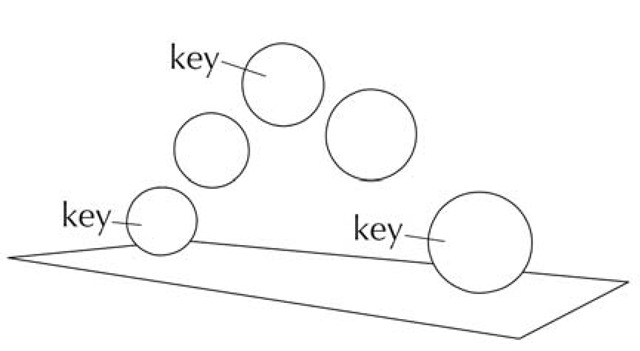
In Maya, animation is generally created by specifying the key moments (or most important poses) when values change (see Figure 1.74). Maya automatically interpolates the values from one key to the next. So, if you want to move a box from the left side of the room to the right over the course of three seconds, you would only need to place two keyframes. The first keyframe would mark the box’s position at the left side of the room on frame one, and the second keyframe would mark the box’s position on the right side of the room at frame 72.
Here is the order of operations for setting keyframe animation:
1. Go to a specific point in time.
2. Change an object’s values.
3. Set a keyframe.
4. Go to a new point on the timeline.
5. Change the values.
6. Set another keyframe.
7. Hit the play button.
Figure 1.74: Simple animation
So, for each key pose you want to set for an object, you will place a keyframe. Learn the following phrase: Time-Value-Key. These are the three things you will do whenever you want to set a keyframe. Time — go to a frame on the timeline. Value — change the value of an attribute, such as translation, rotation, or scale. Key — set a keyframe.
Animation Exercise — Ball Drop
For your first animation exercise you will animate the position of a ball. By setting keyframes at the beginning, middle, and end of the time range you will cause Maya to interpolate the values between the keys. This automated process is called in-betweening.
Before you begin, it’s always a good idea to double-check the animation settings. Click Window > Settings/Preferences > Preferences. Click on the Timeline category. In the Playback preferences section, change the Playback Speed to Real-time [24 fps]. Click Save when you are done. This will allow you to more accurately evaluate your performance during animation playback.
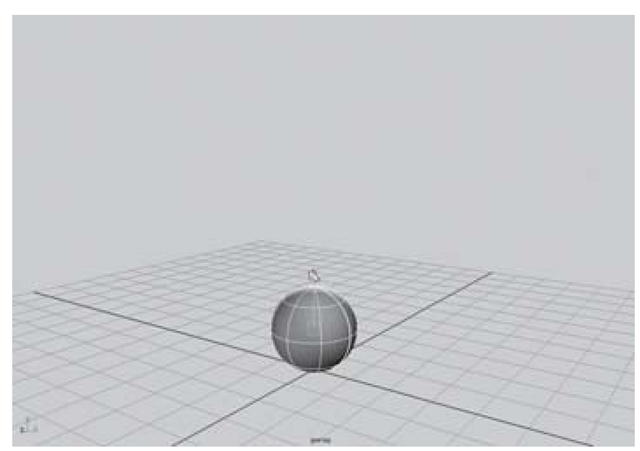
1. Create a NURBS sphere.
2. Name it ball.
3. Time — set the Time Slider to frame 1 (see Figure 1.75).
Figure 1.75: Time = Frame 1 on the timeline
4. Value — using the Move Tool, translate the ball to a value of1 on the translate Y axis (see Figure 1.76). You can type an exact value in the Channel Box; click in the data field to the right of the Translate Y channel name, type a 1, and then press Enter.
Figure 1.76: Value = 1 on the Y-axis
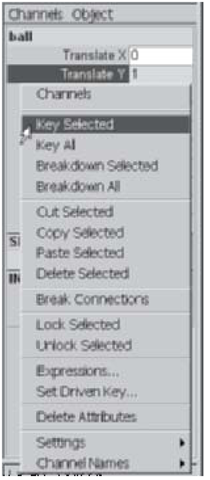
5. Key — With the ball still selected, click on the Translate Y channel name. This highlights the channel. Now, RMB-click the Translate Y channel name. (While the RMB is held you will see a drop down contextual menu that allows you to select many animation-related actions.) From the RMB menu, drag the cursor over Key Selected and release the RMB as in Figure 1.77.
6. You will see the Translate Y channel’s data field turn orange. This indicates that you have successfully set a keyframe.
7. Follow the pattern again. Time — set the Time Slider to frame 12.
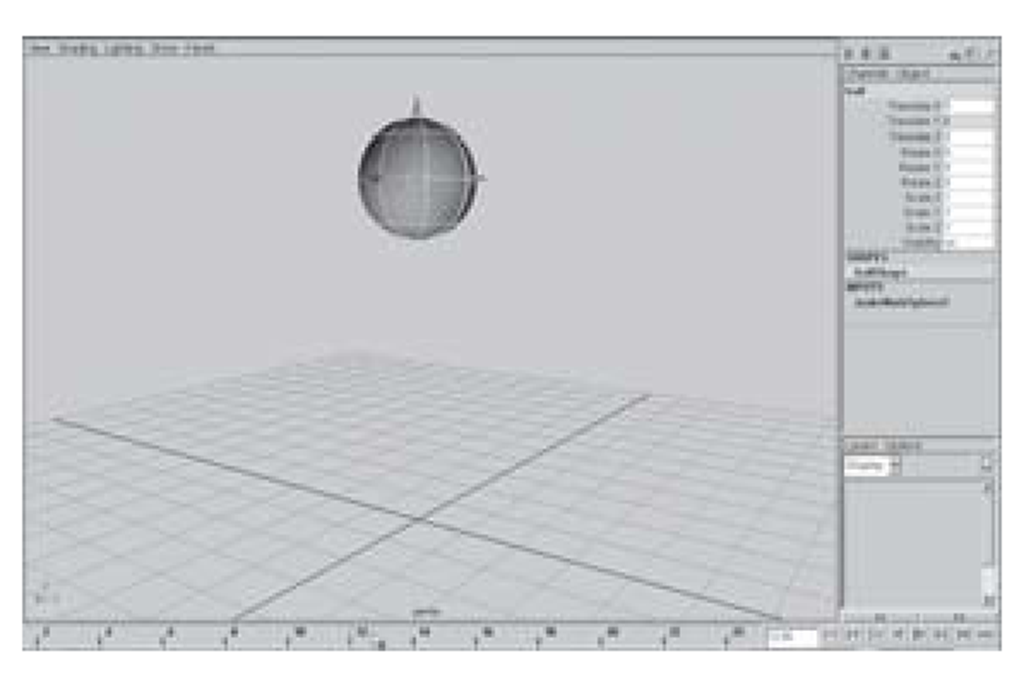
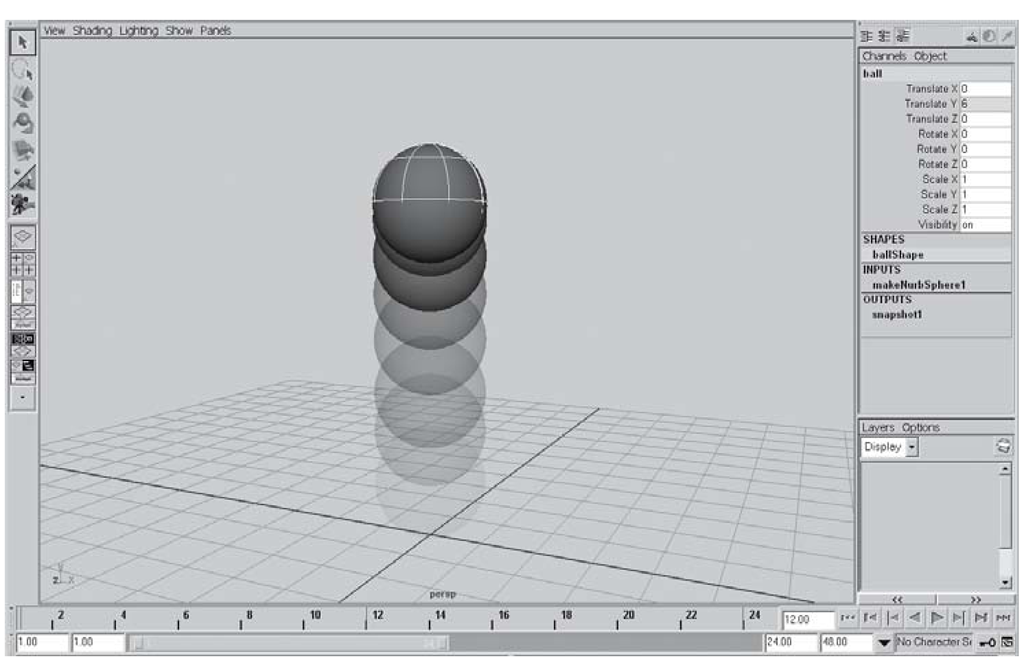
8. Value — the ball goes up. Use the Move Tool to lift the ball up to 6 on the Y-axis (see Figure 1.78).
9. Key — In the Channel Box, highlight the Translate Y channel name. RMB click-drag the channel and choose Key Selected from the dropdown menu.
Figure 1.77: Key the frame
10. You’ve just placed two keyframes, which is the minimum requirement for some sort of animation to take place. Click the Rewind button and then the Play button to see your animation (see Figures 1.79 and 1.80). Since the Range Slider is currently set to play frames one through 24 before looping back to the beginning, you will see the ball start on the ground, rise for 12 frames, and then hold for 12 frames. When done, press the Stop button.
11. Time to set one more keyframe, so: Time — drag the Time Slider to frame 24.
12. Value — Put the ball back on the ground with the Move Tool; Translate Y = 1.
Figure 1.78: Value = 6 on the Y-axis
Figure 1.79: The rewind button
Figure 1.80: The play button
13. Key — Highlight the Translate Y channel in the Channel Box, RMB-click, and choose Key Selected.
14. Press the Play button to see your animation. The ball now bounces up and down as the animation playback range loops.
Frame 1: Translate Y = 1.
Frame 12: Translate Y = 6.
Frame 24: Translate Y = 1.
In Figure 1.81 we see the final animation with some of the automatically in-betweened frames.
Figure 1.81: Finished animation time-lapse
