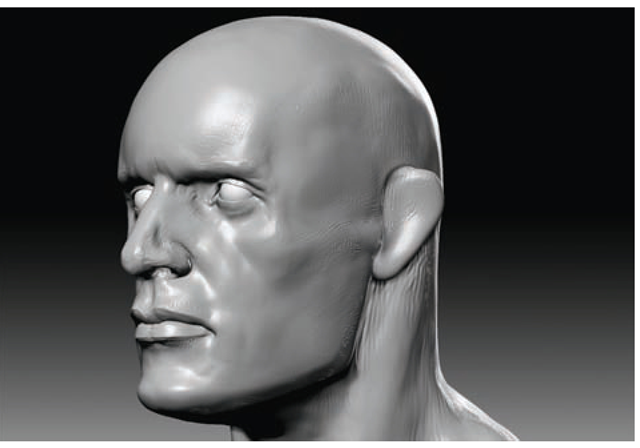
Sculpting Skin and Fat on the Face
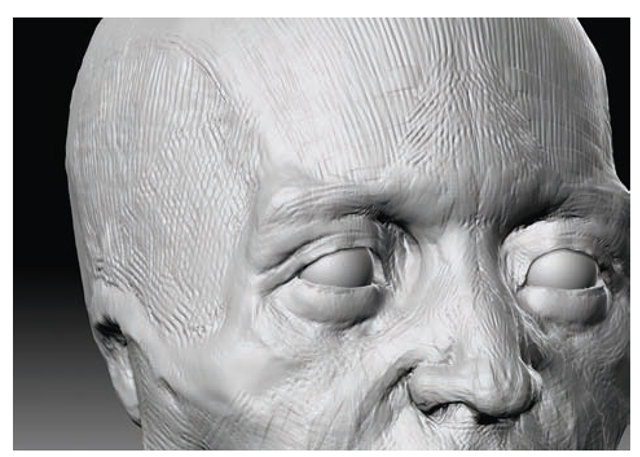
In this section we’ll finish sculpting the face by adding the skin and fatty tissue over the bone and muscle sculpted so far. Having the structural elements of the skull and muscles in place makes this is a much simpler process.
Begin by filling the head with the White Cavity material using Color + Fill Object while only M is active and the White Cavity material is selected. Then follow these steps:
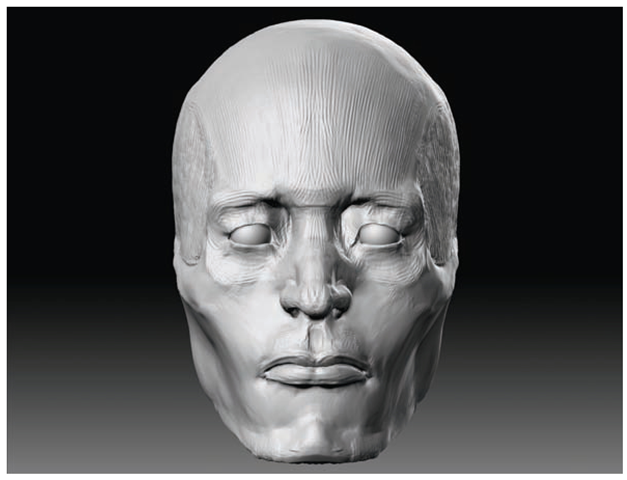
1. Using the Claytubes brush with a low ZIntensity setting, begin to refine between the rake marks of the cheeks. The Clay brushes have the nice effect of adding material to the low points first, making this an ideal way to fill out rake marks on a sculpt. You will need to adjust the Claytubes brush for an ideal effect. First turn off the brush Alpha. Then choose Brush + Depth and set the Imbed value to 0. This ensures that the brush will add to the lower levels first (Figure 2.68).
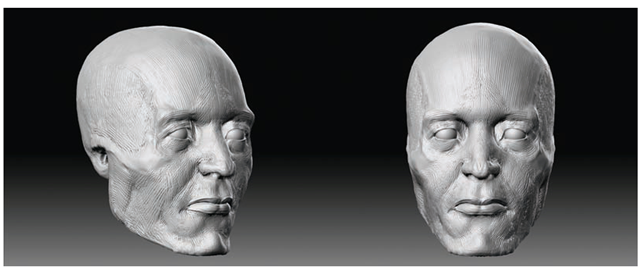
There are fat deposits at the cheeks; sometimes they can be thinner in well-built individuals, showing the line of the masseter muscle as a delineated plane change. Continue up the face, taking care not to disturb the form as much as fill out the recessed areas (Figure 2.69).
Figure 2.68 Depth masking settings adjusted for the Claytubes brush
Figure 2.69 Filling out skin with the Claytubes brush
2. Using a smaller rake size with ZAdd on, move across the transitions between forms, trying to tie them together. Take care to rake in the direction of the flow of the form (Figure 2.70).
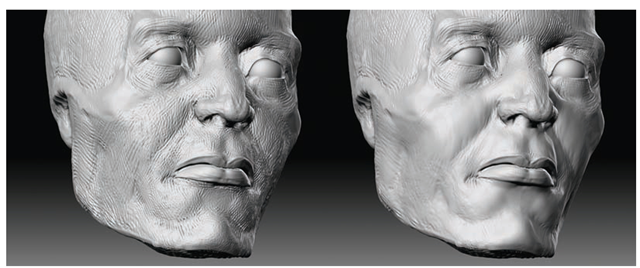
3. To reduce the roughness of the surface and take down the rake marks while maintaining the form you have created, select the Smooth brush and set the BrushMod slider to -100. Then lower your ZIntensity and smooth out the rakes (Figure 2.71).
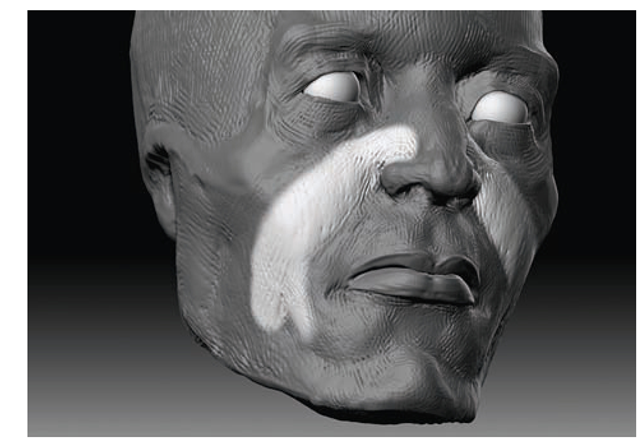
4. Mask out the area next to the nose (this is called the nasolabial fold). While most prominent in the old or obese, it is present in all faces and we want to accentuate the plane change here (Figure 2.72). Invert the mask; you can now build up the fold of skin while maintaining the areas around it. This method of sculpting against masks is a useful way to create folds and wrinkles.
5. Add the fold in the upper eyelid and the fatty tissue and skin between the outer edge of the eye socket and the eyeball. Mask out the line, and then invert (Figure 2.73).
Figure 2.70 Raking with the direction of the form
Figure 2.71 Smoothing out the rake marks
Figure 2.72 Masking out the nasolabial fold
Figure 2.73 Masking the eye wrinkle
6. Using the Standard brush with low Draw Size and Intensity settings, gently add the width of the lower lid.
7. Mask the upper lid and mass out the flesh that hangs between the brow and the sphere of the eye, giving it some sense of gravity by pulling on the skin and moving it slightly down at the corner.
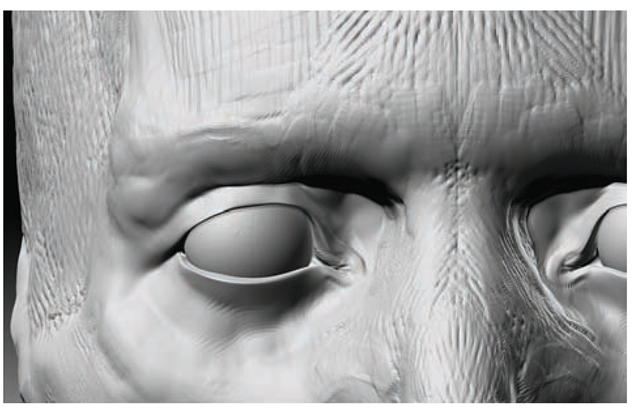
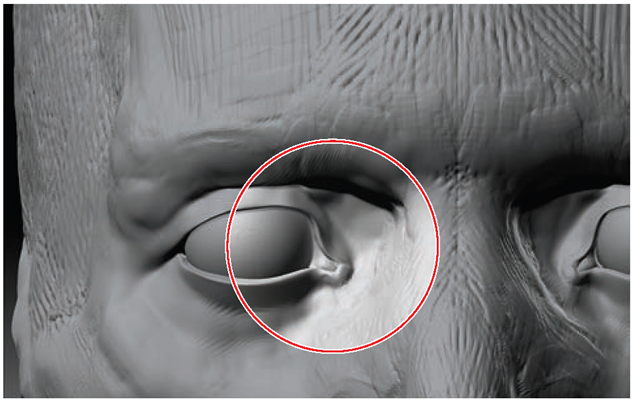
8. Add a recess at the lower lid where the sphere of the eyeball curves back into the socket (Figure 2.74). Hide the eyeballs and mask out the medial canthus (Figure 2.75). Using the Inflate brush, add the small pink tissue in the corner of the eye. It is important to include this node, called the lacrimal caruncle, when sculpting the eye. It will sit inside the medial canthus (Figure 2.75).
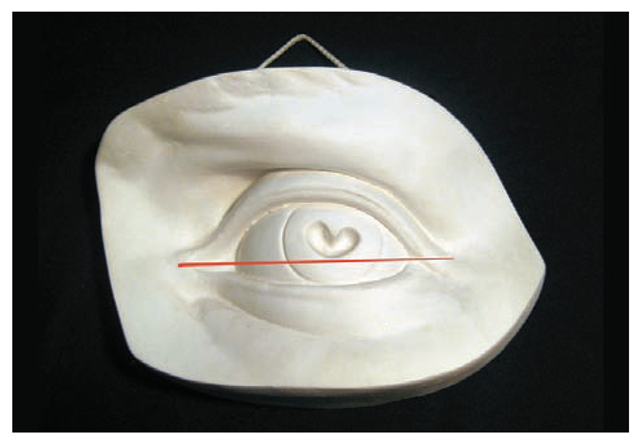
9. While sculpting the eyes, take care that the outside corner is slightly higher than the inside corner, or canthus of the eye. This is an important consideration when dealing with the eyes; placing both corners on the same level would create an unnatural look. See Figure 2.76 for an example of how to place the medial canthus.
10. Sometimes it is easier to judge the face when you have some ears in place. We will discuss the ears in detail later in this topic, but if you want to suggest the shape now it can help you see the face in a more natural light (Figure 2.77). Removing the ears will always make the sculpt look slightly uncanny!
Figure 2.74 The lower lid recess
Figure 2.75 The medial canthus
Figure 2.76 This casting from the David by Michelangelo shows how the medial canthus of the eye should be slightly lower than the lateral (outer) corner.
Figure 2.77 Adding a placeholder ear to help gauge the facial proportions

