Adding the Eyes
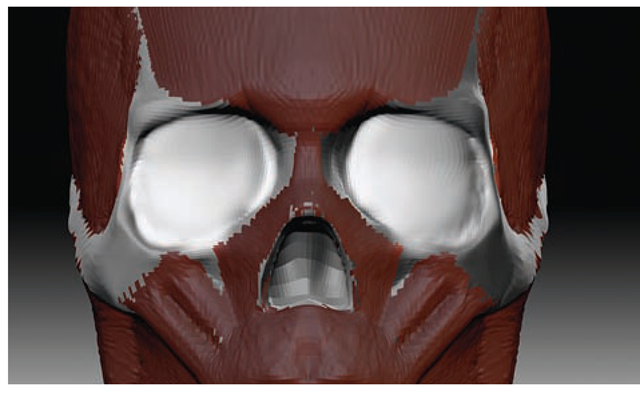
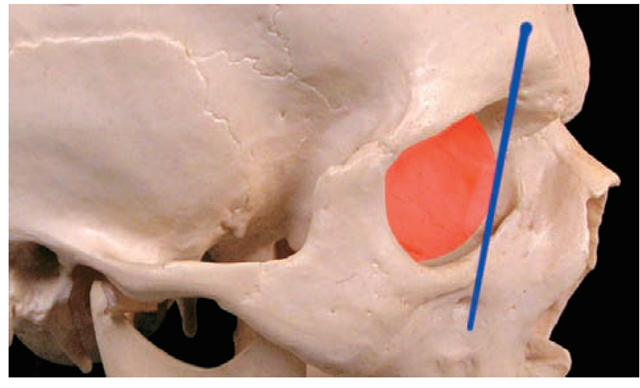
We’ll now create a sphere for the eyeball and add it as a subtool to the current model. The typical human eyeball is about 28 mm. It’s best to make sure the sphere fills out the socket with a slight give on each corner. The depth of the eye can be determined by the angle in Figure 2.57. A diagonal drawn between the brow bone and the cheekbone should just touch the corneal bulge of the eyeball. Remember that you can fill the eye subtool with a material so it will display the same value as the other tools.
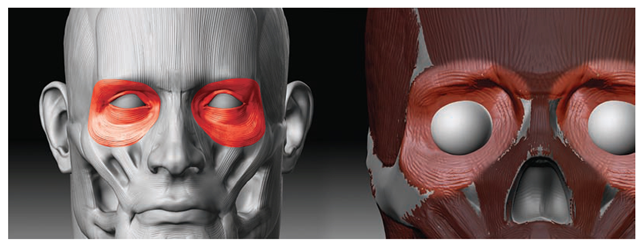
Figure 2.56 Masking the eyes
Figure 2.57 The eyes seen from the side
1. To create the eye, save your current ZTool. Drop it to the canvas by exiting Edit mode by pressing the T key. Press Ctrl+N to clear the canvas. Select the Sphere 3D tool and draw it on the canvas. Enter Edit mode and select Make Polymesh 3D from the Tool menu.
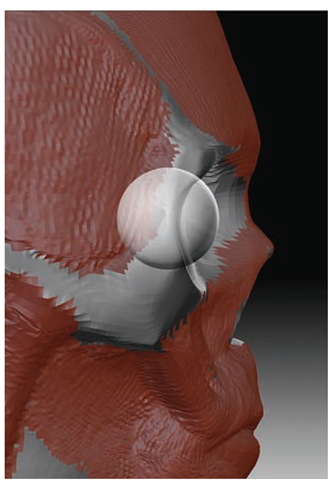
2. Now return to the head ZTool and choose Tool + Subtool + Append. From the Append menu, select the sphere to add it into the current tool. It is likely the sphere will be too large for an eye. Using the Transpose tools, scale it down and move it into place, as shown in Figure 2.58.
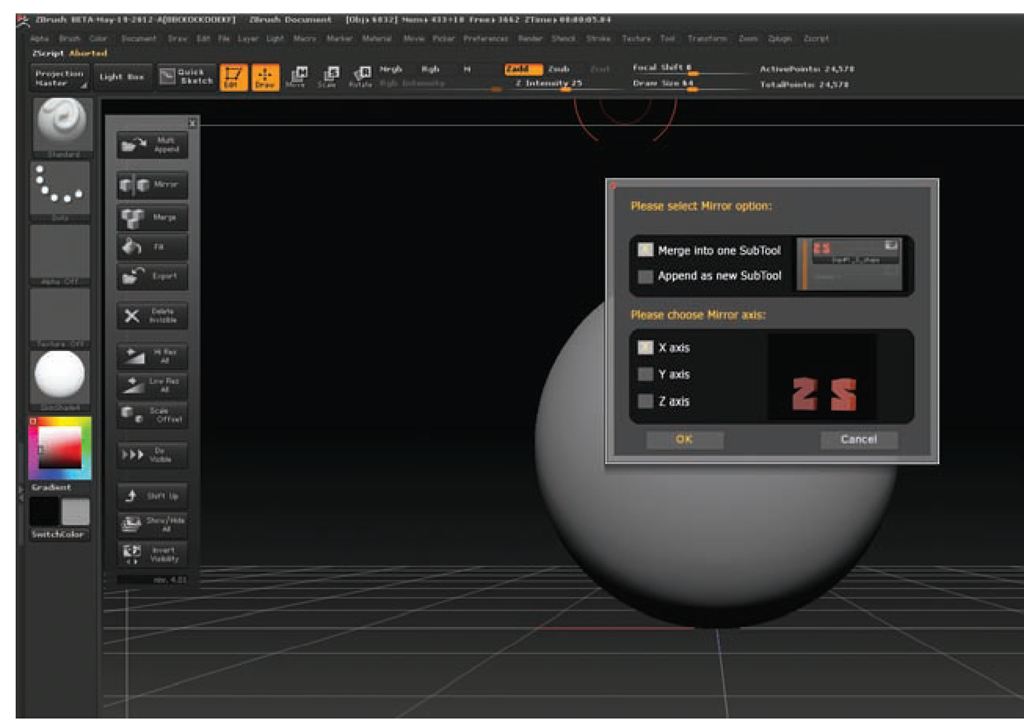
3. Once the eye is placed, you need to copy and mirror it. To do this, use the Subtool Master ZScript found under ZPlugin + Subtool Master. Press the main Subtool Master button; then from the interface box, select Mirror. Make sure you are set to copy across the x-axis and merge into a single subtool (Figure 2.59).
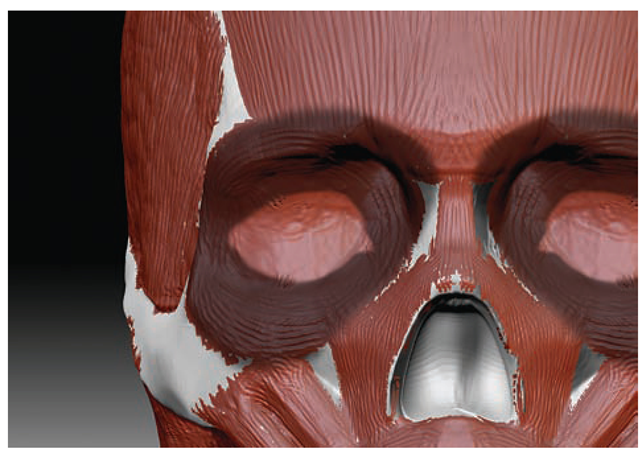
Using the Rake with ZAdd on, create the circular muscle of the orbicularis oculi. This wraps around the brow and ends on the cheekbone (Figure 2.60).
Figure 2.58 Placing the eyes
Figure 2.59 Mirror the eyes with Subtool Master.
Figure 2.60 The eye muscle orbicularis oculi
4. Mask out the shape of the eyelids. Be sure to keep the angle up to the outer edge (Figure 2.61).
5. Invert the mask and, using Claytubes with ZSub on, press the inner eyelid into the head. Invert the mask again and, using Move, tug at the edges. Be sure to work from multiple angles to turn the lids around the sphere of the eyeball (Figure 2.62).
6. To add the nose, mask the nasal cavity and invert the mask. Be sure to keep the nasal bone masked out since this is a bony landmark on the skinned face and we don’t want to alter its original shape too much from the skull (Figure 2.63).
7. Using Inflate and Claytubes, pull the profile of the nose out and mass out the nostrils (Figure 2.64).
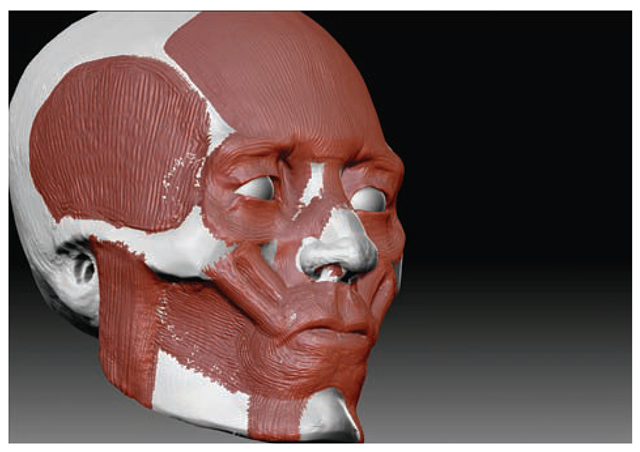
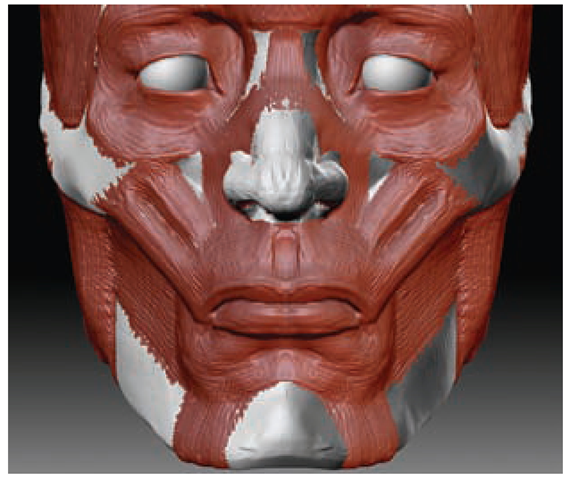
8. Using Rakes with ZAdd on, sketch out the shape of the lips. Be sensitive to the corners where the zygomatic muscles insert (Figure 2.65). Just strive for the gesture of the curves of the lips; you can be more specific later in the process.
9. Keep a gesture to the upper lip that looks somewhat like the letter M. Be sure the upper lip overlaps the lower.
Figure 2.61 Masking eyelids
Figure 2.62 With the Move brush, create the shape of the eyelids.
Figure 2.63 Adding the nose
Figure 2.64 Adding the nostrils
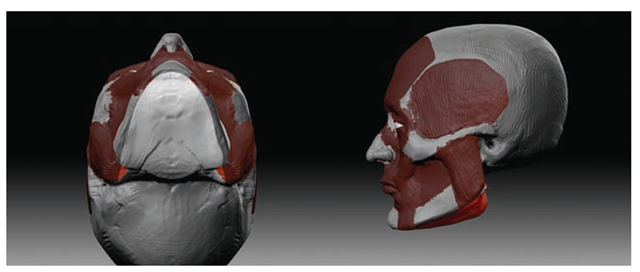
The underside of the chin is filled out with the digastric and mylohyoid muscles. Mask out the jawline and, using Rakes, create these muscles. They are thickest at the neck, tapering and becoming thinner toward the chin, thus creating an important aspect of the profile. These muscles connect to the Adam’s apple (Figure 2.66).
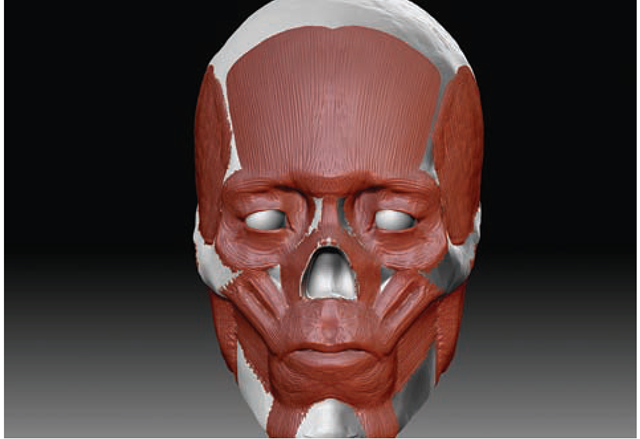
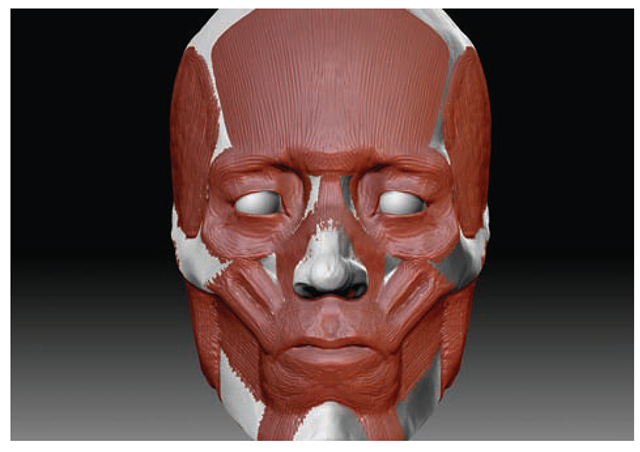
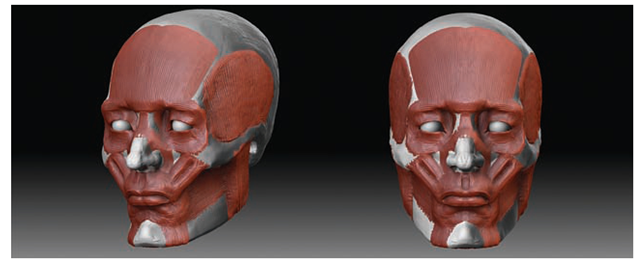
Congratulations! You have now added the major muscle forms to the face (Figure 2.67). This is an abbreviated list of facial muscles, but the major forms are there that influence surface details. Now let’s move on to transitions and skinning.
Figure 2.65 Adding the lips with a ZAdd Rake and Claytubes
Figure 2.66 Adding the digastric and mylohyoid muscles under the chin
Figure 2.67 Écorché shots
