This topic has been nothing but text so far.Words, words, and rambling—that just isn’t exciting. Let’s get something on the screen!
Update and Draw
The basic flow of your game is to initialize everything, and then call Update and Draw continually until you exit the game. This is what is called the game loop.To ensure you do realize it, let’s do a slightly more complex example.
First, you need to add the XnaLogo.png file to your content project from the accompanying CD. Because you are drawing this image much like before, you need to declare a texture variable to hold it. This time, though, also declare a position variable, as follows:
Texture2D texture; Vector2 position;
Of course, you need to load that texture, so in your LoadContent method add this line:
You should probably also initialize that position to something! Add the following to the Initialize method:
Finally, because you need to actually draw the image, replace your Draw method with the following:
Running the project now shows you (as you might have guessed) the image in the upper left corner of the window. Because of the position variable in the Draw call, you are set up to get that thing moving! Add the following to the Update method:
Running the project now has the image slowly moving down and to the right, and if you leave it running long enough, it eventually goes off screen! If you want the image to bounce around the screen, though, it would be complicated code. Do you add to the position or subtract? Instead, store your direction in a new variable:
Then, update the Initialize method to include:
Finally, change your update method to:
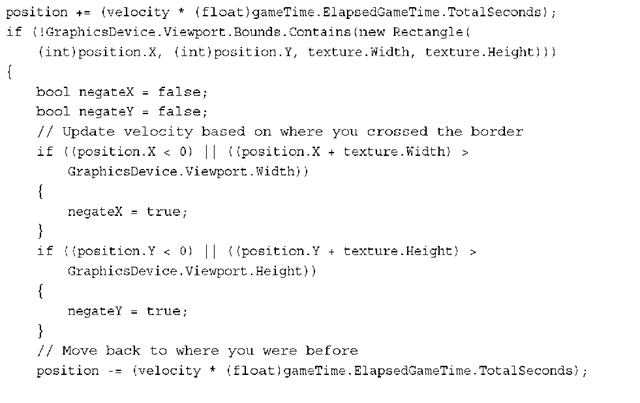
These updates provide faster movement and easier code, although the image still goes off screen if you let it.You need to detect if the image has gone off screen and make changes to ensure it "bounces" off the edges.This is the largest section of code you’ve seen so far, but it makes the image bounce around, so modify your Update call to this:
Run the project now and you can see the image bounce around the screen! You simply check to see if the image is currently in the bounds of the viewport, and if it is not, check to see which edge it is currently over. Then, move it back to where it was before the update, swap the velocity axis of the sides you’ve crossed, and update the position again.


