Auto levels
Within every image is a range of tones that usually goes from light to dark. The Auto Levels adjustment will try to equalize the tones in your picture so that you have a better range of tones. This means the blacks won’t be so dark and the whites won’t be so light. I find that I usually have more success by using the Auto Contrast tool.
Auto contrast
Sometimes when you make contrast adjustments, the colors can be influenced in a bad way. Increasing the contrast will result in higher color saturations. Decreasing the contrast in an image can have the opposite effect, where colors might look less vibrant. The Auto Contrast tool tries to improve the overall contrast in the image without affecting the colors.
Whether you use the Auto Levels or Auto Contrast option is up to you, but Auto Contrast would be my choice for an image that is flat or lacking good contrast (Figure 3.6). Both options will render a similar result, so the best thing to do is to try each one and then delete the one with the less desirable result (Figure 3.7).
FIGURE 3.6
The original image is flat and lacking in contrast.
FIGURE 3.7
The photo on the left had an Auto Levels adjustment applied; the photo on the right received the Auto Contrast adjustment.
Auto sharpen
Most images need a little sharpening. If you are shooting in the standard JPEG format, a little bit of sharpness will be added to your image as it is being saved, but it may not be adequate for your subject. It’s not possible to know just how much sharpening will be added during the Auto Sharpen operation, so you will just need to give it a click and see if it meets your needs.
The best way to see the results of Auto Sharpen is to view your image at 100%.
After applying Auto Sharpen, click the Full Screen icon or press the F11 key to go to Full Screen view, and then click the image once to zoom to 100%.
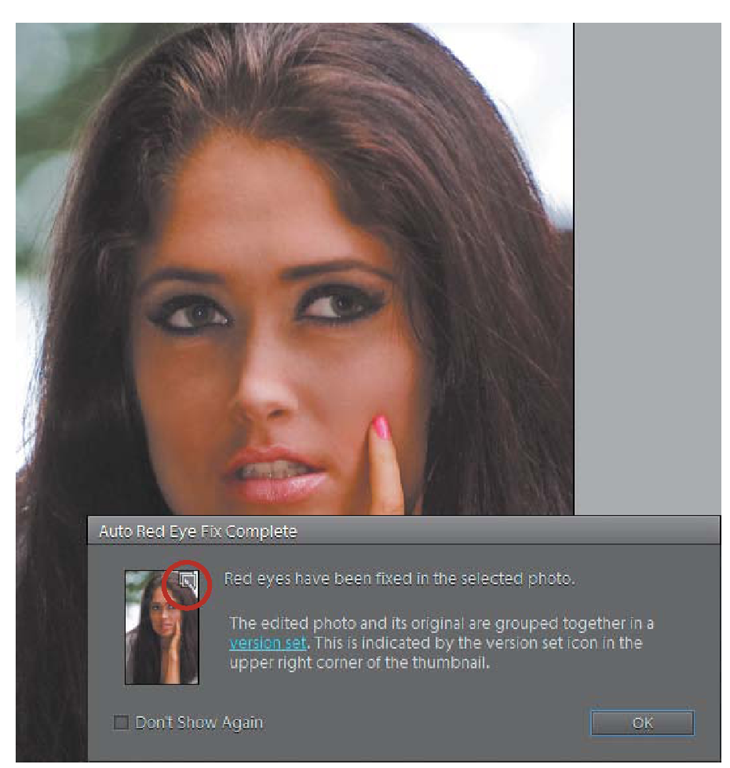
FIGURE 3.8
After you apply Auto Red Eye Fix, a dialog will pop up to alert you that the image is being stacked. Select the check box if you don’t want to see this dialog again.
Auto red eye fix
Most cameras today do a fantastic job of eliminating red eye in your subjects. With the use of pre-flashes or red-eye reduction lamps, it is rare that any of those demon-eyed subjects ever show their faces in the Organizer. Every now and then, though, the circumstances are just right (or wrong) for a little red eye, and then you get the chance to try out the Auto Red Eye Fix tool.
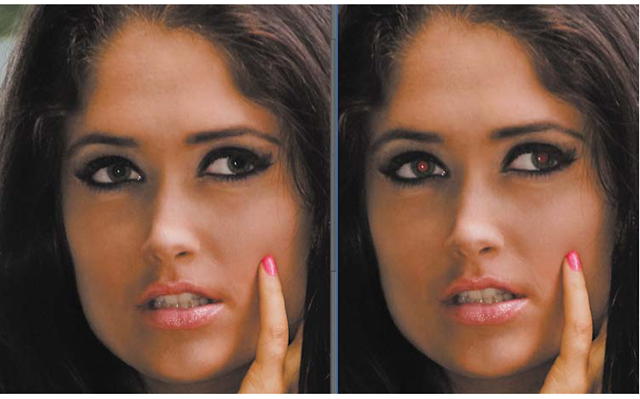
Just as with the other Auto fixes, all you need to do is select the image in the Organizer and then click the Auto Red Eye Fix option. Everything from that point is taken care of for you. If the tool locates red eyes in the image, an info window will pop up telling you that the operation was performed successfully and that the image is now stacked with the original (Figure 3.8). The resulting image is usually pretty amazing, but keep in mind that your results will vary depending on the severity of the red eye in the image (Figure 3.9).
FIGURE 3.9
The Auto Red Eye Fix tool does an amazing job, as you can see from these images.
CROP
All of the fixes we have looked at so far have been automatic, requiring nothing more than the click of a button. The Crop tool in the Fix panel is not really an automatic tool, but this version is a little limited in functionality and does not require using the Elements Editor, so I thought it might fit into this section.
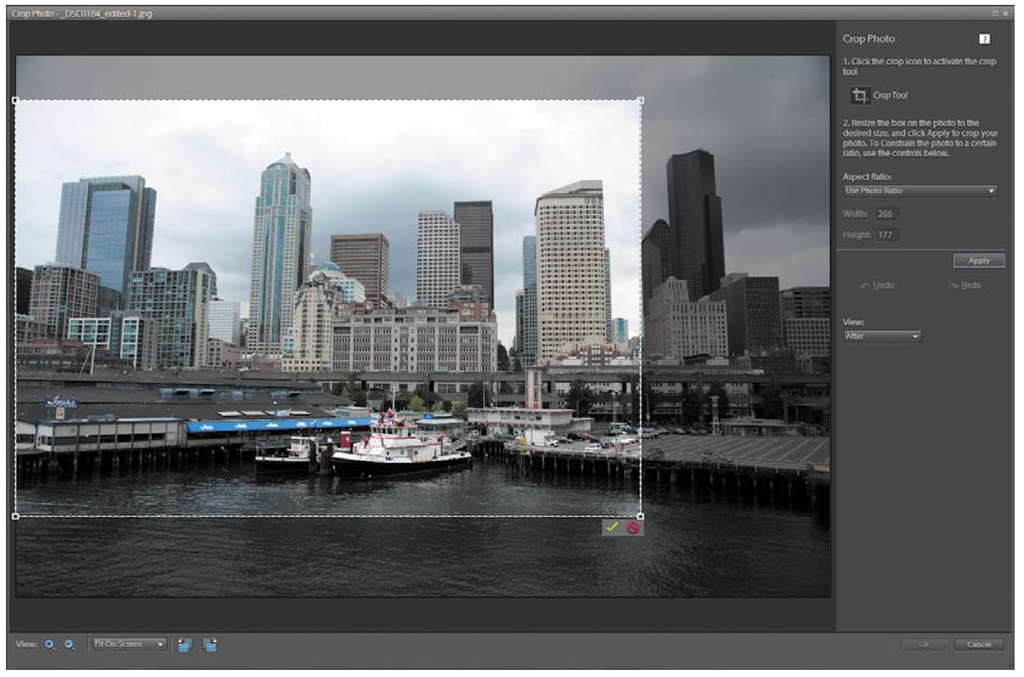
With an image selected, click the Crop tool in the Fix panel. The image will open in a new dialog window (Figure 3.10). Click the Crop tool and then drag your cursor across the image. A crop window will appear and let you determine what to leave in and what to get rid of in your picture. You can use the original image size ratio, create a custom size, or select one of the pre-sized ratios (square, 4×6, 3×4, 5×7, and 8×10) from the Aspect Ratio drop-down menu. Resize by clicking one of the corners of the crop guide and dragging it. If you place the mouse cursor in the middle of the crop guide, you can then drag the crop selection all around the image. Click the OK button to complete the crop.
FIGURE 3.10
The Crop Photo dialog.
The one thing I don’t like about this Crop tool is that there is no way to rotate the crop guide. This is very important for images that are a little cockeyed and need straightening. If, however, your image is straight and just needs some quick cropping, then this is the tool for you.
ADDING CONTROL WITH QUICK EDITS IN The EDITOR
There’s only so much that can be done in the Organizer, so if you want more control and more options you will need to move into the Elements Editor. Launch the Editor by clicking the Fix tab in the Organizer and then clicking the Edit Photos option.
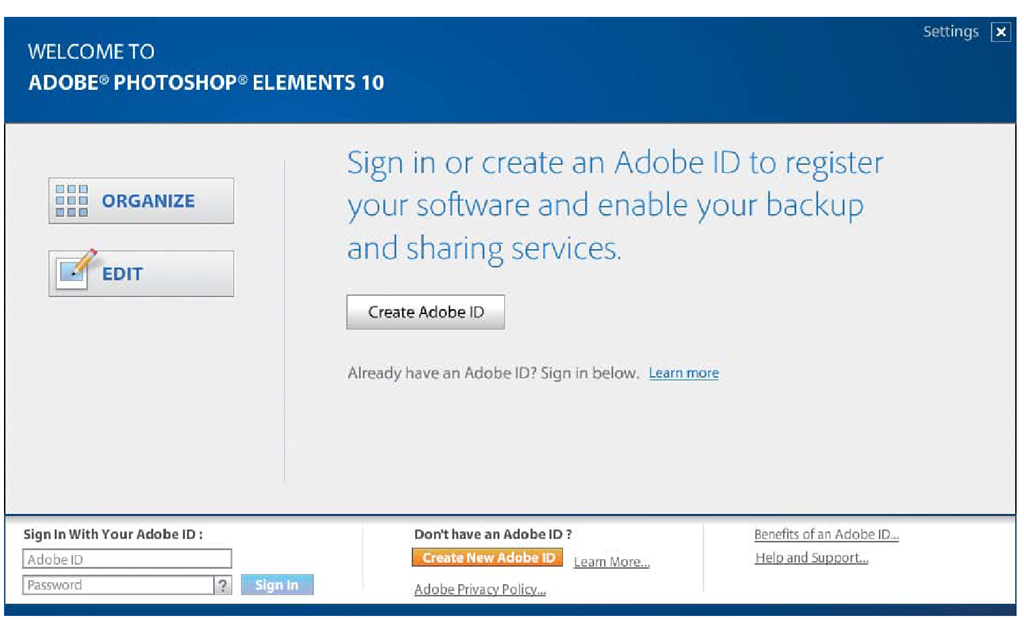
You can also use the keyboard shortcut Control-I for Windows or Command-I on a Mac. It will help if you have an image selected before moving into the Editor. To start without going to the Organizer, click the Start button in Windows and select Adobe Photoshop Elements from the Programs area (for Mac users, look for Adobe Photoshop Elements in your Applications folder). A splash screen will open, allowing you to select either the Organizer or the Editor (Figure 3.11).
My advice is that you work from the Organizer and then go to the Editor as needed. The two programs were made to work hand in hand, and it will be easier for you to go back and find new images to work with if you already have the Organizer open.
FIGURE 3.11
You can jump right into the Editor from the splash screen when you start Elements.


