USING THE AUTOMATED TOOLS
Now that your images are imported and sorted, it’s time to go over some ways to make them look better. As we move further into the topic, we will cover advanced image editing, where your control over the process I and results is the ultimate goal. But there will be times when you just s want a quick fix. Maybe the image looks pretty darn good right out of I the camera and just needs a little tweak. Well, there are some tools that ^ you can access right from the Organizer to fix common problems and let I you quickly get on to fun stuff like emailing or sharing your images. Just H remember that Auto usually means you don’t have much control, so you 9 basically take what you get.
If you are looking for more control and maybe a little help along the way, you can turn to the Quick or Guided edits. These procedures will let you select more options and make some decisions. They are built with limited control, but they will allow you more flexibility in your edits. Whether you want the software to fix it or you’d like a little more control, there is a place for Auto, Quick, and Guided edits in your workflow.
PORING OVER THE PICTURE
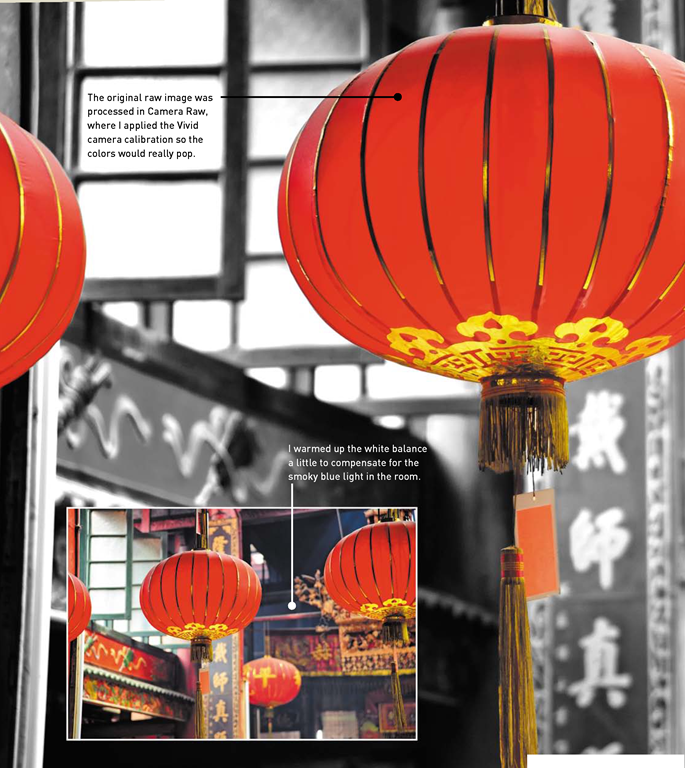
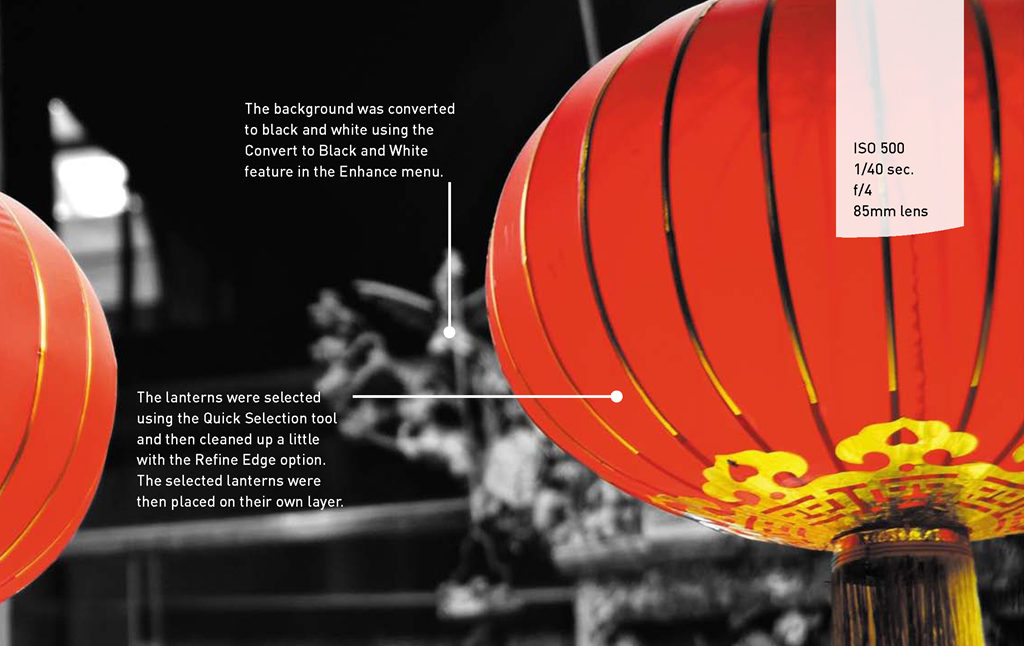
There is something magical about Chinese paper lanterns. I’m not sure what it is that makes them so appealing. Perhaps it’s the bright colors and golden tassels. Maybe it’s because you never see just one and there are many compositional possibilities. I know that it’s hard for me to pass them by without taking at least a few photos. This shot was taken in a temple in Malaysia. You can see from the original inset image that the background was light and smoky because of the incense burning all around. Instead of trying to improve the background, I decided to make it black and white and let the lanterns take center stage.
Auto edits
First, let me say that I am not necessarily an advocate for automatic image processing. Much as with the Auto modes on a camera, you have to give up control and decisionmaking to a computer program that uses algorithms to determine what is best for your photograph. Sometimes it gets it right, and sometimes not so much.
The point here is that there are times when you just want something quick and easy to correct a small problem and don’t want to labor with the full Editor, especially for something like a quick contrast or color adjustment. In those instances, a quick Auto fix might just be what you need.
Auto smart fix
The automatic options can be found right within the Organizer. Click the Fix tab and you will find a list of quick adjustment tools at your disposal. At the top of the list is the Auto Smart Fix tool. It’s kind of like the jack-of-all-trades in that it doesn’t just adjust one issue within your image. Instead, it looks at the entire photo and makes corrections to color, sharpness, brightness, contrast, the works. It is the autopilot of image correction, and about the only thing it won’t do for you is cropping.
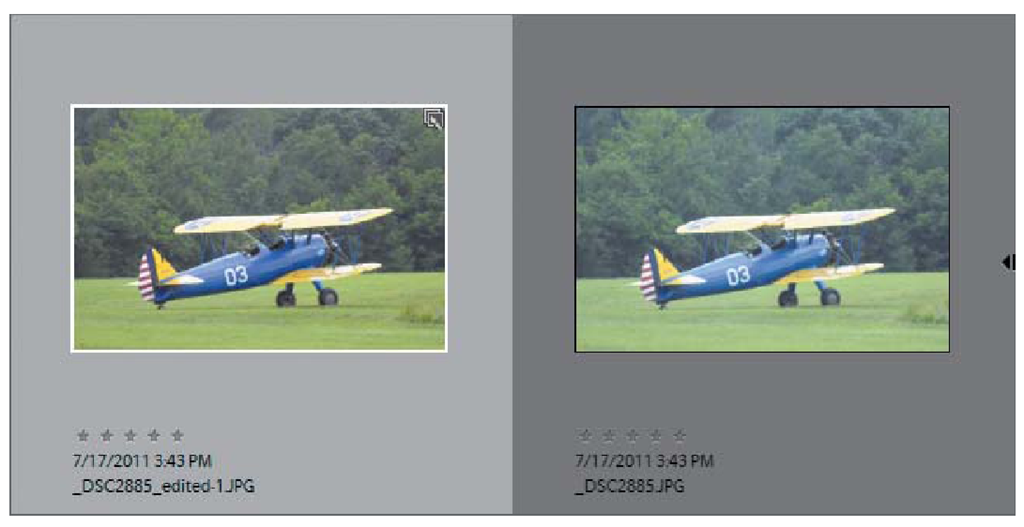
When you click the Auto Smart Fix tool, Elements creates a new duplicate image to edit so that it doesn’t damage your original. Typically, it creates the same type of image, so if you are editing a JPEG, it will create a duplicate JPEG with the word edited appended to the file name so you know which is which (Figure 3.1). It automatically stacks this new, edited version with the original. The edited version will be the visible image on top of the stack.
FIGURE 3.1
Edited images will be stacked with the originals.
If you use any of the Auto fixes on a raw image file, you will be presented with a dialog informing you that Elements cannot write to a raw file. It will ask you to select a new file type, such as JPEG or TIFF, for the edited version of your file (Figure 3.2).
FIGURE 3.2
Raw file types require you to select a new file format for your edited versions.
FIGURE 3.3
The Auto Smart Fix button is in the Fix panel of the Organizer.
Another hint that you have edited your image will be the small paintbrush icon that appears in the upper-right portion of the image thumbnail. It does not indicate the type of edit performed, just that it has been processed and saved.
To apply the Auto Smart Fix tool to your image, select the image that you wish to apply it to in the Organizer, click the Fix tab, and then click the Auto Smart Fix option (Figure 3.3). It’s automated from there, and you will soon see a new and hopefully improved version of your image show up in the Organizer.
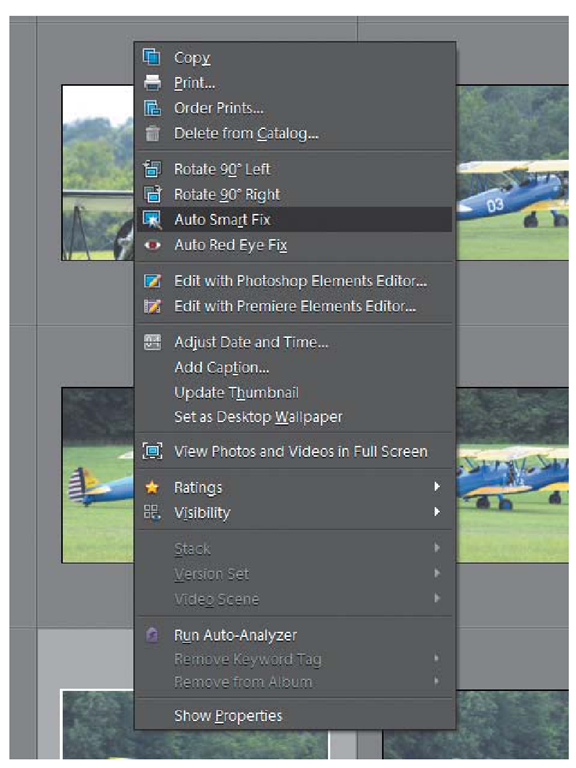
You can also access the Auto Smart Fix option by right-clicking any image in the Organizer and then selecting Auto Smart Fix from the pop-up menu (Figure 3.4).
If Auto Smart Fix is the jack-of-all-trades, then the rest of the Auto edits are the specialists. Each one addresses a specific area of processing. They can also be used in combination with the other Auto edits, including Auto Smart Fix.
FIGURE 3.4
You can quickly access the Auto Smart Fix option by right-clicking a thumbnail.
Auto color
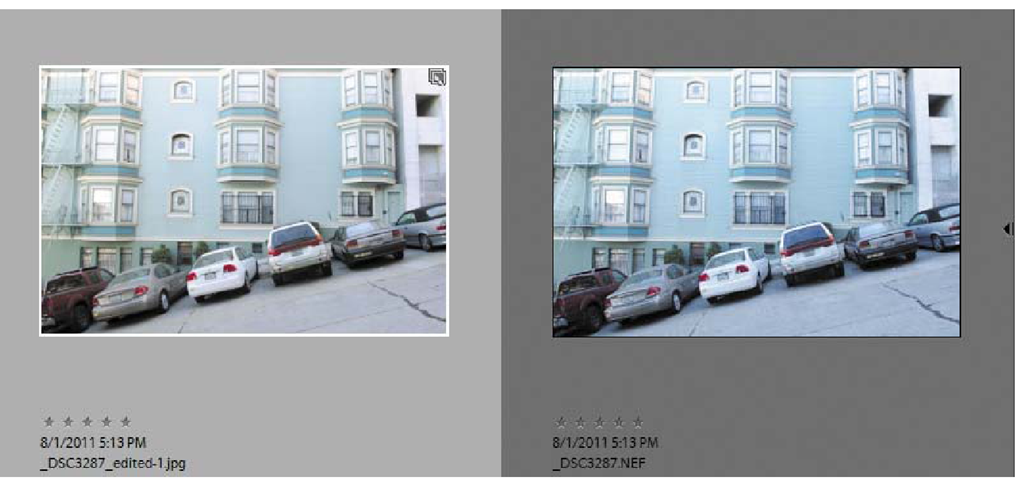
Depending on how your picture was taken, the colors you see in the photograph may be pretty accurate, but they could also be suffering from a little bit of a color cast. You can often find an example of a color cast in a photograph that was taken in the shade. Even when it is sunny outside, blue skies can give everything a slightly blue look, and this is especially true when photographing a subject in the shade. The Auto Color option will attempt to adjust for the color cast and improve the contrast. It is usually a subtle fix that may not be very visible in your image (Figure 3.5).
FIGURE 3.5
The Auto Color option (left) fixed the blue color cast seen in the original (right).
