Creating simple chat using SoSend
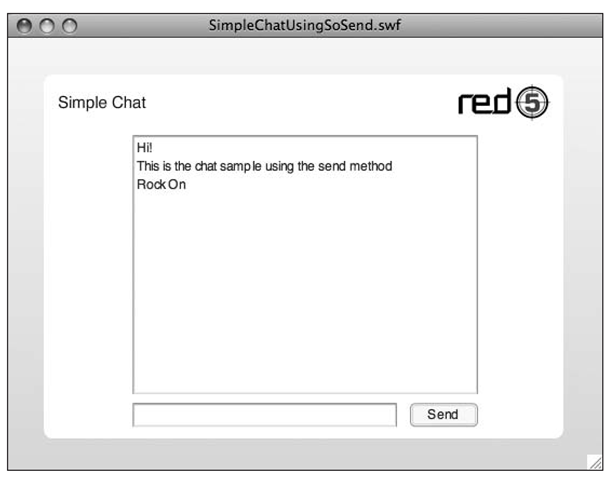
In SoSend, So means SharedObject, and Send refers to the method in which you’ll send and receive messages from the Red5 server. This is different from the simple chat client that uses SharedObjects and simply changes a property on the SharedObject to push a new message to the clients (see the earlier SimpleBall sample). This demo sends and receives messages from Red5 and other users by calling a method on the server side via SharedObject.
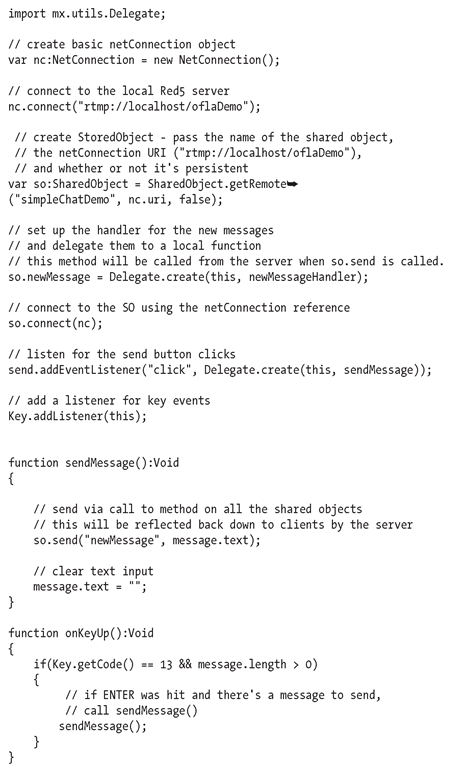
Confused? Let’s take a look at the code; it’s really pretty straightforward:
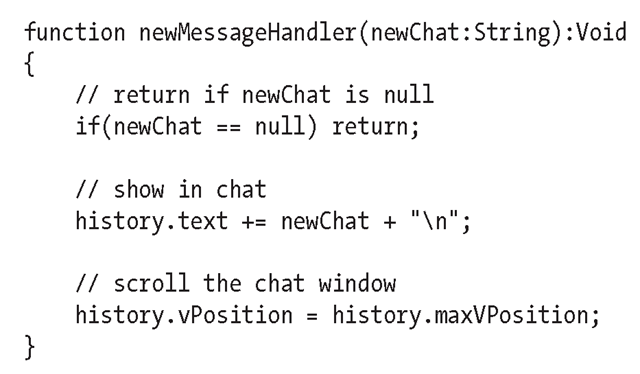
Two methods make this application work: sendMessage() and newMessageHandler(). To send a new chat message, all you have to do is call so.send(nameOfServerMethod:String, newMessage:String), and the message will be pushed out to all clients connected to this application. In this sample, that equates to so.send("newMessage", message.text). At this point, you might be wondering where this newMessage method is defined—is it on the server side or client side? It’s actually defined on the client side. When you set this on the client side, it tells Red5 to create it on the server. You can see that I’ve defined the newMessage method on the SharedObject and created a handler for it in this one line:
Now, any client that connects to this SharedObject using this code will have created a handler for this method and will receive the new message from any of the clients that call it. On the receiving client’s side, newMessageHandler is called with a new chat message (String value) and—bingo!—you’re up and running.
This technique is nice in that you don’t have to listen for sync events on the SharedObject; you just define a method and a method handler, and it works like all the other methods in your class.
Exploring SimpleStreamPlayer
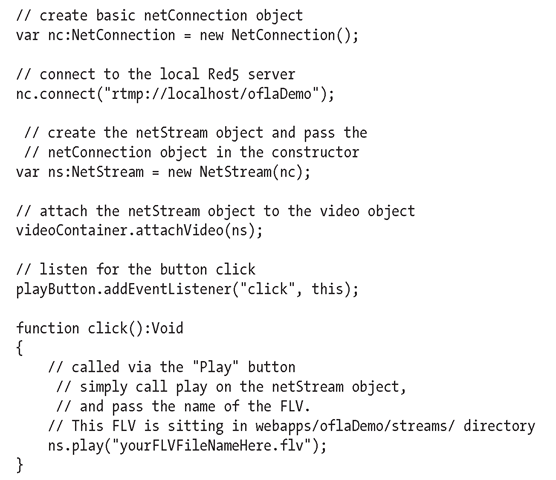
Through all of these demos you can see a common thread: the NetStream object. The SimpleStream-Player demo looks just like all of the other samples using video and the NetStream object. The only thing you have to do is pick out some killer FLV videos and put them into the streams folder of any web application of Red5. So if you look in the oflaDemo application in webapps that ships with Red5, you’ll see a streams folder. You’re in business!
If the code gets any easier, I’ll be out of a job:
NetStream.play() requires you to send the name of the FLV you want to play back. This is the same as when you played back a live stream or set the name of a stream you wanted to record. When playing back an existing FLV, the .flv extension is optional and not necessary.
Well, that’s a good overview of the code included in the simple samples in the Red5 installation package. We’ve covered the following:
■ Using remote shared objects
■ Using methods on shared objects
■ Broadcasting live video
■ Subscribing to a live broadcast
■ Recording a broadcast
■ Playing streams
■ Working with Camera and Microphone objects
■ Working with NetConnection and NetStream objects
At this point, you should be armed with enough information to get you on your way to creating rich applications using Red5 as your server choice. You’ve seen with the simple samples how easy it is to get up and running using the Flash IDE, and in the next section, you’ll learn how to use Flex Builder with ActionScript 3 and Red5.
Being a guitar hero
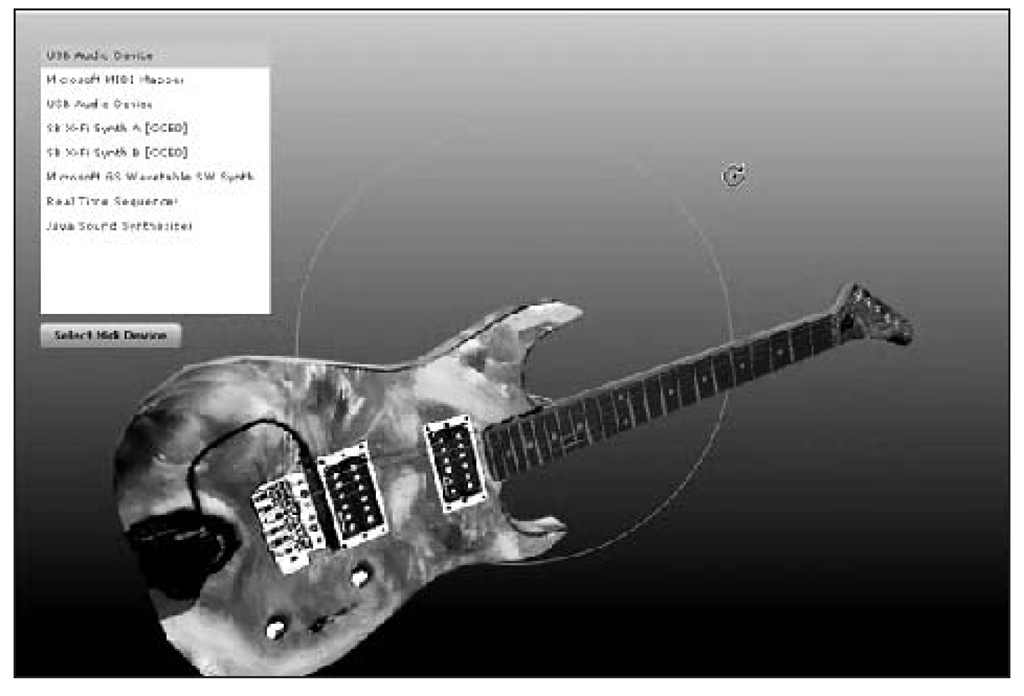
For this next sample, I’ll cover the basics of receiving MIDI data using Red5 as the conduit, if you will, for Flash. I’ve created an application called GuitarPlayerPro, which is an AIR/Flex 3 application using Papervision3D, Flex 3, AIR, and Red5 to create a unique guitar-teaching tool. Here’s what it looks like in action:
The trick, obviously, is receiving MIDI data. Flash Player does not have a way to receive MIDI information, but Red5 does, and you can use Red5 to listen and talk to any MIDI device connected to your computer. So, how does the MIDI information get to and from Flash? Let’s take a look.
Since you have a NetConnection object that allows you to use RTMP to send data, why not make that data MIDI data, right? That’s exactly what I did. Red5 comes with the same MIDI application I’ve been using for the GuitarPlayerPro application and allows you to receive a list of all MIDI in/out devices as well as receive and send MIDI information. In GuitarPlayerPro, I used that MIDI information to light up the neck of a 3D guitar (which happens to be a 3D model of my actual guitar) to show players how to play the guitar from whatever point of view works best for them—either from above the guitar in the way they look at their own guitar or from a traditional view as if they were sitting in a room with a teacher looking at their guitar.
I’ll cover how to get the two MIDI device lists from Red5 so that you can choose which in and out devices you want to listen to, and then I’ll cover the MIDI packet that comes through and what information you can use from it.
Getting a list of MIDI devices
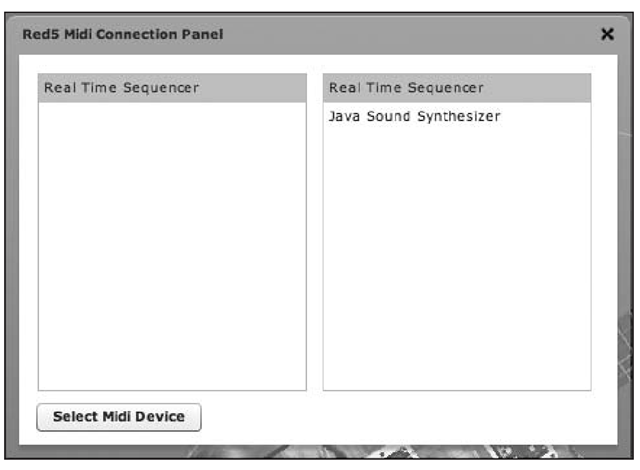
The following is a screenshot of the Red5 Midi Connection Panel window I’ve created for show and to allow me to select in and out MIDI devices. All you have to do is select one device from both lists and then click the Select Midi Device button. This will pass the two selections to Red5, and at that point, if they are valid device names, Red5 will set itself up to deal with these two selections.
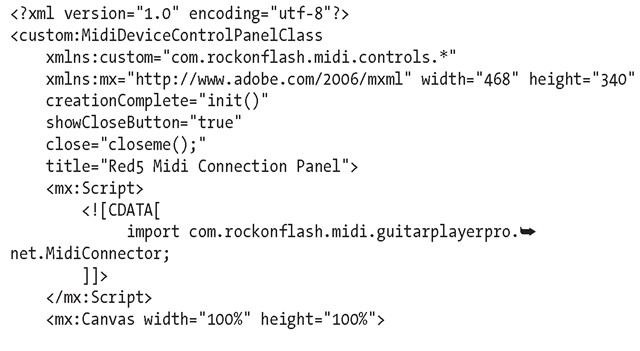
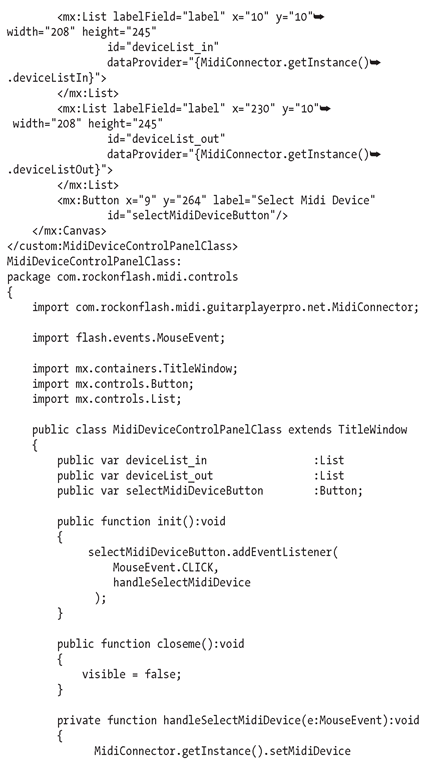
The MXML for this custom component is very basic, as you can see next, and I’ve done the typical code-behind with a base class called MidiDeviceControlPanelClass. You’ll notice that there are two List controls in the form that are bound to two public properties in a singleton class called MidiConnector:
As you can guess, when these two properties are then initialized with data, the List components are automatically updated. All you have to do is make those two properties public and bindable, and you’re in business!
Now let’s check out the code for the singleton. This isn’t going to be an exhaustive exercise in singletons or code practices, but I will mention that a singleton is a single instance of an object. It’s ideal for classes that deal with managing data, but you don’t necessarily want to create a static class. For this application, it made perfect sense to use a singleton because it deals with managing MIDI data as well as being the conduit for MIDI interaction with Red5. That’s why I called it MidiConnector.
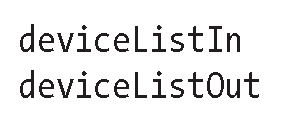
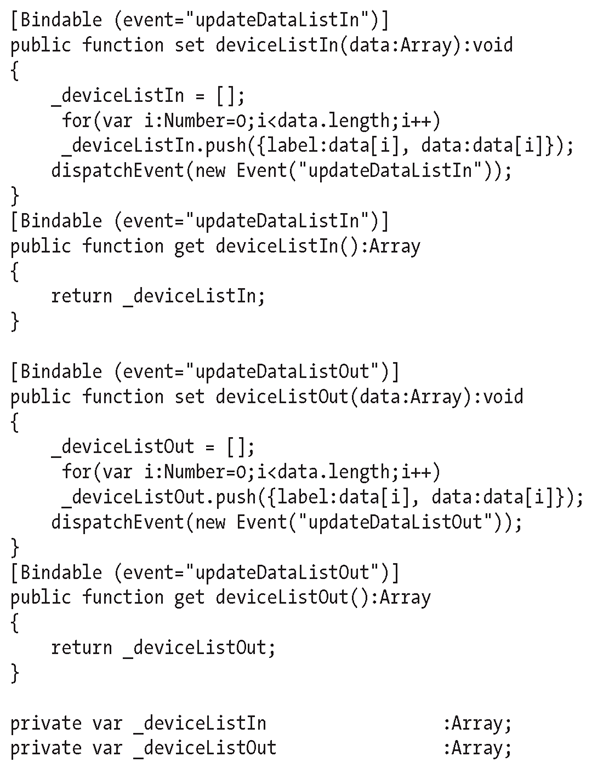
The first thing to notice is that deviceListIn and deviceListOut are setters. You do this so that you can take the raw array of names returned and push them into an array filled with objects that have two properties: label and data. This is because List components can accept arrays whose members are objects with these two properties. Without any additional code, you’ll see the list of devices populate the List controls in the control panel.
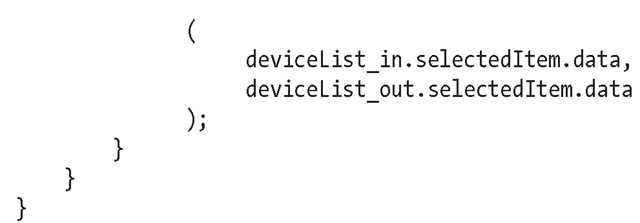
So, now you have two List components filled with MIDI in and out devices. What happens next? You need to let Red5 know which two devices you want to use. To do that, you call the setMidiDevice() method and pass in two arguments. The first argument is the MIDI in device, and the second is the MIDI out (both are String value types):
If you have Red5 running on OS X or Windows in a command prompt, you’ll see something like the following in the output, which doesn’t look very professional but is a simple message that lets you know “it worked!”
Duuude, you’re about to rock! Right now, you’re ready to receive and send MIDI signals via RTMP! It’s fast, it’s easy, and, hey, it’s fun!
Receiving MIDI messages
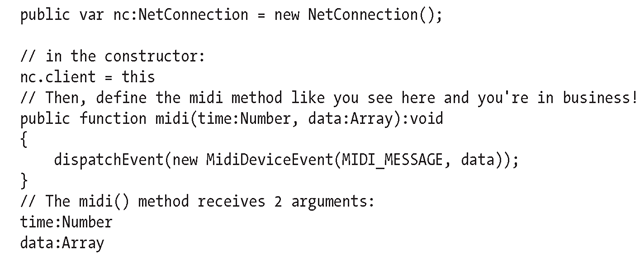
In this section, you’ll learn how to receive MIDI messages. When Red5 receives a MIDI message, it passes it on by calling a midi method on the client. The client has to create a method called midi() within the scope set by the client property of the NetConnection object. This means that when you create the NetConnection object, you set its client property to the class you’re currently in:
The time property is when the note was received at Red5’s end essentially. This might be useful in some other application, but for the GuitarPlayerPro application, it really wasn’t necessary. The data array is where the magic happens as you can imagine. There are three indexes to the array, and here’s how they break down:
■ octave/string hit [Number]: On a guitar doing MIDI, this means “which string was hit.” Its value is a Number type and ranges from 107-112 (a low E string would be 107, while a high E would be 112).
■ note value [Number]: The actual note played.
■ velocity value [Number]: How hard the player hit the note.
On an application that’s not using a musical instrument, Velocity as well as Octave might be pointless, but Note is usually what you’re after in nearly all situations. And at this point, you’re receiving messages from whatever device is generating the MIDI data!
The next step is simple, but to be complete, let’s take a look at sending MIDI messages rather than just receiving them!
