Stepping into the screen
Using the approach described in this topic, you’ll be well-equipped to produce a media experience that will get you the results you want anytime you give a presentation. Focusing and distilling your ideas using a story template and clarifying them using a storyboard blends your message with your media and significantly expands your ability to enhance your presentation with sophisticated media tools and techniques.
Now the large screen directly behind you, as shown in Figure 3-20, completely integrates your voice and body into a media experience greater than the sum of its parts. This approach brings together a range of media techniques—including those from stage, screen, theater, and television—and blends them together with your body and your clear message into a seamless presentation experience.
FIGURE 3-20 BBP immerses the audience in the experience and ensures that the attention of the audience is not split between screen and speaker.
When you project your slides on a large screen, they work as visual triggers that increase your confidence as a speaker. You’re no longer tied to the uncomfortable task of reading text off the screen and unintentionally ignoring your audience. Instead, the clear headline and graphic quickly prompt you to use your natural voice and authority as you explain them.
Presenting in Multiple Views
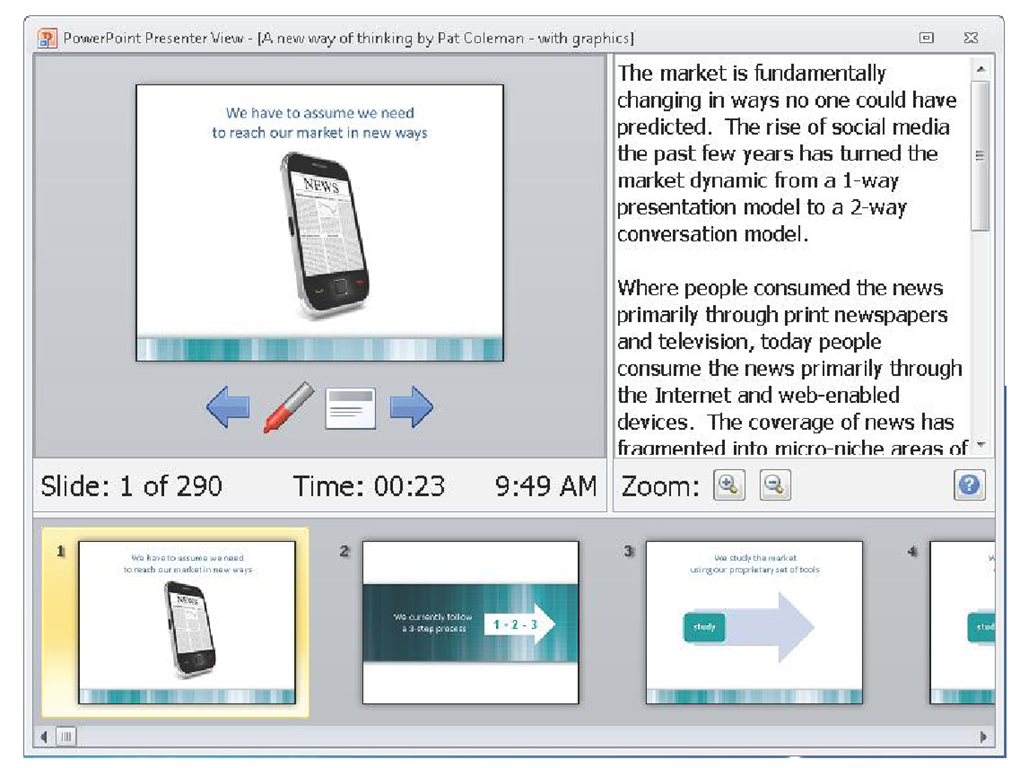
Making use of Notes Page view to write out your narration in advance increases your ability to present confidently during a live PowerPoint presentation. While your audience sees the simple slide on the screen shown on the upper left in Figure 3-21, your Presenter view in PowerPoint on your own computer displays a speaker notes pane on the right that shows what you wrote in the off-screen text box in Notes Page view. Zoom in on the notes to enlarge the size of the font so that the text is easy to see.
FIGURE 3-21 Presenter view allows you to see the clear and focused on-screen slide that the audience sees, alongside the text you wrote in the off-screen notes area in Notes Page view.
Presenting with a Tablet PC
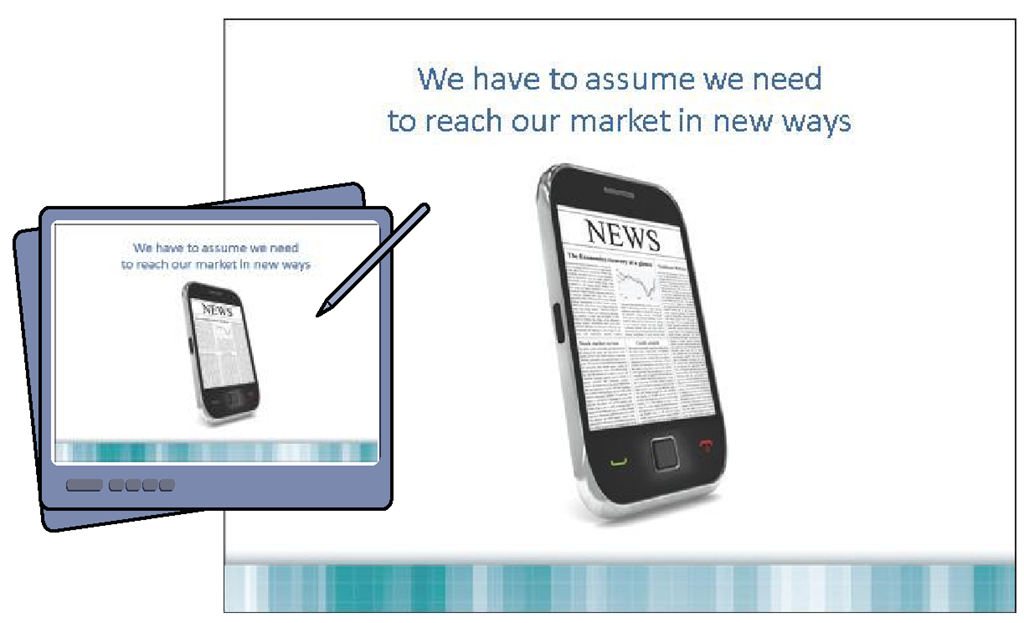
With BBP, you make maximum use of a Tablet PC by writing directly on the screen to increase engagement and dialog, as shown in Figure 3-22.
FIGURE 3-22 Presenting a BBP slide using a Tablet PC.
Presenting Online
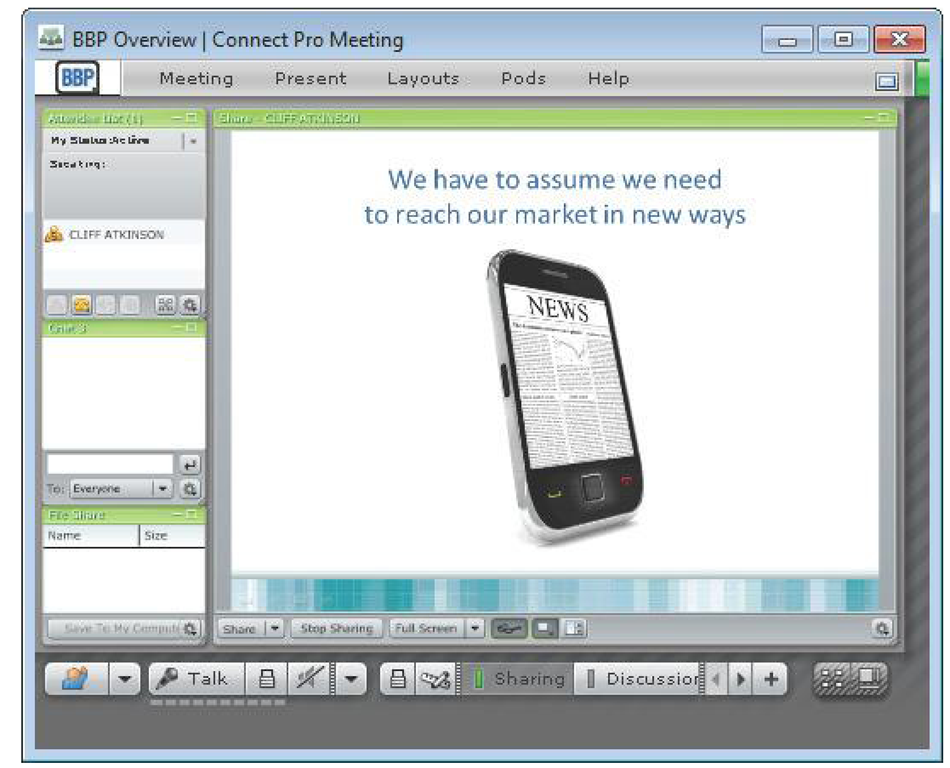
Your visually engaging BBP slides are a great fit with online meeting tools, as shown in Figure 3-23. Because the slides are designed to be visually simple, they increase the need for people to pay attention to your voice on the other end of the telephone or computer speakers.
FIGURE 3-23 Presenting online using an online meeting tool.
Documenting the Experience
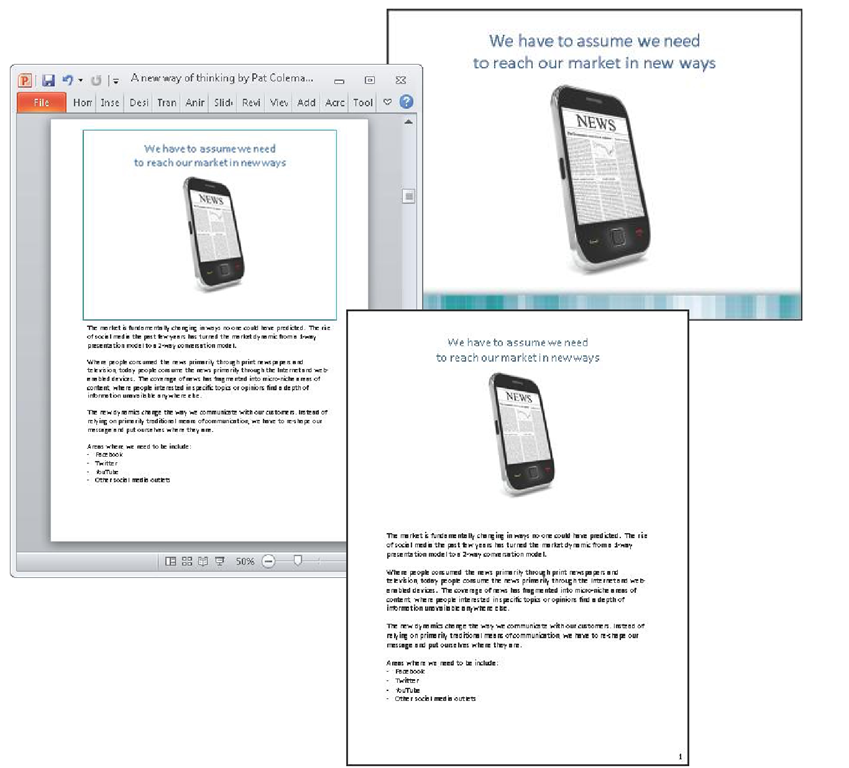
Looking at Notes Page view on the left, the on-screen slide area contains a headline and a simple graphic, while the offscreen notes area captures what is spoken aloud by the presenter. Keeping the narration off the screen creates effective slides (upper right), along with effective handouts (lower right).
When you distribute the PowerPoint file to people who were not present for the live presentation of visuals and narration, you send the notes pages, not the slides. Print out the notes pages to create a physical copy, or create a PDF version that you distribute electronically.
Using Notes Page view taps into the unique value PowerPoint offers you as a communications tool, because no other tool can produce a single file that works effectively like this on a screen, on a piece of paper, and even online.
FIGURE 3-24 Notes Page view, showing a well-designed slide and a well-designed handout with the complete verbal explanation of the slide.
Getting started with the BBP story template
To get started, download a copy of the BBP Story Template from www.beyondbulletpoints.com, and save it on your local computer.
The BBP Ground Rules and Checklists
As you follow the steps in upcoming topics, you’ll find sets of BBP Ground Rules for writing your story template, sketching your storyboard, adding graphics, and producing the presentation experience. You’ll also find at the end of key topics a checklist of items to make sure that you’ve covered them.
Writing Headlines Using Three Ground Rules
Everything you do in your presentation from this point forward will build on the headlines you write in your story template. To make your headlines as effective as possible, review the three important ground rules that apply to every statement you write.
Rule 1: Write Concise, Complete Sentences with a Subject and a Verb in Active Voice
To effectively communicate your message consistently and clearly through your entire story, your headlines must be complete sentences with a subject and a verb. Write the sentences in active voice—for example, "Our top competitors launched five new products last quarter" rather than in the passive voice, "Five new products were launched by our top competitors last quarter." Keep your language dynamic and direct; the same principles, techniques, and rules that define good writing also define good headlines in your template.
For an excellent reference guide to writing the headlines of your story template clearly and concisely, see William Strunk Jr. and E. B. White’s, The Elements of Style (Longman, 2000).
Writing headlines in the form of complete sentences imposes a discipline on your ideas by forcing you to turn them into coherent thoughts and remove any ambiguity. Later, when you import your headlines into the title area of your PowerPoint slides, your audience will have no doubt about what you want to communicate because they can read it for themselves at the top of each slide. Write your headlines using sentence case, with the initial word capitalized and the rest in lowercase.
When you write your headlines for Act I, constrain them to only one line that fills the width of the cell without extending to a second line. The columns in your template for Act II are narrower, so you are able to extend those headlines to a maximum of about two and a half lines. Constraining your headlines to these limits keeps you from being wordy and ensures that your headlines will fill a maximum of two lines when you send them to the title area of your PowerPoint slides.
Tip
If you’re looking for practical examples of how to write concisely, look no further than the headlines of a newspaper. When writing a headline, an editor has limited space to communicate an idea clearly, so the language needs to be clear, direct, and engaging.
It might be a challenge to keep your headlines brief, but that’s part of the process of boiling down your complicated ideas to their essence. This distillation will help you to get right to the point in your presentations.
Rule 2: Be Clear, Direct, specific, and Conversational
Each statement in your story template will speak directly to your audience when it fills the title area of a slide, so use a conversational tone that is simple, clear, and direct. Say what you mean in plain language. When you make your point, include the details that give it specificity, color, and impact. Tailor your words to the level of understanding of everyone in the audience and place nothing in the headline that is not in the audience’s vocabulary.
The point of the headline is to help your audience understand your point as efficiently as possible—if you use words unfamiliar to them, you create obstacles to understanding, and they will wonder what the individual words mean instead of attending to the overall message. The exception to using simple words is if everyone in the audience has prior understanding of the technical language you are using.
When you write your headlines, imagine that you are addressing a few members of your audience sitting in chairs next to your desk. Because you’re simply having a conversation, your voice should be relaxed and casual—not tense and formal. This conversational tone will help you keep your headlines from getting wordy. Later, when your audience reads your headlines in the title area of your slides, the conversational tone will help them to feel more relaxed and open to your ideas. Although presenters might assume formal language gives them more authority, research shows people learn better when information is presented in a conversational style rather than a formal style.
Three Ground Rules For Writing Headlines
Your story template depends on a special writing style that boils down your story to its essence. Follow these three ground rules to keep your writing on point:
■ Rule 1: Write concise, complete sentences with a subject and a verb in active voice.
■ Rule 2: Be clear, direct, specific, and conversational.
■ Rule 3: Link your ideas across cells.
Rule 3: Link Your Ideas Across Cells
As you do that, you want to make sure that you link your ideas so that they flow to one another as you read them across the cells. You make sure you do this by choosing a consistent tense across all headlines—you’ll generally create a more dynamic, in-the-moment feeling to your story if you use the present tense. You should also link your ideas by using a parallel sentence structure across cells, which keeps everything sounding clear and coherent. Linking your cells verbally in the story template becomes important when you sketch and add graphics to your storyboard visually.
The writing On The wall
Although writing is usually considered a solitary experience, don’t write your PowerPoint script alone. Invite the members of your team to join you in a conference room. To get started, attach a projector to your laptop computer and display your story template as a Word document on the screen. When the story template is projected onto a wall, it becomes a tool for a group of people to see, create, discuss, debate, and agree on the structure of any presentation. Organizations have found the story template tool to be a breakthrough innovation because it guides a collaborative process, gives people ownership, taps into collective brainpower, and literally gets everyone on the same sheet of paper.
Now that you’ve prepared your story template and reviewed the ground rules, it’s time to get specific and start with the beginning—the first five slides of your presentation.


