Sketching the First Five Slides
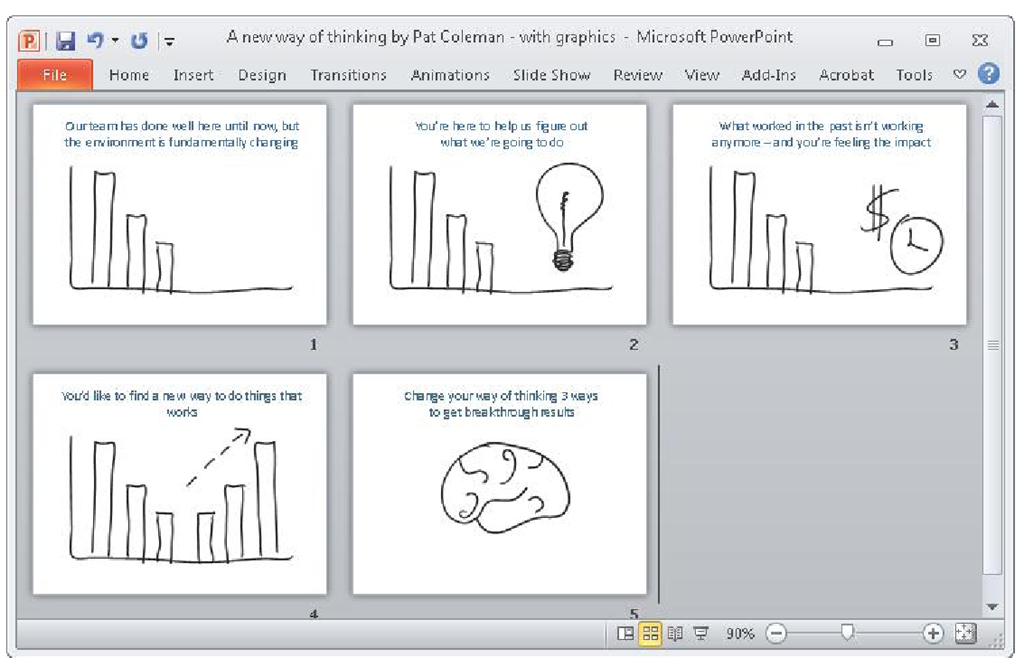
With your clear and concise story line in place in your slide headlines and with your narration written out in the off-screen notes area, your next step is to brainstorm an illustration for each headline of each of the Act I slides of your storyboard.
When you do this, your focus is on making full use of the powerful visual channel of your audience members by sketching out a crisp and compelling visual story that complements your clear and concise headlines. Just as your headlines tell a story with only words, your sketches now should complement, enhance, and intensify that story on individual slides, as well as across slides. Here you’ll also plan for both on-screen and off-screen media such as physical props, demonstrations, video, dialog, or other types of media or interactive techniques.
FIGURE 3-14 Once you have a storyboard, sketch a graphic on each of the five slides.
Sketching the Rest of the slides
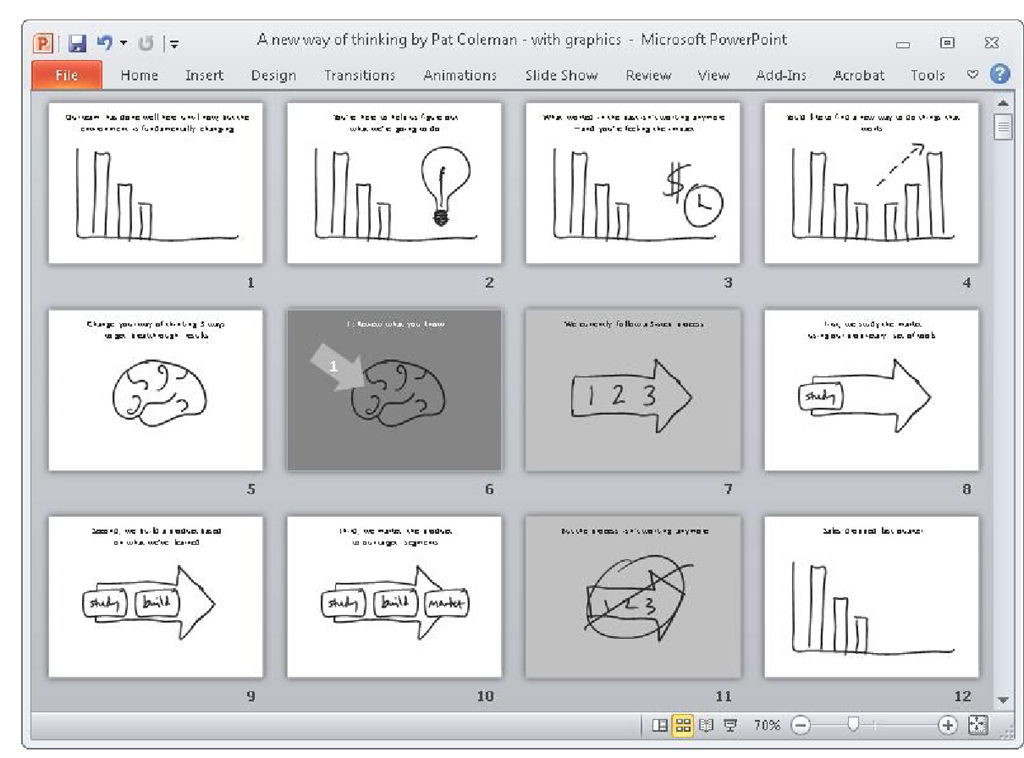
As with Act I, completing the story template for Act II creates a solid foundation that will help you choose exactly what you’ll show and say as you present the working memory of your audience with new information. With this infrastructure in place, you’ll have endless creative options to make the crisp and clear underlying story even more powerful. Here on the Act II slides, as shown in Figure 3-15, you’ll visually carry through the motif you establish in Act I to help working memory better select and organize the large amount of new information.
FIGURE 3-15 You’ll continue sketching graphics on each of the remaining slides.
Applying Custom Layouts
After your team has agreed to and signed off on the sketches, the last step is to find and add a specific photograph, chart, or other graphic to each of the slides. But before you do that, you’ll apply custom layouts to each of the different sections of your storyboard, according to the way you sketched the layout of each slide. As shown in Figure 3-16, this creates a visual foundation for the slides based on the hierarchy from the story template.
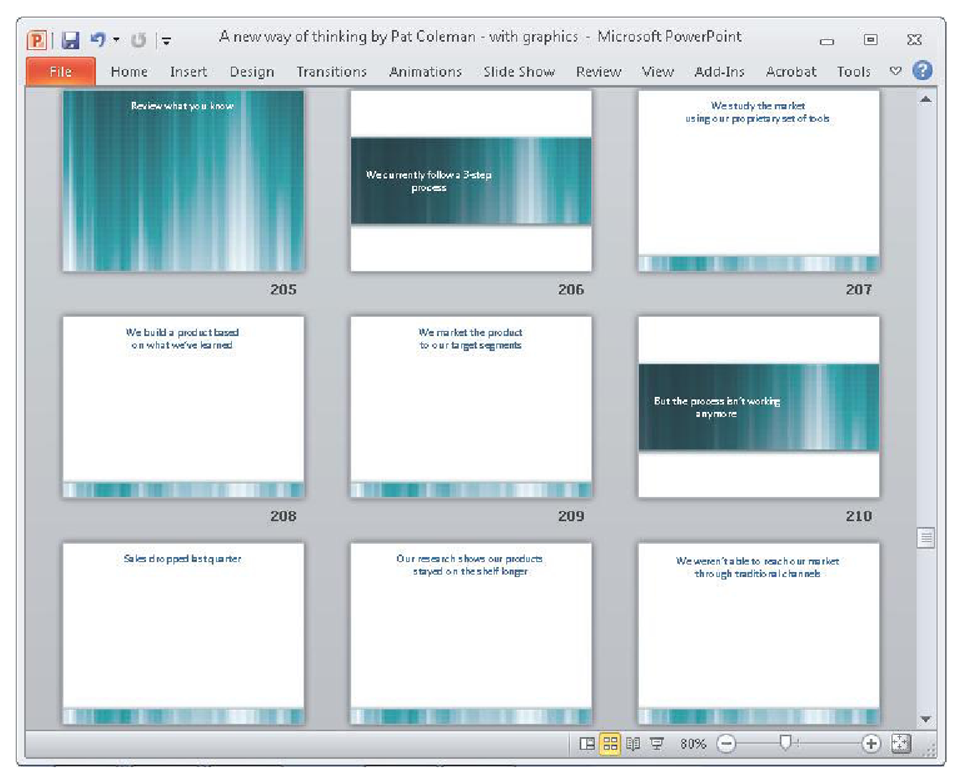
By applying layouts and backgrounds, you use graphical indicators that cue working memory to the relative importance of each slide, as shown in Figure 3-17. In this example, the striking solid background indicates the most important slides; the slides with the horizontal graphic are the second-most important, and the slides with the footer graphic are the third-most important.
FIGURE 3-16 Storyboard with custom layouts applied.
FIGURE 3-17 The slide layouts and backgrounds cue working memory to each slide’s relative importance within the big picture.
Adding Graphics to the First Five Slides
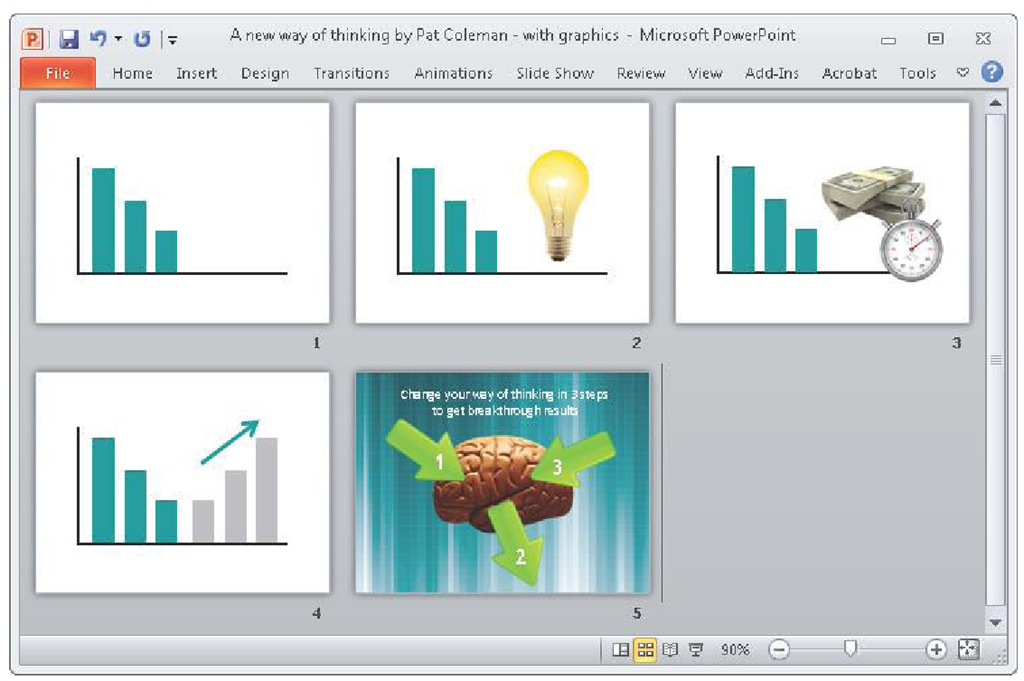
The last step is to find and add graphics to each of the slides using your sketches as a guide. Here is where you savor the fruits of the labor of writing Act I in the story template, because you know you’ve got the specific PowerPoint slides that will ensure that you start strong in your presentation, as shown in Figure 3-18. The visual and verbal clarity you achieve is possible through using the story template, which has established the foundation for everything you have done.
FIGURE 3-18 Adding graphics to the first five slides of Act I.
Adding Graphics to the Rest of the Slides
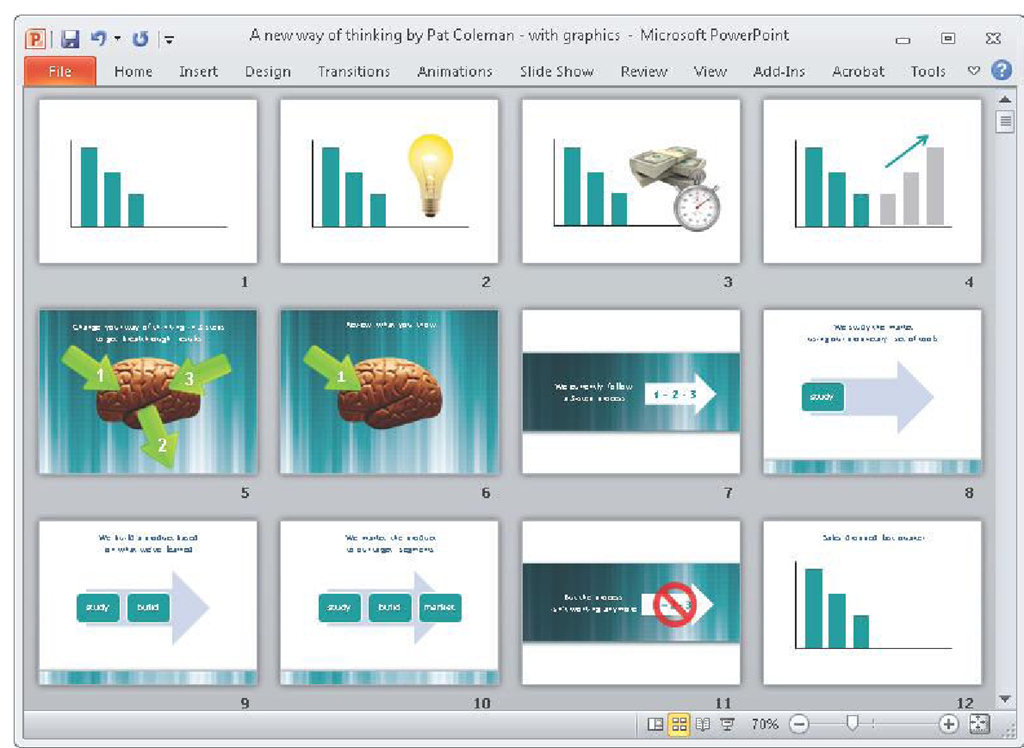
After you add graphics to the Act I slides, you continue by adding graphics to the rest of your slides, as shown in Figure 3-19. Here you might use photographs, screen captures, logos, charts, and other illustrations.
FIGURE 3-19 Adding graphics to the remaining slides.
