Using the Transition Classes for Animation
The javafx.transition package contains several classes whose purpose is to provide convenient ways to do commonly used animation tasks. For example, Table 2-1 contains a list of transition classes in that package.
Table 2-1. Transition Classes in the javafx.transition Package for Animating Nodes
|
Transition Class Name |
Description |
|
TranslateTransition |
Translates (moves) a node from one location to another over a given period of time. This was employed in the Hello Earthrise example program in Chapter 1. |
|
RotateTransition |
Rotates a node over a given period of time. |
|
ScaleTransition |
Scales (increases or decreases the size of) a node over a given period of time. |
|
FadeTransition |
Fades (increases or decreases the opacity of) a node over a given period of time. |
|
FillTransition |
Changes the fill of a shape over a given period of time. |
|
StrokeTransition |
Changes the stroke color of a shape over a given period of time. |
|
PauseTransition |
Executes an action at the end of its duration; designed mainly to be used in a SequentialTransition as a means to wait for a period of time. |
|
SequentialTransition |
Allows you to define a series of transitions that execute sequentially. |
|
ParallelTransition |
Allows you to define a series of transitions that execute in parallel. |
Let’s take a look at a variation on the metronome theme in which we create a metronome using TranslateTransition for the animation.
The MetronomeTransition Example
When using the transition classes, we take a different approach toward animation than when using the Timeline class directly:
• In the timeline-based Metronomel program, we bound a property of a node (specifically, startX) to a property in the model (startXVal), and then used the timeline to interpolate the value of the property in the model.
• When using a transition class, however, we assign values to the properties of the Transition subclass, one of which is a node. The net result is that the node itself is affected, rather than just a bound attribute of the node being affected.
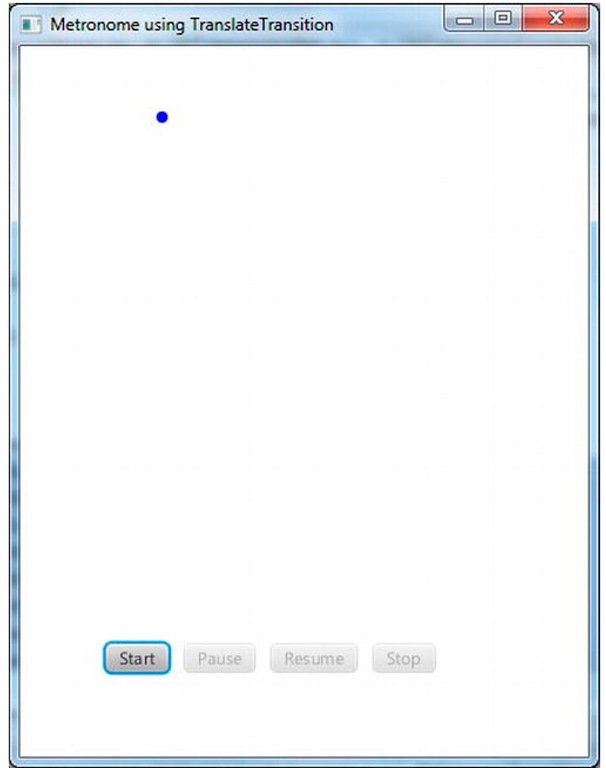
The distinction between these two approaches becomes clear as we walk through the MetronomeTransition example. Figure 2-9 shows a screenshot of this program when it is first invoked.
Figure 2-9. The MetronomeTransition program
The first noticeable difference between this example and the previous (Metronomel) example is that instead of one end of a line moving back and forth, we’re going to make a Circle node move back and forth.
The Behavior of the MetronomeTransition Program
Go ahead and run the program, and perform the same steps that you did in the previous "Examining the Behavior of the Metronomel Program" exercise. Everything should function the same, except for the visual difference pointed out previously.
Understanding the MetronomeTransition Program
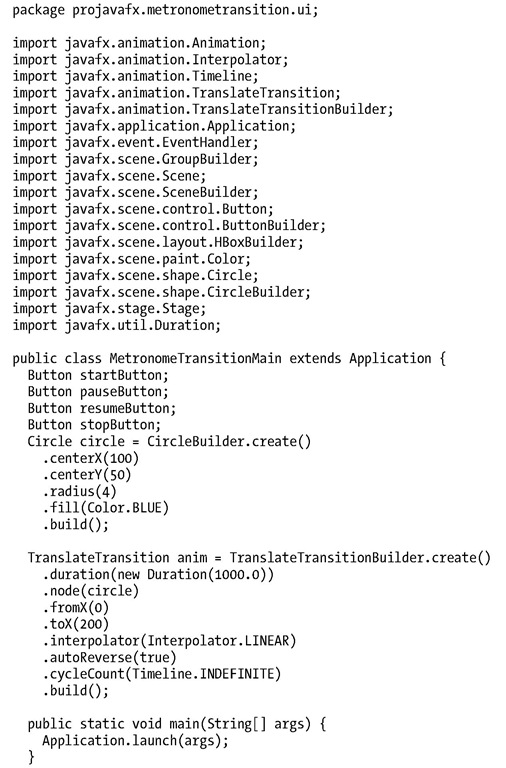
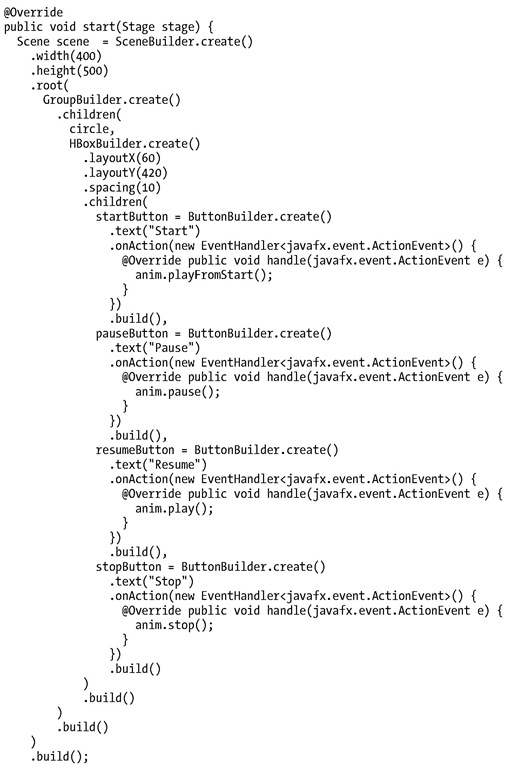
Take a look at the code for the MetronomeTransition program in Listing 2-6, and then we point out relevant concepts.
Listing 2-6. MetronomeTransitionMain.fx
Using the TranslateTransition Class
As shown in the following snippet from Listing 2-6, to create a TranslateTransition we’re supplying values that are reminiscent of the values that we used when creating a timeline in the previous example. For example, we’re setting autoReverse to true and cycleCount to Timeline.INDEFINITE. Also, just as when creating a KeyFrame for a timeline, we’re supplying a duration and an interpolation type here as well.
In addition, we’re supplying some values to properties that are specific to a TranslateTransition, namely fromX and toX. These values are interpolated over the requested duration and assigned to the layoutX property of the node controlled by the transition (in this case, the circle). If we also wanted to cause vertical movement, assigning values to fromY and toY would cause interpolated values between them to be assigned to the layoutY property.
An alternative to supplying toX and toY values is to provide values to the byX and byY properties, which enables you to specify the distance to travel in each direction rather than start and end points. Also, if you don’t supply a value for fromX, the interpolation will begin with the current value of the node’s layoutX property. The same holds true for fromY (if not supplied, the interpolation will begin with the value of layoutY).
Controlling and Monitoring the Transition
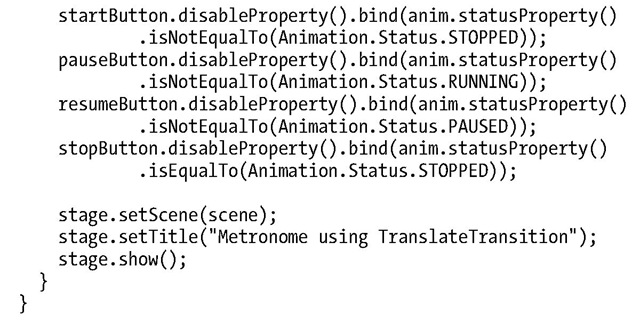
The TranslateTransition class, as do all of the classes in Table 2-1 earlier, extends the javafx.animation.Transition class, which in turn extends the Animation class. Because the Timeline class extends the Animation class, as you can see by comparing Listings 2-5 and 2-6, all of the code for the buttons in this example are identical to that in the previous example.
The MetronomePathTransition Example
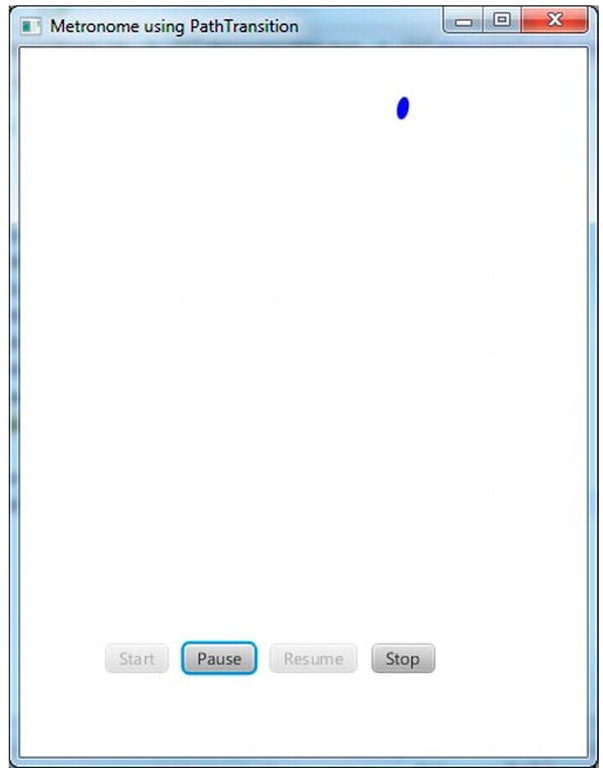
As shown in Table 2-1 earlier, PathTransition is a transition class that enables you to move a node along a defined geometric path. Figure 2-10 shows a screenshot of a version of the metronome example, named MetronomePathTransition, that demonstrates how to use the PathTransition class.
Figure 2-10. The MetronomePathTransition program
![tmpA-85_thumb[2] tmpA-85_thumb[2]](http://what-when-how.com/wp-content/uploads/2012/03/tmpA85_thumb2_thumb.jpg)
