The first recipe of this topic shows how to create a main toolbar with a title. It seems useful to create a footer with some relevant information. Usually, a footer uses a small font and a different color to be different from the rest of the text in the same screen. Let’s find out how to create a footer for our applications.
Getting ready
We’ll use the iWebKit framework as it contains a specific CSS style for creating a footer with a consistent look for our applications.
How to do it…
As we have seen in the previous recipe, we can reuse our initial HTML file. You only need to add one line before the </body> tag with this content:
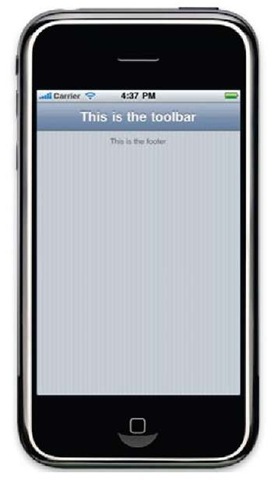
The following screenshot shows a simple footer:
Note that it makes sense to add the footer after all the content and widgets of our application are added. The previous example illustrates how to create the footer but the developer must put it in the right place.
Don’t forget to check if the lines for loading the iWebKit main files are present inside the head section of the HTML file, as shown in the first recipe of this topic.
How it works…
Through the id attribute of the div tag, we’re loading a predefined style present in the style.css file of the iWebKit framework. The text inside of this tag would be shown centered using a small and gray font.
Many developers use the footer to put a copyright notice or similar information. In addition, we can add one link to our website.
See also
► Installing the iWebKit framework recipe in topic 1, Frameworks Make Life Easier

