At this point we have the basic elements for our application. We have learned how to create a toolbar and a footer, and how to modify the main status bar of the device. Probably you’re thinking our toolbar is too simple. Yes, you’re right. It could be more useful if we add some buttons. One of the most important buttons for this bar is the back button.It’s very intuitive for the user and is similar to an arrow pointing to the left. Formally, the back button is a navigation widget for the user interface.
Getting ready
We’re continuing using the iWebKit framework installed on our local machine.
How to do it…
Open your previously created HTML file and add the following line below the div element with the title value in the id attribute:
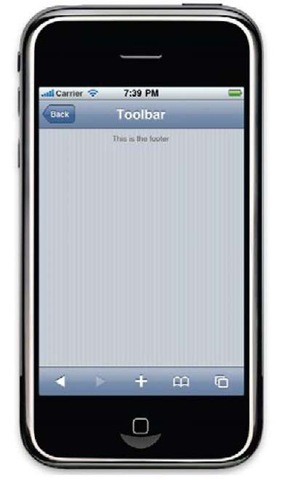
Take a look at the following screenshot and check how the main toolbar has been changed:
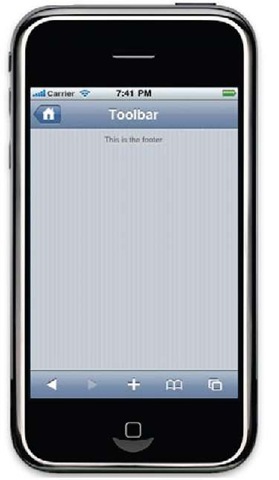
Our Back button can be more intuitive and funny when using an icon for it. The iWebKit framework contains some images for this functionality. One of these represents a house and can be used to get our user back to the homepage of the application. We’ll need to change the text inside the link tag for an image tag. The complete line of code for it will be as follows:
Reload your page and observe how the button has changed:
How it works…
iWebKit provides a special class to transform a simple div element into a button similar to an arrow. The CSS class is called leftnav and it was designed to be used as a back button for the main toolbar of applications. Inside this HTML element, we need to put a link to the right page. This back button doesn’t make sense for a homepage, but it will be very useful for secondary pages.
As the back button is a component of the toolbar, the div element must be inside the div whose id is topbar. Don’t forget the link for this button; a navigation element should drive the user to a specific page or place.
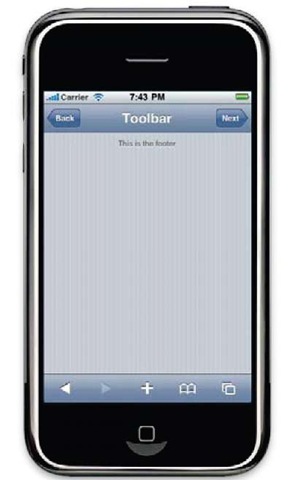
In some cases a next button could be useful. This one will be similar to the back button and it will use an arrow pointing to the right instead of to the left. To use this kind of button, we only need to change the id attribute of the div element. Instead of using the leftnav class, we must use the rightnav, also provided by the iWebKit framework.
Probably, you observed that leftnav and rightnav are values for the id attribute instead of names of the CSS classes. The reason is simple; we can only have one button of each kind per page.
There’s more…
Obviously, you can use your own icon for the back and next navigation buttons of the toolbar. Your icon should be a PNG file with 20×20 pixels and it can be located in any directory with permissions to be accessed by the web server.
See also
► Installing the iWebKit framework recipe in topic 1, Frameworks Make Life Easier
► Creating a toolbar recipe


