Most enterprise applications are designed to serve a large number of clients, and users are not necessarily equal in terms of their access rights. An administrator might require hooks into the configuration of the system, whereas unknown guests may be allowed a read-only view of data.
It’s bad practice, however, to hardcode users’ access directly into your application’s logic. We shouldn’t have to rebuild an EJB each time a new employee comes into the company or an existing one is promoted to a new position with greater privileges.
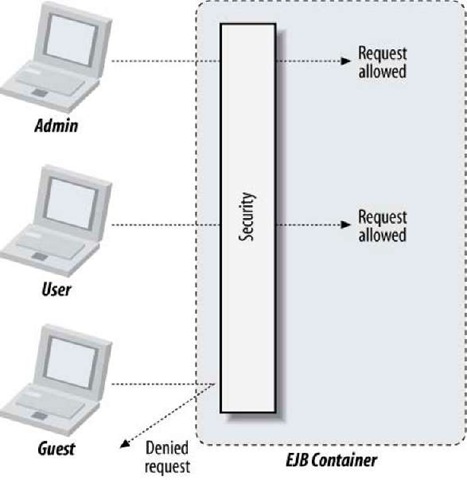
If we group users into categories with defined roles, we can then allow or restrict access to the role itself, as illustrated in Figure 15-1.
This technique is called role-based security. As we’ve seen before, embedding such rules within business logic tangles up concerns, so we’re best off enforcing these constraints at another level.
The Java EE and EJB specifications provide a core set of security services that application developers can integrate declaratively and programmatically. These include:
Authentication
This is the process of validating the identity of a user who is trying to access a secured system. When authenticating, the application server verifies that the user actually exists in the system and has provided the correct credentials, such as a password.
Authorization
Once a user is authenticated in a system, he will want to interact with the application. Authorization involves determining whether a user is allowed to execute a certain action. Authorization can police a user’s access to subsystems, data, and business objects, or it can monitor more general behavior. Certain users, for example, may be allowed to update information, whereas others are allowed only to view the data. For web applications, maybe only certain users are permitted to access certain URLs. For EJB applications, the user can be authorized on a per-method basis.
Figure 15-1. EJB security permitting access based upon the caller’s role
Although a small programmatic API is available for interacting with Java EE security services, users rarely have to write any code to secure their applications, because setting up security is usually a static, declarative process. Only session beans can be secured in EJB. This topic focuses on how to set up authentication and authorization for your session beans.
Authentication and Identity
In a secure EJB application, authentication involves verifying that a user is who she says she is. When a remote client logs on to the EJB system, it is associated with a security identity for the duration of that session. Once a remote client application has been associated with a security identity, it is ready to use beans to accomplish some task. When a client invokes a method on a bean, the EJB server implicitly passes the client’s identity with the method invocation. When the EJB container receives the method invocation, it checks the identity to ensure that the client is valid and is allowed to invoke the target method.
Unfortunately (or fortunately, depending on your perspective), the EJB specification does not specify how authentication happens. Although it defines how security information is propagated from a client to the server, it does not specify how the client is supposed to obtain and associate identity and credentials with an EJB invocation. It also does not define how the application server stores and retrieves authentication information. The vendor must decide how to package and provide these services on the client and server.
When invoking on a remote EJB, many application servers accomplish authentication by using the JNDI API. For example, a client using JNDI can provide authenticating information using the JNDI API to access a server or resource in the server. This information is frequently passed when the client attempts to initiate a JNDI connection on the EJB server. The following code shows how a client’s password and username can be added to the connection properties for obtaining a JNDI connection to the EJB server:
In this example, the user is authenticated with the connection to the JNDI InitialContext. The username and password are associated with the client thread and propagated to the server internally when calls are made to remote EJBs.
Although JNDI is a common way for most application servers to perform authentication, sometimes users need a better abstraction for obtaining security information. For instance, what if the credentials were a thumbprint instead of a password? Many application servers provide a mechanism other than JNDI with which to authenticate. For instance, the JBoss application server uses the JAAS specification, which provides a rich API for performing authentication
Authorization
Once a user is authenticated by a vendor-specific mechanism, he must be checked to see if he is allowed to invoke a particular EJB method. Authorization is performed in Java EE and EJB by associating one or more roles with a given user and then assigning method permissions based on that role. While an example of a user might be “Carlo” or “Jaikiran,” roles are used to identify a group of users—for instance, “administrator,” “manager,” or “employee.” In EJB, you assign access control at method granularity. You do not assign these permissions on a per-user basis, but rather on a per-role basis. This allows the authentication process to remain a separate configuration from authorization.
The roles used to describe authorization are considered logical roles because they do not directly reflect users, groups, or any other security identities in a specific operational environment. EJB security roles are mapped to real-world user groups and users when the bean is deployed. This mapping allows a bean to be portable; every time the bean is deployed in a new system, the roles can be mapped to the users and groups specific to that operational environment.
Unlike authentication, authorization is something that the EJB specification clearly defines. You begin by declaring the roles that are accessed programmatically in your code base. Then, you assign permissions for each method in your class. This is done declaratively through Java annotations or through the ejb-jar.xml deployment descriptor.
Example: A Secured School
To illustrate, let’s secure access to a SecureSchoolEJB; anyone can see whether a school is open, but only enrolled students may enter the front door during operating hours. Additionally, only janitors may use the service door, and administrators have total access, including the ability to open and close the school each day.
The Business Interface
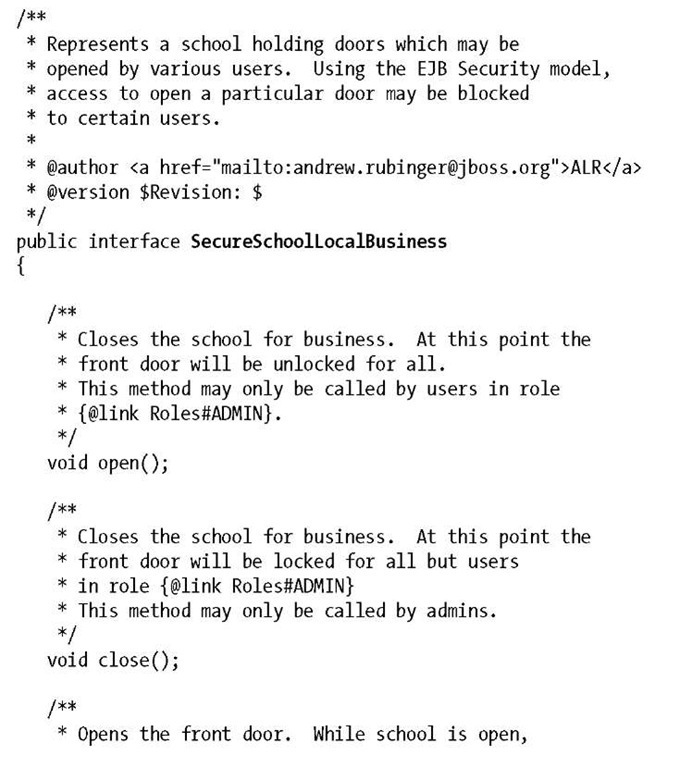
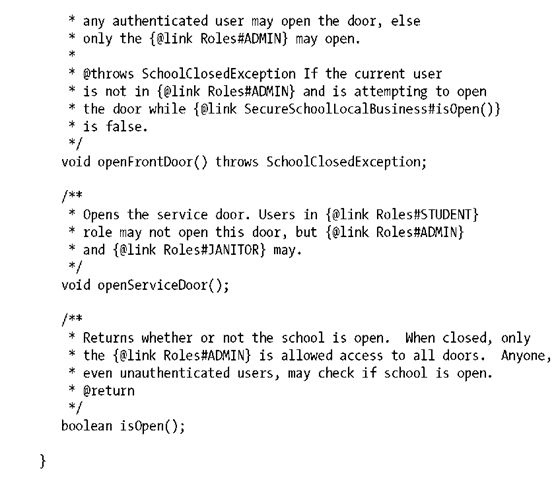
As always, we’ll start by fleshing out the API for our little school. It’ll support both a front and service entrance, and access to each will be defined by the user looking to enter as well as whether the school is open or closed:
Assigning Method Permissions
We must be very careful when determining to whom we grant access within the Secure SchoolEJB.
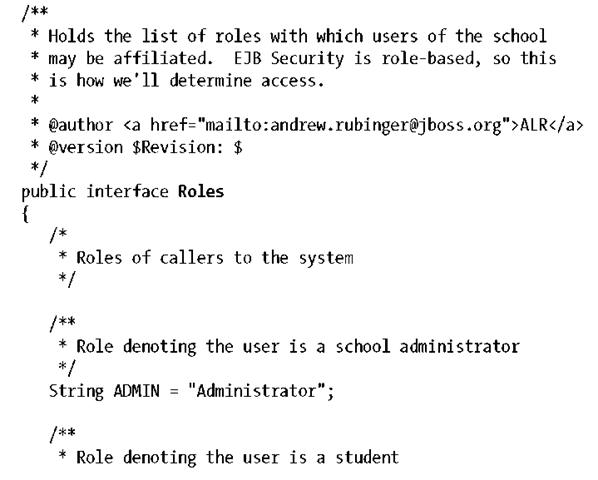
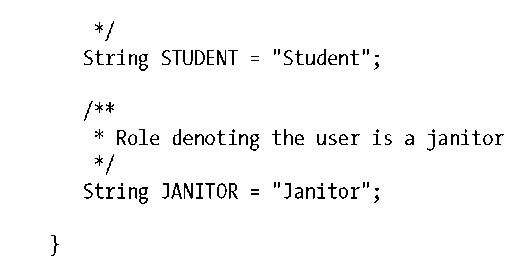
As a first step, let’s define the roles that are permitted:
We need to make the EJB aware now of the roles it’ll respect; this is done using the @javax.annotation.security.DeclareRoles annotation and placing the declaration atop the bean implementation class:
Alternatively, we can use the security-role-ref element within the bean deployment descriptor.
By default, it’s good practice to restrict access to everyone at the highest level, and then enable access as necessary at a finer granularity. The @javax.annotation.security. RolesAllowed annotation is used to assign access rights at either the class or method level. This annotation defines one or more logical roles that are allowed to access the method. When placed on the bean class, the @RolesAllowed annotation specifies the default set of roles that are permitted to access bean methods. Each individual EJB method can override this behavior by using the same annotation. Let’s block everyone at the class level first, which gives us a full bean implementation class definition that looks a little like the following:
Now that the whole EJB is secured to bl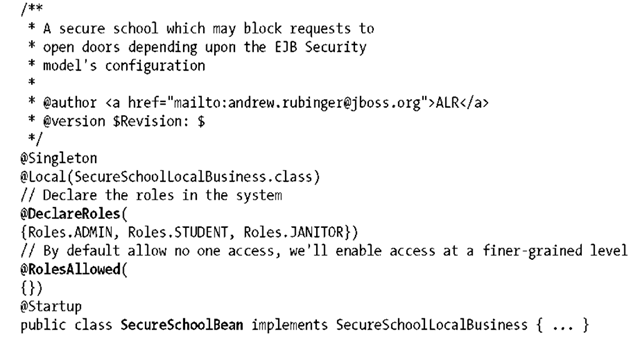 ock outside callers, we can drill down to the method level and enable access to fit our requirements.
The @javax.annotation.security.PermitAll annotation specifies that any authenticated user is permitted to invoke the method. As with @RolesAllowed, you can use this annotation on the bean class to define the default for the entire bean class, or you can use it on a per-method basis. @PermitAll is also the default value if no default or explicit security metadata is provided for a method. This means that if you do not use any security annotations on your bean class, every user is implicitly granted unlimited access.
Because anyone can check to see whether the school is open, we apply @PermitAll to the isOpen() method:
With @PermitAll, all callers—including unauthenticated anonymous users—may invoke isOpen().
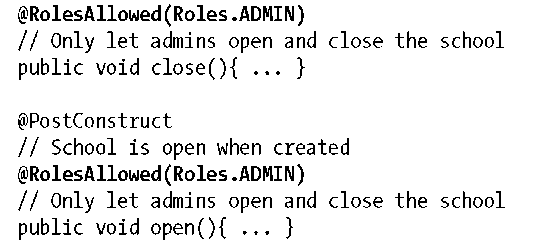
Now we need to allow the Administrator role to open and close the school for business. We can assign permissions to the relevant methods easily, again using @RolesAllowed:
Upon invocation, the EJB container will check that the caller is in the configured role before allowing the target method to be invoked upon the bean instance. If the client does not have the appropriate permissions, a javax.ejb.EJBAccessException will be raised.
Janitors need to be able to access the service door, so we’ll grant this role the right to do so:
Programmatic Security
At this point, we’ve locked down each method in a declarative fashion, and the EJB container is responsible for blocking and allowing invocations at the method level. However, it’s likely that your application will have some contextual security requirements. In our case, students and janitors may open the front doors to the school only during its operating hours, so we’ll need to code this logic programmatically.
Most of the security features in this topic have focused solely on declarative security metadata, or metadata that is statically defined before an application even runs. To fit this need, EJB also has a small programmatic API for gathering information about a secured session. Specifically, the javax.ejb.EJBContext interface has a method for determining the concrete user who is invoking on the EJB. It also has a method that allows you to check whether the current user belongs to a certain role.
First, we’ll let the authenticated roles access the method:
Now it’s our responsibility as bean provider to do some manual checking on our own, and we do this via the javax.ejb.EJBContext interface (or its child, SessionContext). As we’ve seen before, this is the hook for bean instances to interact with the container, so we’ll inject the following as an instance member:
We use the getCallerPrincipal() method to return a standard Java SE javax.security.Principal security interface. A Principal object represents the individual user who is currently invoking on the EJB.
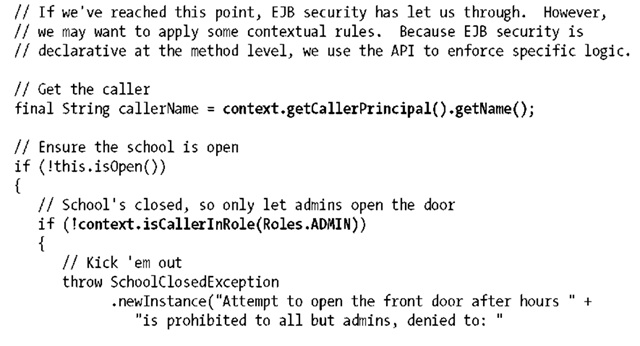
The EJBContext.isCallerInRole() method allows you to determine whether the current calling user belongs to a certain role. According to our business interface contract, we only let users in the Administrator role open the front doors after closing hours.
From EJBContext we can access the caller principal’s name (i.e., the username) and also check that he is in the desired role. If so, we’ll let the client open the door:
The RunAs Security Identity
In addition to specifying the roles that have access to an enterprise bean’s methods, the deployer can also specify the run as role for the entire enterprise bean. Whereas the @RolesAllowed annotation specifies which roles have access to the bean’s methods, @javax.annotation.security.RunAs specifies the role under which the method will run. In other words, the “run as” role is used as the enterprise bean’s identity when it tries to invoke methods on other beans—and this identity isn’t necessarily the same as the identity that’s currently accessing the bean.
Although they are not allowed to use method permissions, message-driven beans can use the @RunAs feature. Message-driven beans have only a @RunAs identity; they never execute under the caller identity, because there is no “caller.” The messages that a message-driven bean processes are not considered calls, and the clients that send them are not associated with the messages. With no caller identity to propagate, message-driven beans must always specify a @RunAs security identity if they interact with other secured session beans.
In the case of our secured school example, we can imagine that a firehouse nearby is able to service requests for emergency response. As an extreme precautionary measure when this occurs, we’ll close the school and send all kids home.
It would be irresponsible to let only administrators raise a fire alert; anyone passing by might notice danger. But because admin privileges are required to close the school, we can let the current user masquerade with the correct rights in this emergency situation.
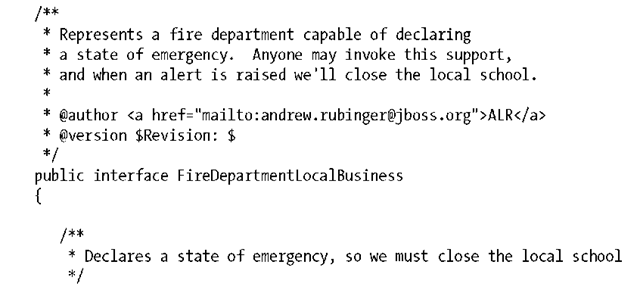
First, to flesh out the fire department’s limited capabilities:
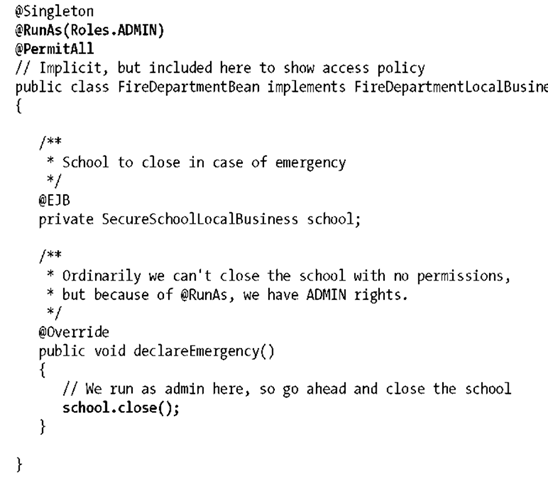
Our bean implementation class is very simple. It invokes upon the school’s close() method but runs as an administrator, thanks to the @RunAs annotation atop the class:
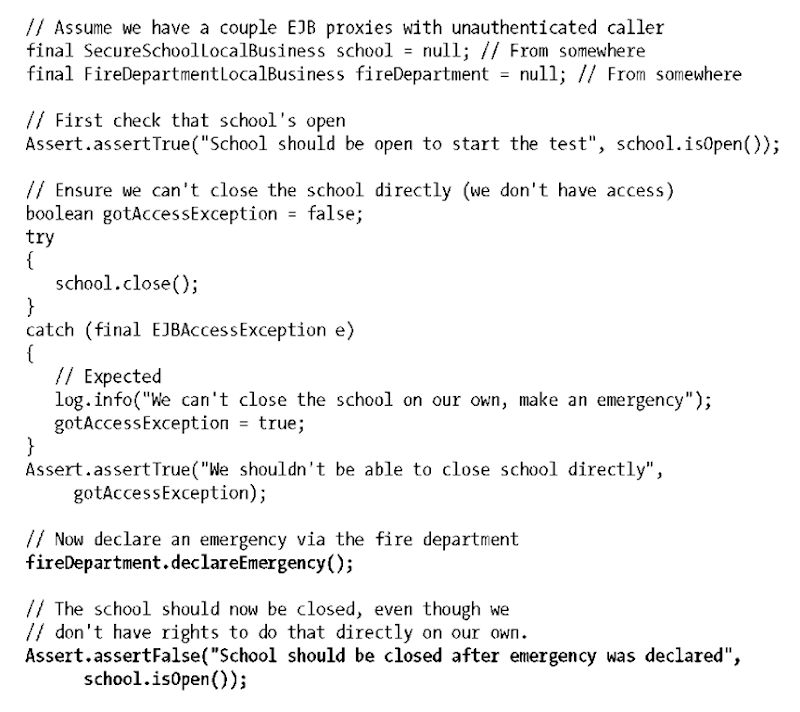
As is usually the case, the client view ends up being the most illustrative to show the effect of @RunAs.
We can easily construct a test that takes the following steps:
• Obtains EJB proxies using an authenticated security context (anonymous user)
• Tries to close the school directly
• Ensures we can’t close directly, as we’re not admins
• Declares an emergency with the fire department
• Ensures that the school is closed as a postcondition This might look a little like the following:
