Importing Graphics
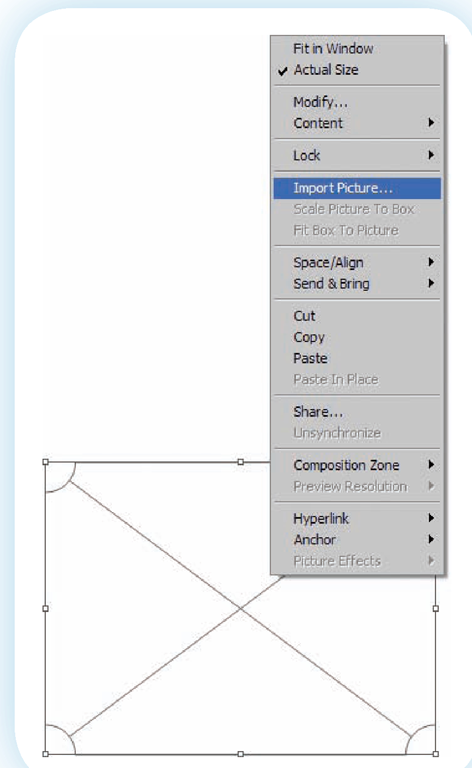
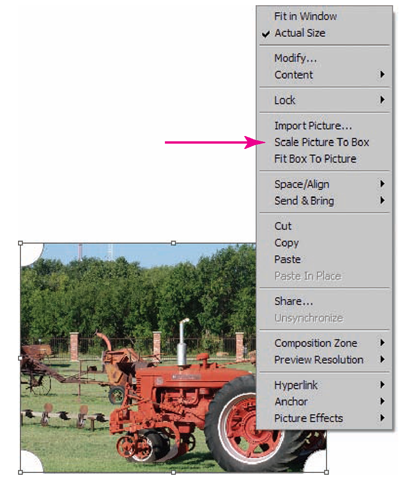
Graphics are placed much like text in DTP software. In QuarkXPress you create a frame and then import the graphic. Right clicking on the frame gives you a list of options, including Import Picture as shown in Figure 4.4.
With InDesign, you can create a frame and then import the image into it by clicking on the frame.
Figure 4.4
Import Picture places the image within the QuarkXPress frame.
You can also import (place) the image and let the program place a frame around it. When you place an image, the cursor changes to the icon shown in Figure 4.5. By clicking the loaded cursor on the page, the image will appear on the document in its original size. If you draw a rectangle, the image will fit inside it.
With Publisher you merely insert the image or clip art.
Fitting In
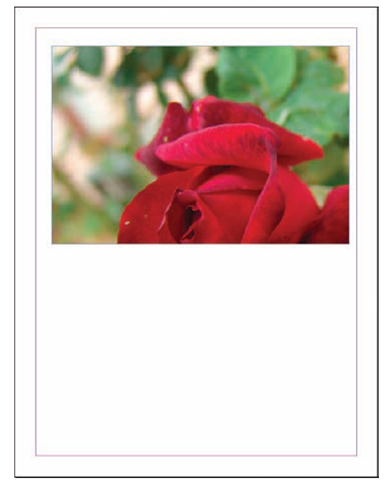
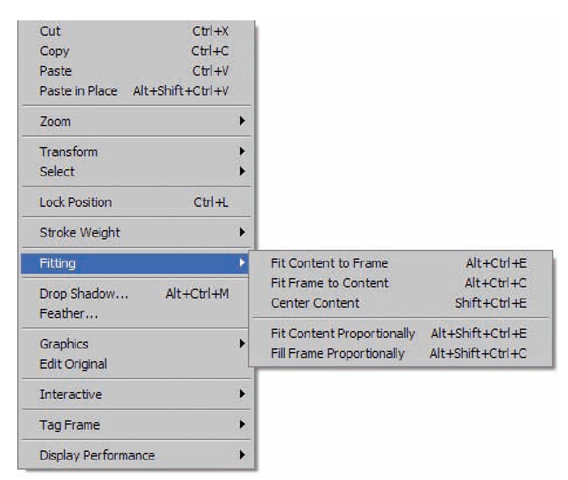
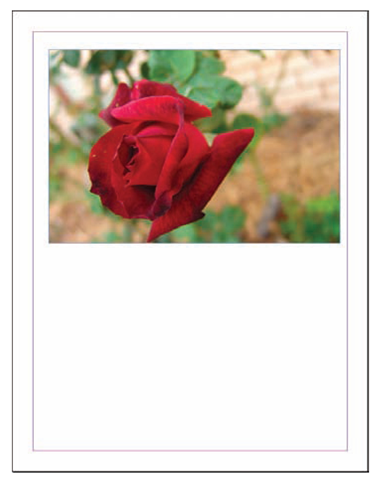
If your image in InDesign is larger than the frame size, only a portion of the image will appear as shown in Figure 4.6. By right clicking on the image and then selecting Fitting (see Figure 4.7), you can select various options to change the way the image appears. You can also find these same options on the Control palette. In Figure 4.8, the partial image has been changed to fit within the frame. Generally, you will want to fit the image into the frame proportionally to keep from distorting your figure.
QuarkXPress allows you only two fit choices as shown in Figure 4.9.
You can scale the picture to the box or fit the box to the picture.
Figure 4.5
When placing an image in InDesign, the cursor changes to a small paintbrush.
Figure 4.6
With InDesign, images may appear cut off if they are larger than the frame selected.
Figure 4.7
InDesign provides options for fitting images to the frame or changing the frame to the size of the image.
Figure 4.8
Changing the InDesign option to fitting in the frame resizes the image.
Figure 4.9
QuarkXPress makes it easy to choose how you want your image fitted to the frame.
Frame Shapes
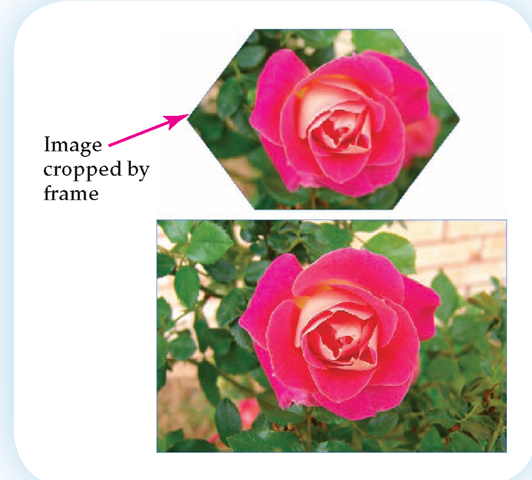
While most images are rectangular, you are not limited to that shape. Polygon or elliptical frames can be used to create a graphic that fits that shape. In Figure 4.10 the rose has been cropped to fit within the polygon while still maintaining the original size of the image.
Moving
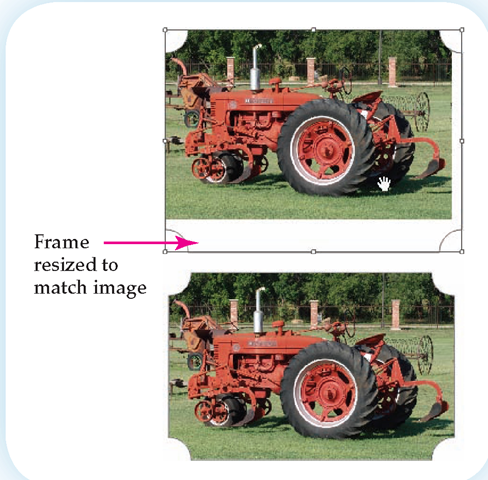
Both InDesign and QuarkXPress allow you to reposition the image within the frame. Notice in Figure 4.11 that the hand is moving the tractor to place it in the center of the frame. Once the image is repositioned, the frame is moved to enclose the image.
Placing Graphics
Once an image is imported into a document, there are a number of choices for how to place it. Generally, images are placed along the left or right margin of the column or page so they do not disturb the flow of reading.
Floating Graphics
In DTP software, graphics can float on a page, meaning that you can place them wherever you want on a page. You can also place an image inline, treating it as part of the text. InDesign refers to this as anchoring. The advantage of an inline image is that no matter where you move the text, the image frame will move with it.
Text Wrap
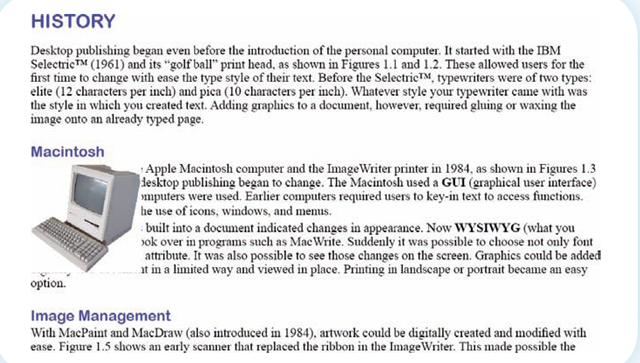
Often images are placed on a page within a paragraph to compliment or illustrate the text. When a graphic is placed in a paragraph, it will either cover the text (see Figure 4.12), or be covered by the text. This is obviously not what you want. The solution is to set the text to wrap around the image.
Figure 4.10
Unusual frame shapes such as this polygon can add interest to your figure.
Figure 4.11
Once an image is moved in QuarkXPress, you can reposition the frame to match the image.
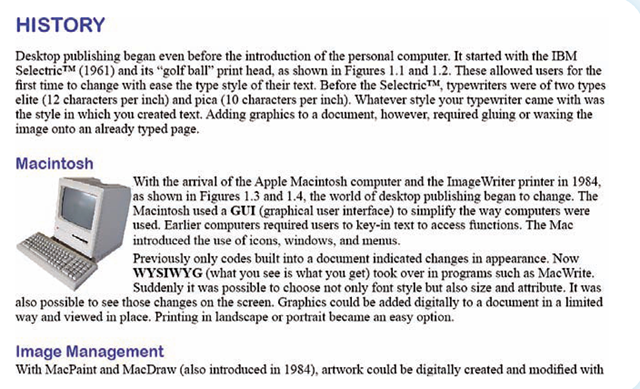
Text that is wrapped around an image flows along the edge of the graphic as shown in Figure 4.13. Text can flow around the bounding box or it can flow around the actual image, creating an irregular shape. In Figure 4.14 a polygon frame is added and the text is set to flow around the frame’s edge. Notice that the text appears inside the bounding box.
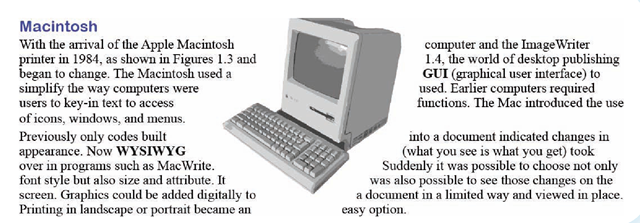
Images created as bitmaps, such as photographs, are rectangular; and text must adhere to the edges of the frame. Vector images allow you to set the wrap to adhere to the actual shape of the figure. In Figure 4.15, the photograph of the computer has been converted to a vector graphic (a technique you will learn in a later topic). Because it is now a vector rather than a bitmap, the text can wrap around the image. Notice the jagged lines on both sides of the picture and the text within the bounding box.
Float is a description of a figure that indicates it can be placed anywhere on a page.
Inline describes frames that are placed within text and must stay with that text.
Figure 4.12
Images placed on top of text will obscure the words below it.
Figure 4.13
Wrapping text around an image creates a design that integrates the image and text.
Figure 4.14
If you use an unusual frame design, the text can be wrapped to follow the lines of the frame.
Figure 4.15
Vector graphics have more wrapping options because the text can follow the lines of the image.
