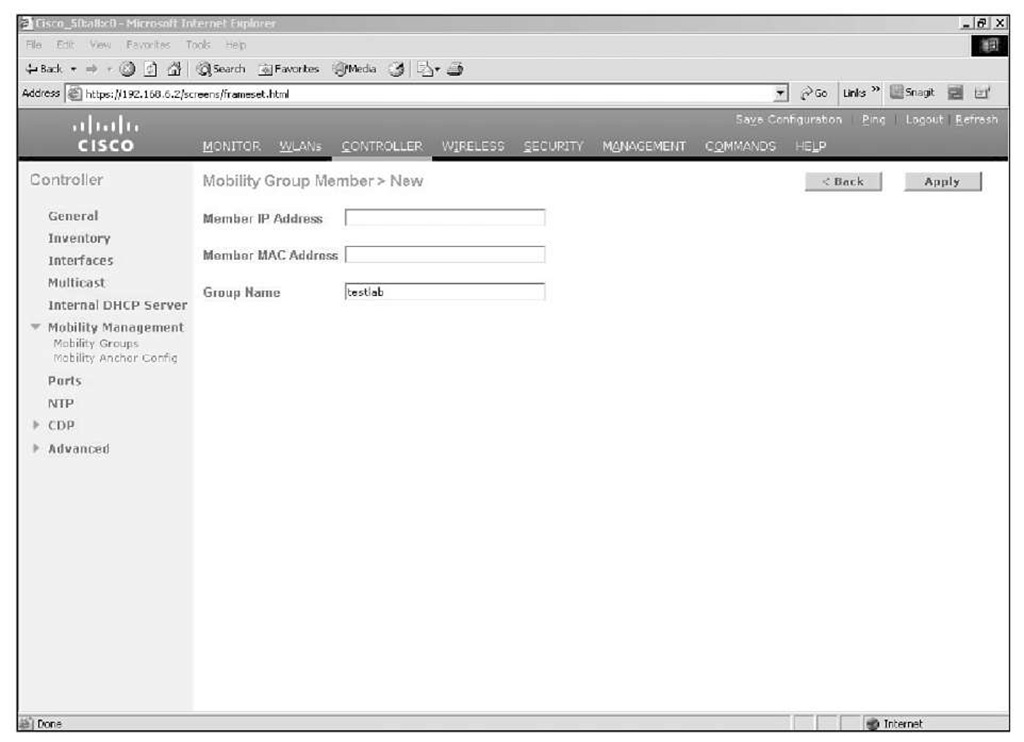
To add an entry to a controller mobility configuration using the GUI, go to CONTROLLER > Mobility Management > Mobility Groups, as shown in Figure 9-17, and click on New. Here you enter the MAC address and IP address of the controller management interface you are adding along with the mobility group name of that controller.
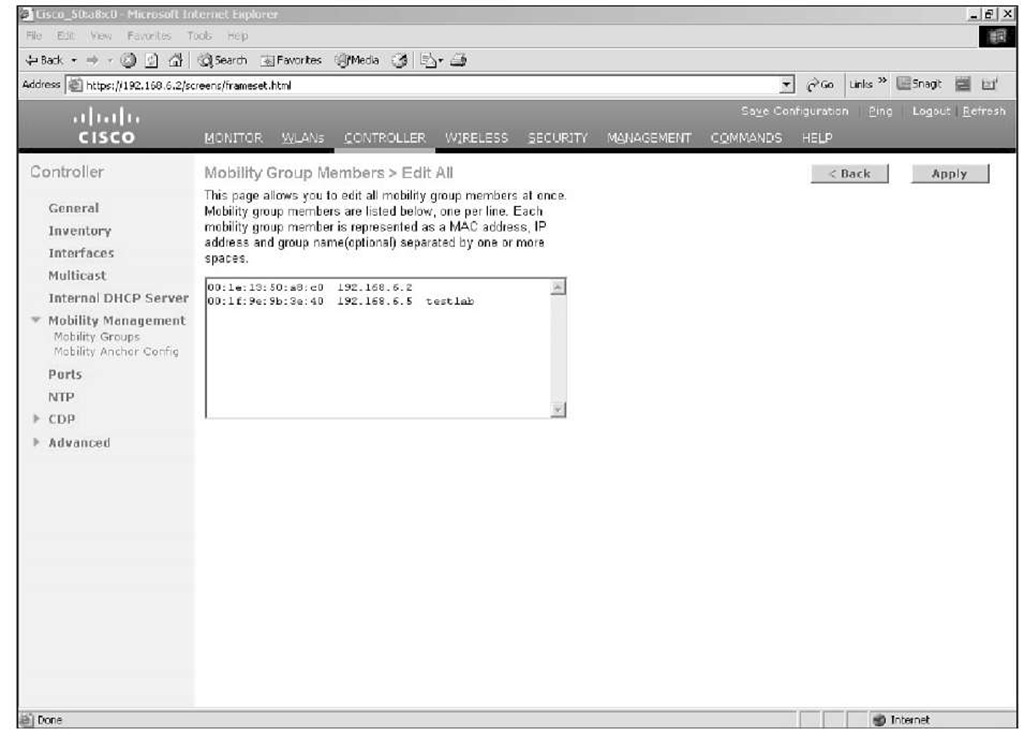
If you are adding several controllers, you can choose Edit All, as shown in Figure 9-18, instead of New and paste in the MAC address, IP, and group name of all the controllers at once.
Figure 9-17 Mobility Group Configuration
Figure 9-18 Mobility Group Edit All
For controllers to be in the same mobility group, they need to meet the following criteria:
■ Identical mobility group names: The mobility group name is case sensitive. A mobility group name of WLC is not the same as wlc from the controller perspective.
■ Same virtual interface IP address: If the virtual IPs are not the same between the controllers, the handoff of the client database entry will not take place and the client will be disconnected for a short period.
■ Same version of code: This is true for supporting normal client mobility. Starting with the 5.2 release, a 5.2 or 6.0 controller supports auto-anchoring with 4.2 and higher code running on the anchor controller.
■ Network connectivity between the controller in the mobility group: You should be able to mping and eping between the controllers. These special pings are discussed later in the topic.
Note With controller Release 5.2, mobility is supported between auto-anchor controllers running 4.2 or higher code. This means the controller in the demilitarized zone (DMZ) could be running 5.0 code while the controllers that are anchored to it are running 5.2 code.
Configuring Auto-Anchoring
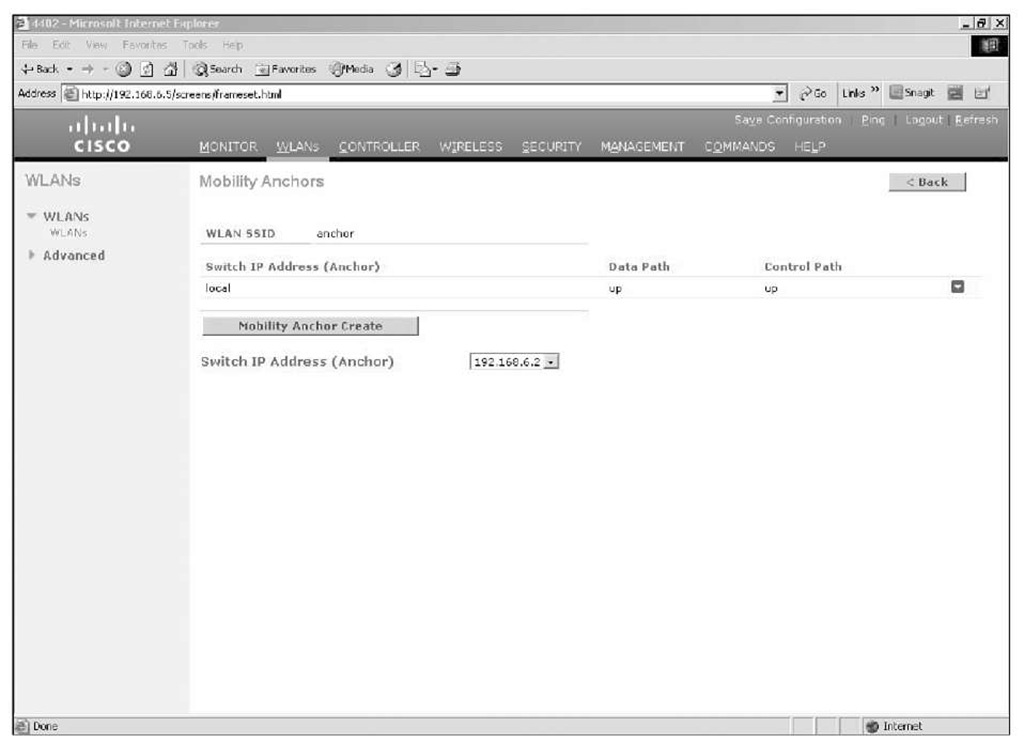
To configure auto-anchoring for a WLAN, the controller you want to use as the anchor must be listed in the mobility domain. The anchor can either be in the same mobility group or a different mobility group. After the underlying mobility configuration is complete, you configure the WLAN mobility anchor. To configure the WLAN mobility anchor from the controller GUI, you go to WLANs, and then mouse over the drop-down arrow for the WLAN you want to configure and choose Mobility Anchors. On the Mobility Anchors configuration page, as shown in Figure 9-19, select the correct controller from the drop-down menu and click on Create Mobility Anchor.
Note When you are configuring auto-anchor, the WLAN of the anchor controller should be anchored only to itself. The WLAN of the foreign controller should be anchored only to the anchor(s) controller.
You can use the following commands from the controller CLI to verify your auto-anchor configuration:
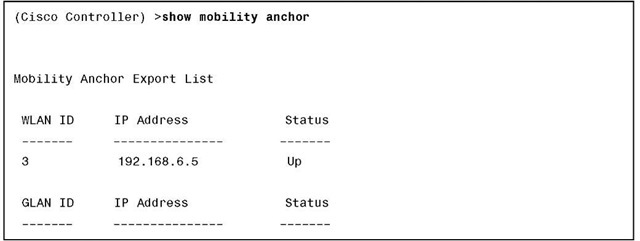
The output of show mobility anchor displays the global anchoring configuration for the entire controller, as demonstrated in Example 9-3.
Figure 9-19 WLAN Mobility Anchor Configuration
Example 9-3 show mobility anchor Command Output
If you only want to check the auto-anchoring configuration for a specific WLAN, use show mobility anchor wlan wlan_id, as shown in Example 9-4.
Example 9-4 show mobility anchor wlan wlan_ID Command Output
Example 9-4 show mobility anchor wlan wlan_ID Command Output
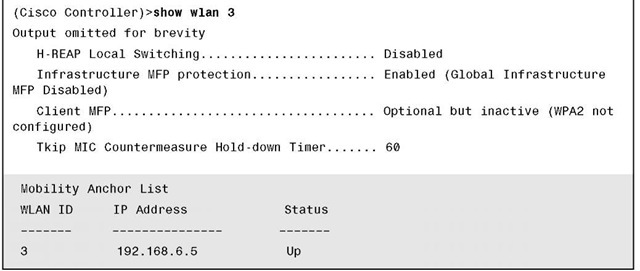
The output of show wlan, as shown in Example 9-5, also displays the auto-anchor configuration.
Example 9-5 show wlan Command Output
In the output of all three show commands in Examples 9-3 through 9-5, you can verify the IP address of the anchor controller as well as its status.
Determining Controllers to Add to a Mobility Group
The general rule of thumb for determining what controllers on your network should be in the same mobility group is quite simple. If a wireless client can roam between the APs joined to those controllers without dropping its wireless connection, those controllers should be in the same mobility group. If two controllers and their APs are located across the country from one another, you would probably not want them to be in the same mobility group.
Secure Mobility
With the default configuration, mobility packets are sent using UDP port 16666. This means that the mobility packets are not encrypted and anyone with a wired sniffer can view the packet contents. If you had mobility traffic traversing an unsecured network, you might want to enable secure mobility on the controllers to encrypt that data. Secure mobility uses UDP port 16667.
To enable secure mobility, enter the following commands from the controller CLI:
After entering those two commands, you need to reboot the controller. Secure mobility, if used, must be configured on all controllers in the mobility group. Secure mobility to nonsecure mobility is not supported.
Tip Secure mobility never really worked that well. Although the commands still exist in the controller CLI code up to 5.2, the feature is deprecated in the 6.0 release and is no longer supported.
