Working with camera raw images
Camera raw format files are now common for high-quality digital photographs. The Camera Raw plug-in for Adobe Photoshop enables you to adjust a raw image and to then save it in a file format that can be placed in InDesign.
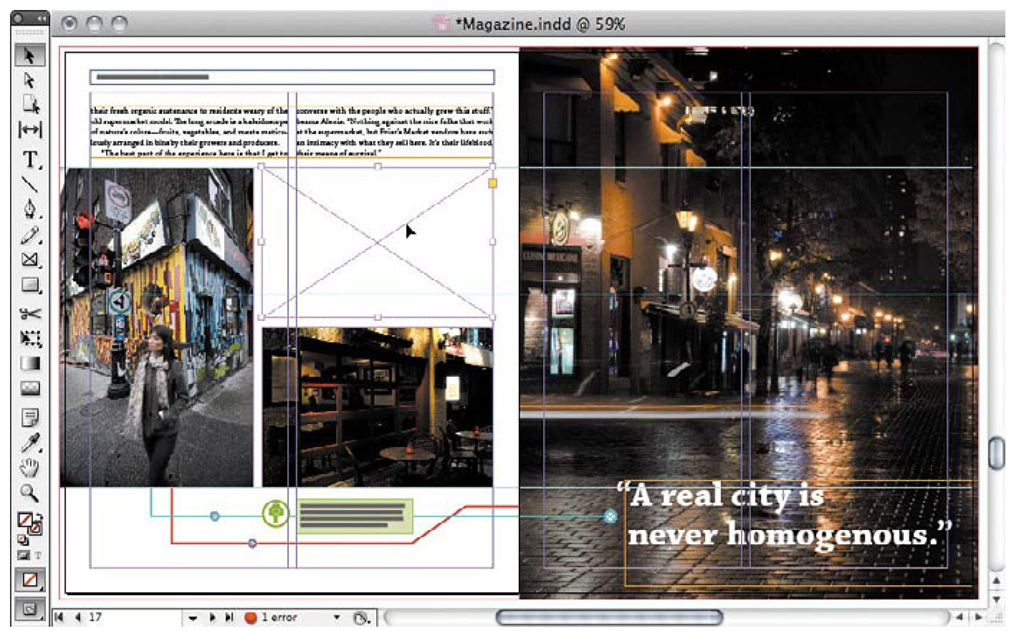
1 In InDesign, navigate to page 17. If not already selected, choose View > Screen Mode > Normal. If you don’t see guidelines on the page, choose View > Grids & Guides > Show Guides.
Note: Camera raw is not a single format. Each camera sensor model may have a different raw format and filename extension. Most camera raw formats can be converted to the DNG (Adobe Digital Negative) format.
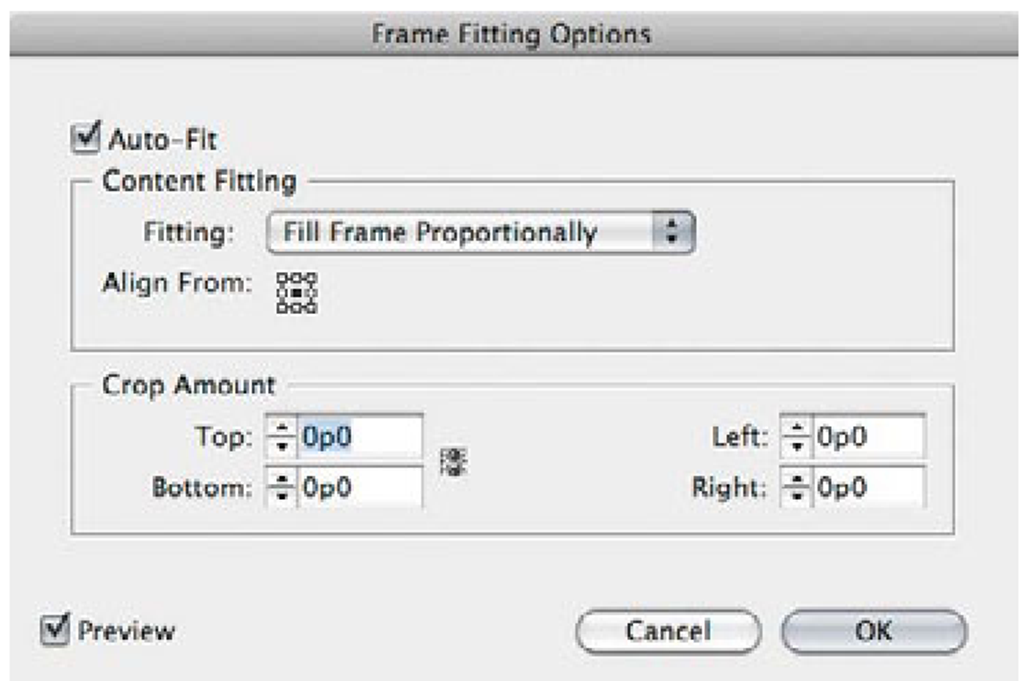
2 Select the empty graphics frame on page 7 and choose Object > Fitting > Frame Fitting Options. Select Auto-Fit, choose Fill Frame Proportionally, and click the center of the Align From proxy. These options ensure that no matter the size of the image, it will be sized to fit the frame and centered within it, saving you time in fitting the image to the frame.
3 In the Mini Bridge panel (Window > Mini Bridge), navigate to the LessonO2 folder. Double-click the raw image file named coffee_cup.dng. The image will open in Photoshop in the Camera Raw dialog box.
Tip: For detailed information about digital camera raw file support in Photoshop, refer to www.adobe. com/products/ photoshop/cameraraw. html.
4 To adjust the white balance in a camera raw image, you can choose from a predefined setting or pick a reference area within the image. Explore the different settings in the White Balance menu in the Basic panel and note the effect on the image colors. To adjust the color relative to an area in the image that should be a neutral mid-gray, select the White Balance tool from the Tools panel and then click inside the reference area. Clicking the White Balance tool on the coffee cup neutralizes the image colors. However, this photo is intended to convey a warm coffee-shop atmosphere, so restore the original white balance by choosing As Shot from the White Balance menu.
5 The image is a little flat, so it could use more contrast. To have Camera Raw determine a starting point for correction, click the underlined Auto text. From this point you can refine the automatic correction by dragging the sliders. The image is a little dark now, so increase the Brightness value to around 33.
6 To specify a fixed aspect ratio for the Crop tool, click and hold the Crop tool button in the toolbar, and then select an aspect ratio from the menu. We chose 4 to 5 to approximate the proportions of the frame in the InDesign layout, with a little room to spare.
7 Using the Crop tool, drag across the image to create a crop rectangle, as shown in the illustration.
At this point you could click Open Image to open the image in Photoshop and make further adjustments if necessary. For this exercise, you’ll just save the file in a format that can be used in InDesign.
8 Click the Save Image button in the lower-left corner of the Camera Raw dialog box. In the Save Options dialog box, choose Save in New Location from the Destination menu, and select the Links folder inside the Lesson02 folder as the destination for the saved file. Type _cropped to add it to the document name, select Photoshop for the file format, and then click Save.
9 Click Done to close the Camera Raw dialog box and return to InDesign.
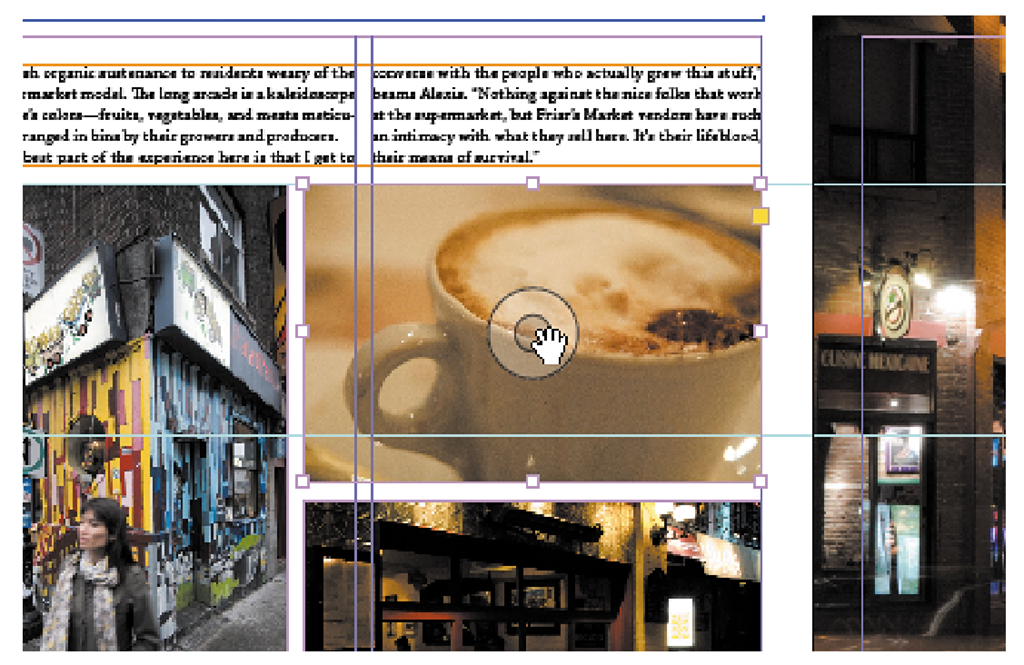
10 In InDesign, use Mini Bridge to navigate to the Links folder inside the Lesson02 folder. Drag the file coffee_cup_cropped.psd and drop it into the empty frame on page 17. The coffee cup image is automatically sized within and centered in the frame because of the Auto Fit settings you applied in step 2.
11 With the frame selected, notice the Content Grabber in the middle of the image. Drag this indicator to move the image within the frame. The Content Grabber lets you adjust the position of the image within the frame without having to select a separate tool.
12 Save your changes.
Importing and styling text
You can enter text directly into an InDesign document by typing into the text frames. For longer text passages, however, it is more common to import text from an external text document. You can style the text as part of the import process or manually change the text appearance later.
1 In InDesign, navigate to page l2 of the magazine document.
The text columns of the feature story are filled with placeholder text. You’ll replace the placeholder text with text from a Word document.
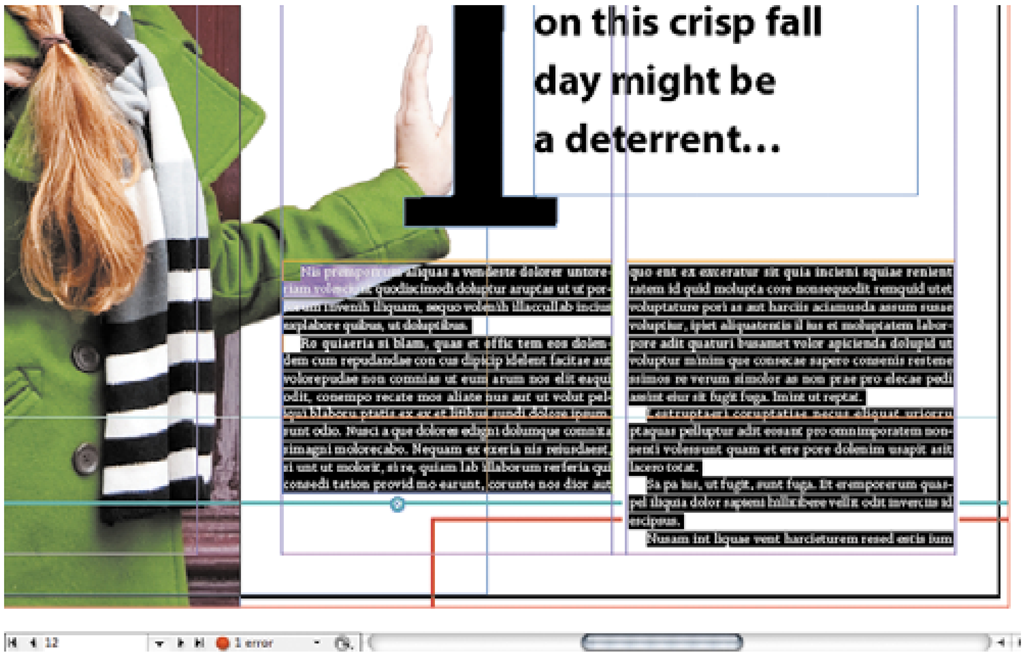
2 Select the Type tool in the Tools panel and place the cursor anywhere in the text in the two main text columns on page l2. Choose Edit > Select All. The text in both columns is selected because the text columns are linked. These text frames are also linked with the text frames on the next few pages.
3 Choose File > Place. In the Place dialog box, navigate to the Lesson02 folder, select the file Main_Story.doc, select both Show Import Options and Replace Selected Item, and click Open.
4 Under Formatting in the Microsoft Word Import Options (Main_Story.doc) dialog box, select Preserve Styles And Formatting From Text And Tables, and Customize Style Import. Click the Style Mapping button.
The Style Mapping dialog box enables you to match type styles defined in the Word document to type styles defined in the InDesign document. If you set up the styles with identical names, InDesign can perform the mapping automatically.
In this case, the Style Mapping dialog box shows that the Microsoft Word style Sidebar Bullet List doesn’t match up with any style names in InDesign, so you’ll have to map this style manually.
5 In the InDesign Style column in the Style Mapping dialog box, click [New Paragraph Style] to the right of the Microsoft Word style Sidebar Bullet List, and choose Sidebar Bulleted List. This maps the Word style to the InDesign style, which in this case is correct because the two styles are actually the same, but were named slightly differently in the two programs.
6 Click OK to close the Style Mapping dialog box, and then click OK to close the Import Options dialog box.
The imported text replaces the text in the two text frames and in the threaded text frames in the pages that follow, and the styles in the text take on the formatting defined by the same style names in InDesign. The text on page 12 overlaps the woman’s arm; you’ll fix that a little later.
7 Navigate to page l3 to see how the story continues through the threaded frames to the next spread.


![tmpbd7a-39[5] tmpbd7a-39[5]](http://what-when-how.com/wp-content/uploads/2012/06/tmpbd7a395_thumb.png)
![tmpbd7a-40[4] tmpbd7a-40[4]](http://what-when-how.com/wp-content/uploads/2012/06/tmpbd7a404_thumb.png)


