Geoscience Reference
In-Depth Information
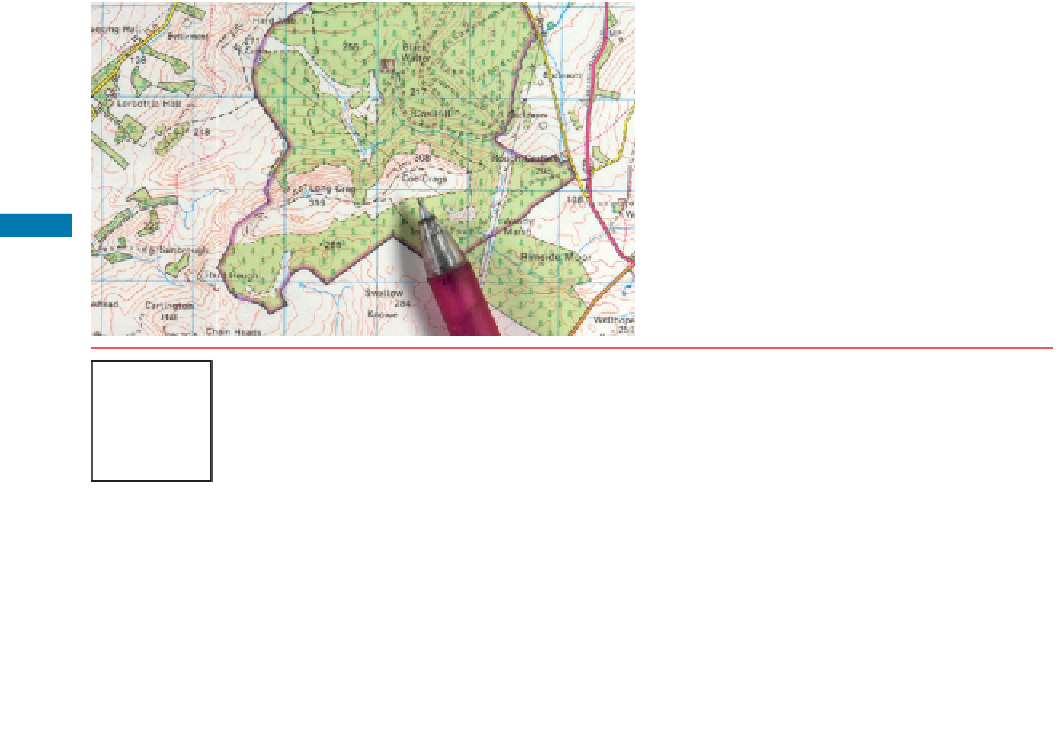
Identify two and preferably three distinct
features on the map and on the ground
from which to take bearings. In this case
the purpose was to identify the location
along the exposure known as Coe Crags
(shown by the end of the pencil). Various
landmarks can be picked out on the hills
to the north.
2
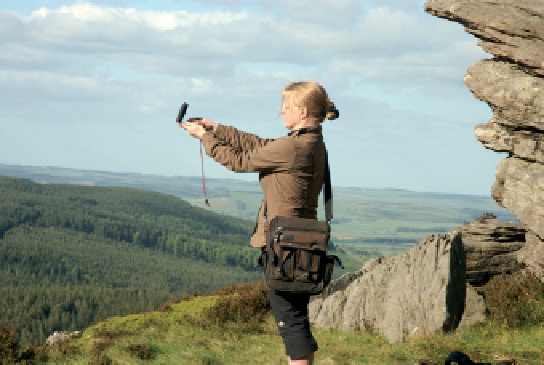
2. Measure azimuth
Hold the compass at arm's length and eye
level with the mirror tilted towards you so
that you can see the compass window in
the mirror and the compass window is
horizontal (inset). Using the sight (i.e. small
slot in middle of the short edge of the
compass), align the feature with the sight.
Rotate the compass dial so that the
compass needle is aligned with the red
outline for the north direction on the dial.
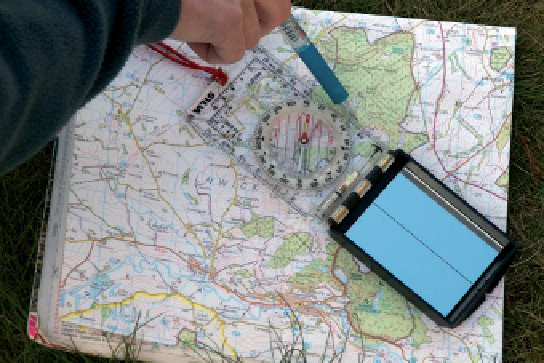
3. Transfer azimuth to the map
Lower the compass and place it on the
map with the N-S grid lines on the
compass dial (ignore the compass needle)
aligned with the N-S grid lines on the map.
Retaining this orientation place one edge
of the compass adjacent to the feature that
you have sighted. Draw a feint line on the
map using the edge of the compass that
passes through the object that you used
for sighting. Your position is somewhere
along this line.
4. Repeat stages 2 and 3
Repeat for at least one more feature. The point at which the lines
intersect marks your position. See further notes on checking your
position in Sections 2.3.3 and 10.3.
Figure 2.12
Triangulation using a Silva-type compass. Inset shows line of sight. The terms for the different
parts of the compass-clinometer are given in Figure 2.3d and e. (Map extract as Figure 2.11. © Crown
Copyright 2010. All rights reserved. Ordnance Survey Licence number 100018362.)