Graphics Programs Reference
In-Depth Information
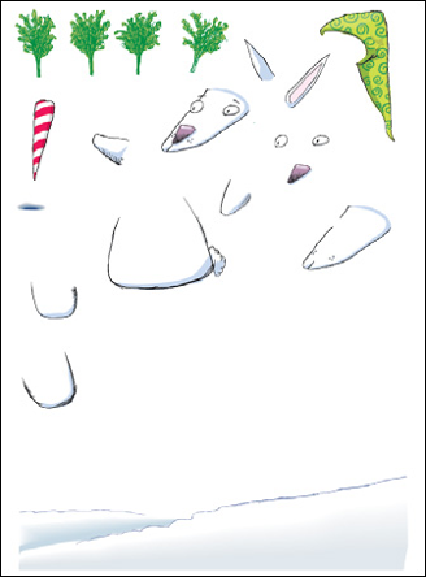
The working parts on the artboard that are later assembled as an
animation
2 Converting the separate parts to symbols.
Having placed his objects on named layers,
the next step to an animation was for Atteberry to select each part that he planned to
animate in Flash, or parts of the scene he simply felt more comfortable drawing in Il-
lustrator, and turn it into a Flash-compatible symbol. Since the panels are “spring-
loaded,” he was able to simply hover over the icon with the object he was dragging
until the panel popped open to receive it, which automatically opened the Symbols
Options dialog. There he could give each symbol a descriptive name and designate it
as either a Movie Clip or a Graphic. He could also have used the keyboard shortcut
F8, or, if he'd wanted to keep that panel open during this process, he could click on
the New Symbol icon in the Symbols panel. He kept the default Movie Clip Type des-
ignation, but Flash lets you change the designation for a symbol at any time. If you
are creating an interface element, such as a button, Enable Guides for 9-slice scaling
if you choose Movie Clip. Atteberry left that disabled. And finally, he could choose to
save his symbols with a Flash registration point. This is the “transform” point that
anchors an object being rotated or scaled, for instance, in the animation. This regis-
tration point, too, can be modified in Flash later on.

