Graphics Programs Reference
In-Depth Information
1
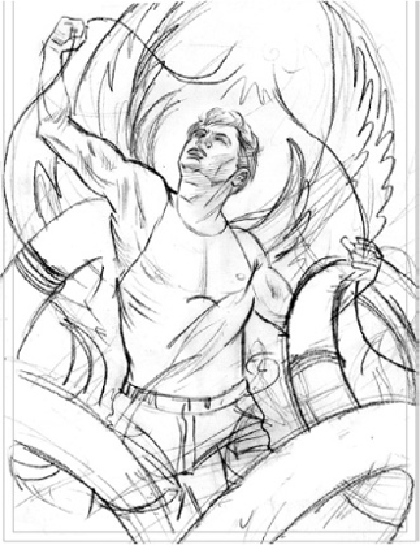
Hamann's scan of the pencil sketch he made from the photographs
he took of himself
Hamann's design called for layering so that artwork like the tubes and rope appeared
in front of or behind other artwork. He created layers in the Layers panel based on
visual hierarchy. To outline the angel against the rest of the image, Hamann created
a blue outline of the angel, then a white one. To do this he copied the head and body
objects, then used Paste in Back, and then applied Path-finder> Unite. Giving this
new shape a blue stroke and fill, he copied it, used Paste in Back, and then gave this
duplicate outline a white fill and a wider white stroke.
2 Making and masking the rope.
Hamann created the rope in sections, drawing paths
between objects for the tubes and hands. He smoothed the curvature of the ropes by
adjusting direction lines with the Direct Selection tool. To give the selected rope
paths a dark blue edge with a light fill, he first changed the paths to a 4-pt, dark blue
stroke. Next Hamann chose Object> Path> Outline Stroke and changed the stroke to
1 pt and the fill to orange. Finally, to add a subtle highlight to the rope, Hamann
chose Effect> Stylize> Inner Glow and in the dialog entered 24 for Opacity and 0.03
inches for Blur, and clicked OK.