Graphics Programs Reference
In-Depth Information
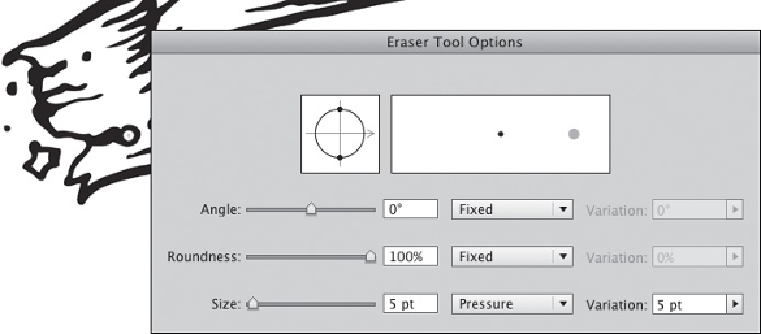
While drawing with the Blob Brush tool, Putnam used the Eraser tool, set up
to work with pressure-sensitivity, to modify brush marks and correct
mistakes. To do this, Putnam double-clicked the Eraser tool from the Tools
panel and changed the Diameter to 5 pt. He then selected Pressure from the
Diameter drop-down menu, changed the Diameter Variation to 5 pt, and
clicked OK. By setting up the Eraser tool with pressure-sensitive settings, he
could move easily between the two tools by simply flipping the stylus around.
Setting up default Eraser tool preferences and erasing with the Eraser tool
3 Filling areas with Live Paint.
If Putnam used the regular Brush tool to trace
his sketch, he would have had to create additional paths defining fill areas to
color the drawing. But Blob Brush objects can easily be converted into Live
Paint Groups for quick and simple coloring. To convert the illustration to a
Live Paint Group, Putnam selected the illustration with the Selection tool,
chose the Live Paint Bucket tool from the Tools panel, and on first click, the
object became a Live Paint Group. With the Live Paint Bucket tool, he hov-
ered over the selected illustration to highlight areas to fill. With the left and
right arrow keys, Putnam cycled through the swatches from the Swatch Panel
until he found his desired color (see the
Color Transitions
chapter for details
on creating colors). Once he found the color, he clicked in the area to fill. He
repeated cycling through the swatches and filled in the other enclosed areas
of the illustration.