HTML and CSS Reference
In-Depth Information
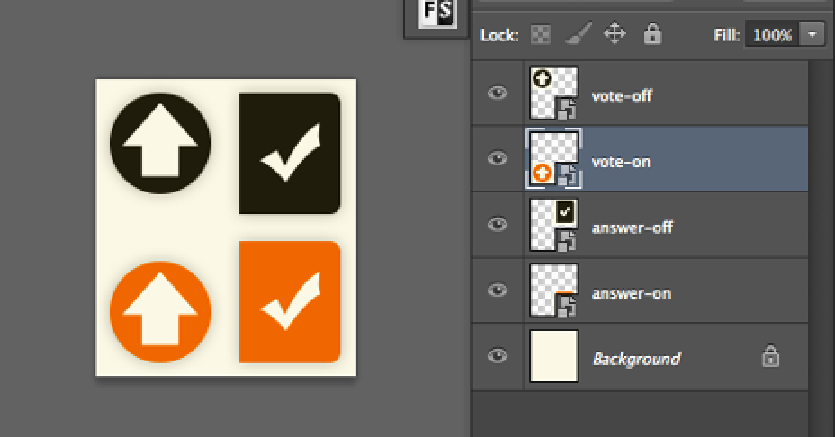
Figure 7-18.
The sprite in Photoshop
The last step is to save this image for the Web. This time, save it as a JPG and reduce the quality as low as it will go
without noticeably losing quality. In the case of this image, a quality setting of
70
is good.
To save this image for use with the project, create a new subdirectory inside the
assets
folder called
images
; then
save this image as
sprite.jpg
.
Back in
main.css
, let's style up the vote button using the new sprite. Add the following code to the bottom of the
“Questions View” section:
#questions .vote input[type=submit] {
margin: 0;
width: 100%;
height: 100%;
cursor: pointer;
text-indent: -9999px;
background: url(../images/sprite.jpg) left top no-repeat;
-webkit-box-shadow: none;
box-shadow: none;
}
#questions .vote input:active,
#questions .vote input:hover,
#questions .vote input:focus {
background-position: left bottom;
}
This code sets up the input to work like a small viewing window that shows only a portion of the sprite. On
hover—or when the user tabs to the input—the sprite moves, showing a different portion of itself in the viewing
window of the input. This saves an additional HTTP request to load the “over” image, improving the load time and
overall user experience.
Save and reload the document in your browser. The input now looks like the button you designed, and hovering
or tabbing to the button causes it to highlight with orange (see Figure
7-19
).
Search WWH ::

Custom Search