Game Development Reference
In-Depth Information
Drawing Facial Geometry with Vertices
Now that the zombie's face is modeled, let's refine its features.
1. With vertex select mode activated, move vertices around to create better shapes for
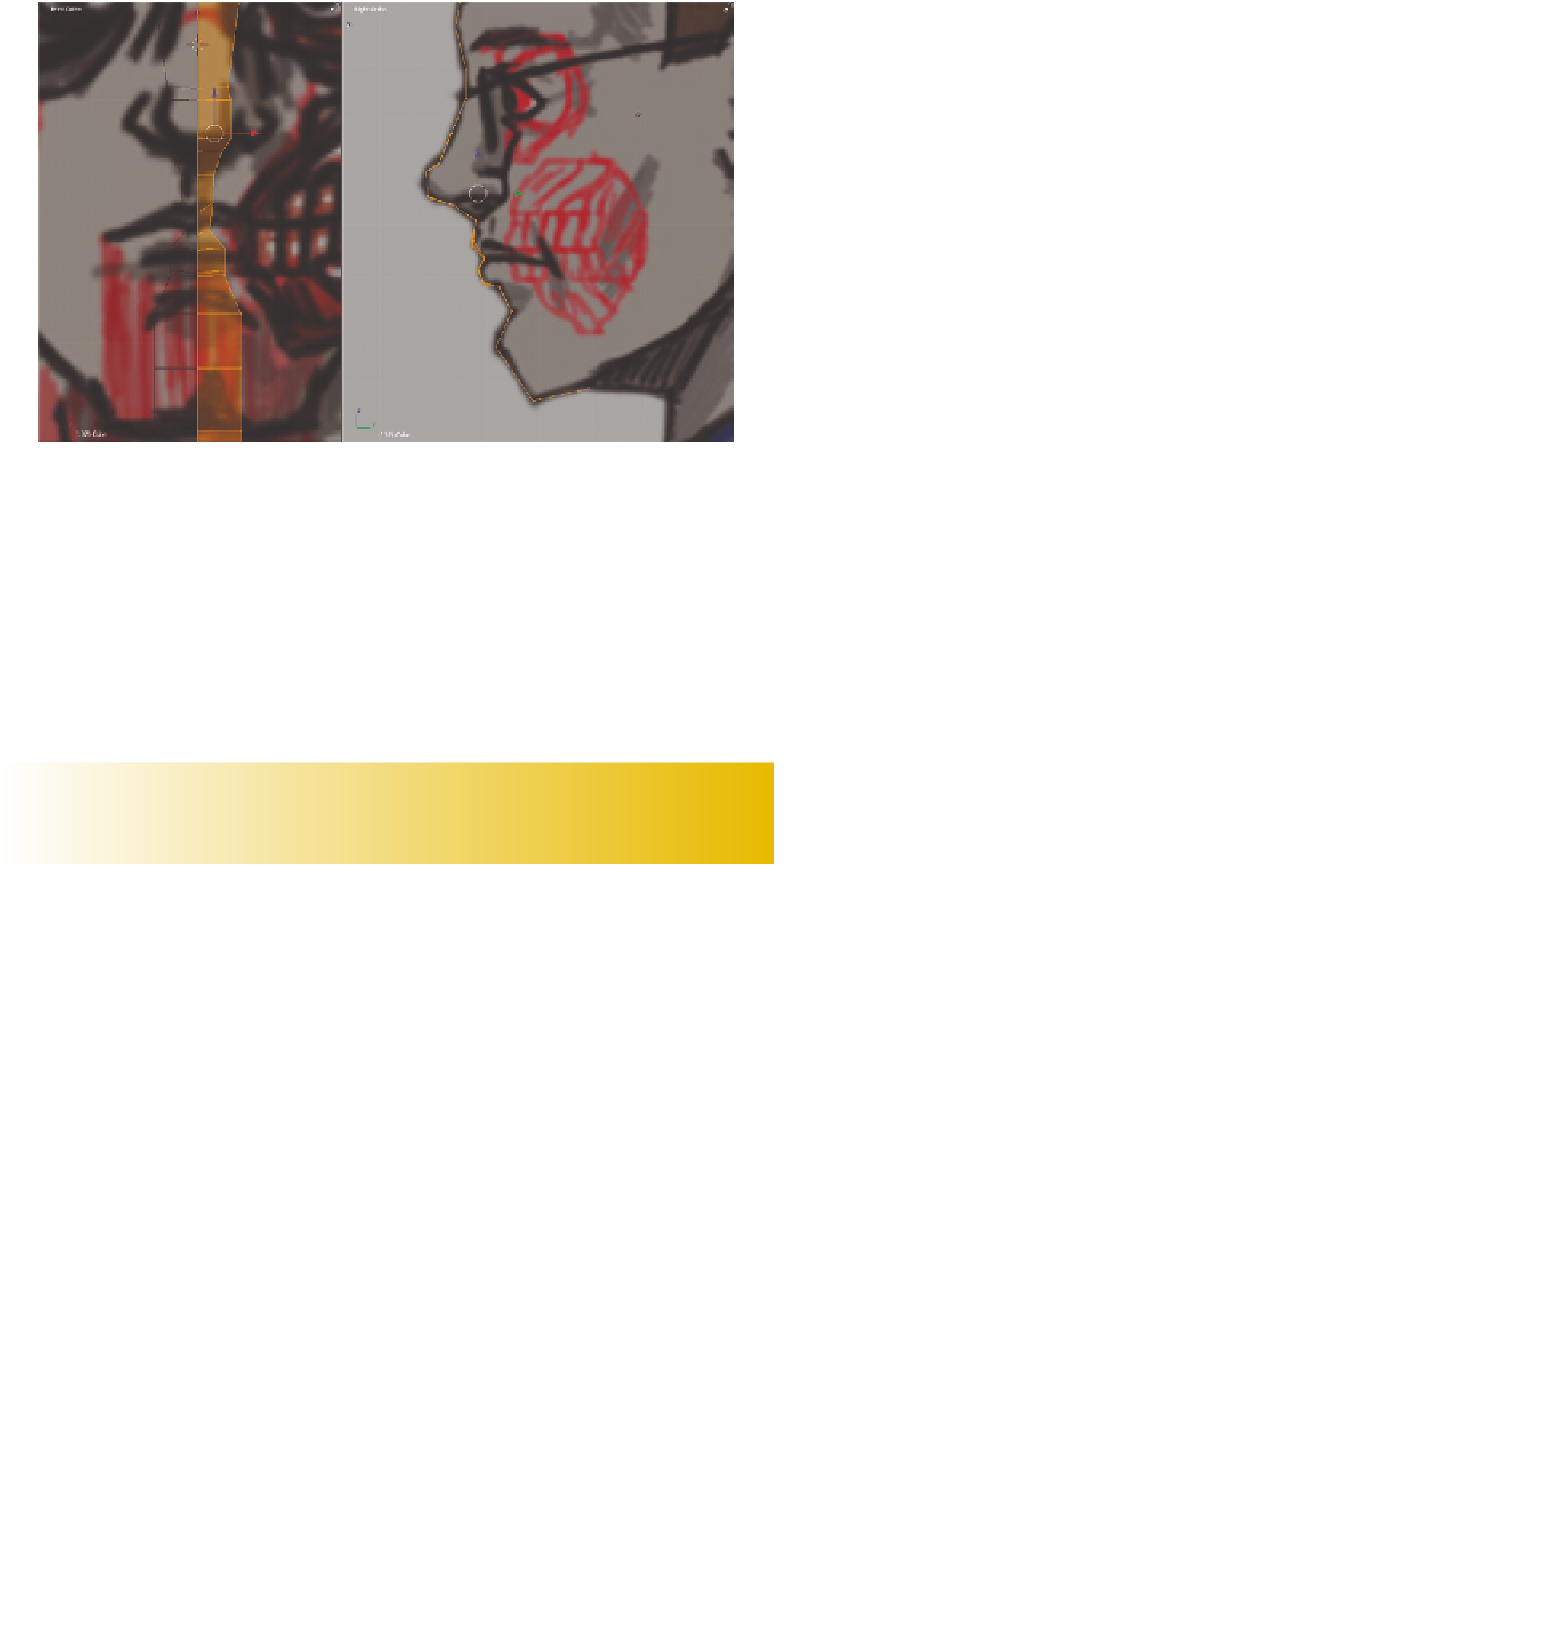
this part of the face. In particular, you will want to make the geometry in the upper
lip area skinnier than the other polygons to create the channel under the nose. Also
raise the vertices on the upper lip up slightly to begin the lip shape (Figure 3.37).
Figure 3.37
Adjusting the ver-
tices on the current
column of face polys
2. With these adjustments completed, you can begin to create the rest of the face. To do
so, you will begin with the lip topology. In the front viewport, select the rightmost
vertex at the top of the top lip. Press E to extrude this vertex outward and move it
into position so you are tracing the outline of the lips.
3. When you reach the second-to-last vertex of the loop, do not extrude another ver-
tex to complete the loop. Rather, select the latest vertex in the loop and the one on
the mesh that will finish the loop—the rightmost vertex on the bottom of the lower
lip—and press the F key to complete the loop. When you are finished, your edge loop
should resemble the one in Figure 3.38.
When you create your edge loops in this manner, make sure each new loop has the same
number of vertices. You ultimately want to create a mesh made of quads, four-sided poly-
gons, so keep this in mind when drawing edge loops.
4. Although the edge loop looks great in the front view, it is a bit flat in the side view.
To fix this, switch on the Proportional Editing tool with the O key. On the 3D view's
header, there is a button for the Proportional Editing tool that resembles a blue circle.
Search WWH ::

Custom Search