Game Development Reference
In-Depth Information
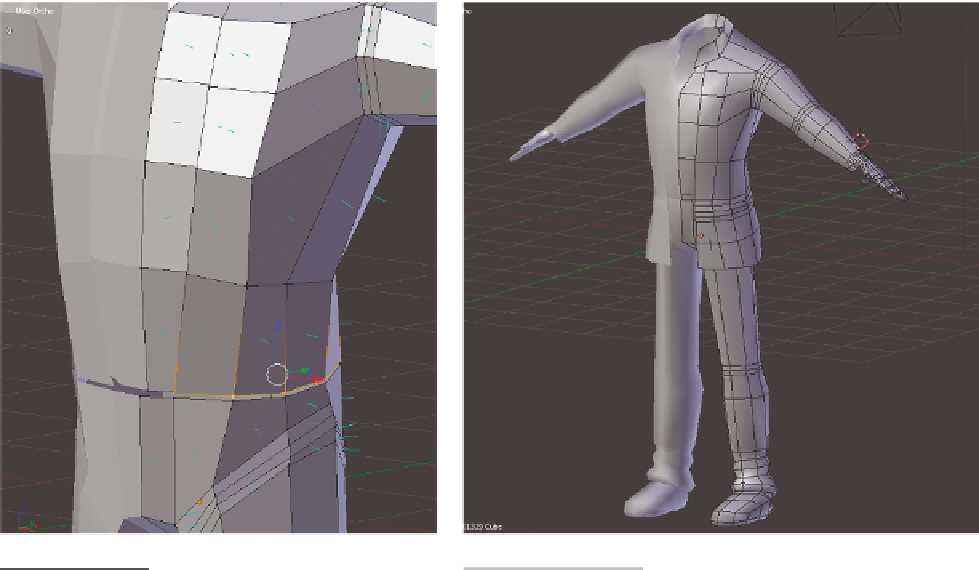
2. Scale the bottom edge loop of the coat section up a bit. Create a few short extrusions
downward and two longer ones. Adjust vertices as necessary so that the coat hangs
just over the pants; use Figure 3.31 as reference. Once you complete this, the body is
finished (Figure 3.33).
3. Figure 3.33 shows the body with a few adjustments—the arms were rotated down
slightly and another edge loop added to the shoulders. The shoulders and fingers
were also modified to be more relaxed as well. As stated in Chapter 1, 3D models may
animate better if their extremities are in relaxed positions.
4. Now that your body is complete, save your file. Look at
C03_Finished_Body.blend
to
see what the model should look like so far.
You are now the proud owner of a headless zombie. While terrifying on its own, it will
look much better with a head. In the next section, you will give it one.
Figure 3.32
Separating the coat section from the pants
Figure 3.33
The finished body
Creating the Head with Poly-by-Poly Modeling
Now that your zombie has a body, it needs a head to bite players with. Although head
geometry can be created with extrusion modeling like that just used for the body, you
will use poly-by-poly modeling for this part of the model. Poly-by-poly modeling can be
Search WWH ::

Custom Search