Game Development Reference
In-Depth Information
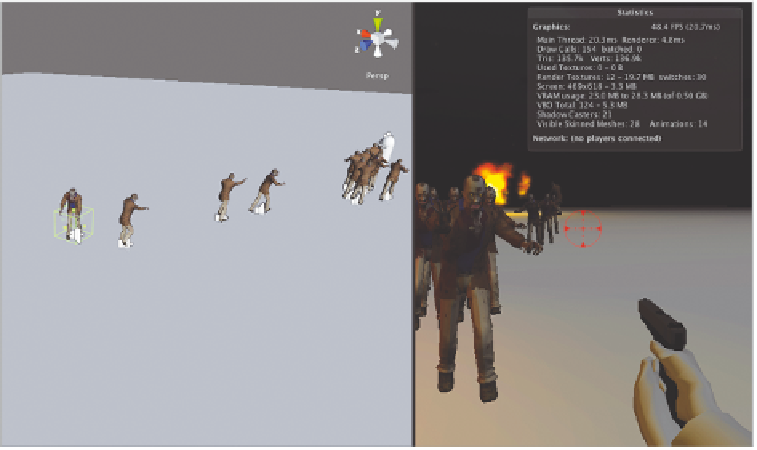
Figure 10.24
Adding proper
spawning time
allows the zom-
bies to come at
the player on the
ground.
6. Add a box collider to
ZombieTrigger
and set it as a trigger.
7. Create another new script called
ZombieTrigger.js
in your
Scripts
folder and enter
the following code into it. This code finds specific zombie spawner objects and sets
their
invade
values to
true
when the player enters the trigger and back to
false
when
they exit. The downside to this setup is that you need specific triggers for specific
zombie spawners, though you will often use these objects in pairs anyway to set up
specific in-game events. When you want to add a new zombie spawner, simply copy
the lines of code calling the spawners and change the name of the game object found
by
GameObject.Find
.
var canTrigger : boolean = true;
private var hit : Collision;
function OnTriggerEnter(other : Collider){
if (other.GetType() == typeof(CharacterController) && canTrigger)
GameObject.Find(“ZombieSpawner”).GetComponent(ZombieSpawner).
invade=true;
}
function OnTriggerExit(other : Collider){
if (other.GetType() == typeof(CharacterController))
GameObject.Find(“ZombieSpawner”).GetComponent(ZombieSpawner).
invade=false;
}
@script RequireComponent(AudioSource)
8. Using the size options in the trigger's box collider, make the collider big enough to
encompass a large portion of your level. Place the trigger somewhere the player will
Search WWH ::

Custom Search