Game Development Reference
In-Depth Information
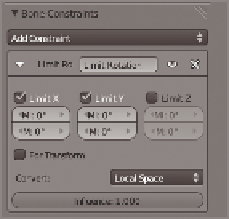
5. Enter Pose mode and select the one of the UpperEyelid bones. In the Bone
Constraints panel of the Properties editor, add a Limit Rotation constraint to
this bone. In the Limit Rotation panel is the Convert pull-down list, which lists
the coordinates this constraint will affect. Select Local Space from this list. In
the Add Constraint panel, check the boxes for limiting the x- and y-axes. Use
Figure 7.33 as a guide. Add the same constraints to the other eyelid bones.
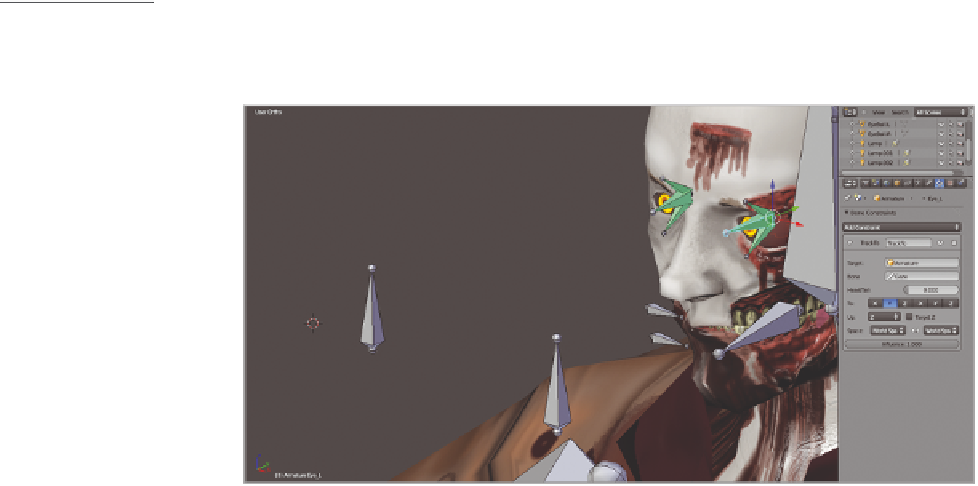
6. Select one of the eye bones and add a Track To constraint to it (Figure 7.34). In
this panel, enter
Armature
in the Target setting and another setting called Bone
will appear under it. Enter
Gaze
for this setting, and the bone will point its tail/
tip at the Gaze bone's head/root. Add the same constraint to the other eye bone.
Adjust the location of the Gaze bone's head/root in Edit mode if necessary.
Figure 7.33
The Limit Rotation
panel
Figure 7.34
Adding the Track To
constraint to the eye
bones
7. Select the jaw bone and add the same Track To constraint to it. Set it to track to the
JawControl bone.
Now you have a proper face armature for the zombie. This is a simple solution that you
can adapt for various types of characters by adding bones for any muscles you need to
animate.
Controlling Fingers with the Action Constraint
The last constraint you will add to the zombie is the action constraint. This constraint man-
ages a stored animation, or action, with bones so you can easily accomplish difficult or tedious
poses. As with the previous section, you might want to do this after you've weight-painted
the armature to the mesh, so you can do that first and return to this section if you wish.
1. Go back to Edit mode. Press Shift+E and then press X to extrude bones from the tail/
tip of Spine.02. Disconnect these new bones and move them along the x-axis so they
are above the hand bones. Call these bones
HandControl_L
and
HandControl_R
.
Search WWH ::

Custom Search