Game Development Reference
In-Depth Information
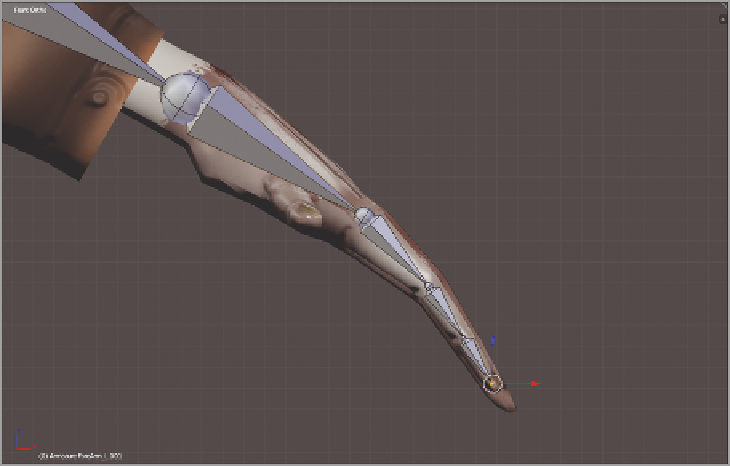
4. Return to the front view. With the tail/tip of the hand bone selected, extrude three
times to create finger bones. Use the index finger on the hand as a guide, as shown in
Figure 7.20.
Figure 7.20
Extruding finger
bones
5. Select the first finger bone you created and press Alt+P to bring up the Clear Parent
menu. Select Disconnect Bone.
6. Use the MMB to orbit around the hand a bit. Make sure perspective view is turned
off. Select all three new finger bones and move them along the y-axis into place, as
shown in Figure 7.21. Name the new bones
Fin_Index_L.01
,
Fin_Index_L.02
, and
Fin_Index_L.03
for the left hand, and
Fin_Index_R.01
,
Fin_Index_R.02
, and
Fin_
Index_R.03
for the right hand.
7. Press Z to enter Wireframe mode. Here, you can rotate around the hand geometry to
make sure that your finger joints are placed precisely. Taking the time to ensure that
bones are placed correctly now will save you a lot of trouble later.
8. Press Shift+D to duplicate the index finger bones along the y-axis on each hand to
create the other bones in the zombie's hand. You will need to do this for both hands.
With each finger, take the time to adjust the joints in Wireframe mode so they match
up nicely with the geometry, as shown in Figure 7.22.
The names of your bones in each finger should be as follows:
• Fin_Middle_L.01, Fin_Middle_L.02, Fin_Middle_L.03
• Fin_Ring_L.01, Fin_Ring_L.02, Fin_Ring_L.03
Search WWH ::

Custom Search