Game Development Reference
In-Depth Information
Creating Leg Bones
You will begin extruding limbs from the spine bones by creating the legs. This exercise
will show you how to use x-axis mirroring and symmetrical extrusions for these simple
structures.
1. Return to the front view by pressing Numpad 1. Select the tail/tip of the Root bone. If
it is not already displayed, open the 3D viewport Toolshelf by pressing the T key. At
the bottom of the Toolshelf is the Armature Options panel. Select the X-Axis Mirror
check box in this panel. You will be creating the legs and arms now, so this option
will let any changes made on one half of the model be reflected on the other side.
2. Back in the viewport itself, press Shift+E to extrude two symmetrical bones from the
Root's tail/tip. RMB-click to select one of the new bones and press Alt+P to bring up
the Clear Parent menu. Select Disconnect Bone from the menu. Select the head/root
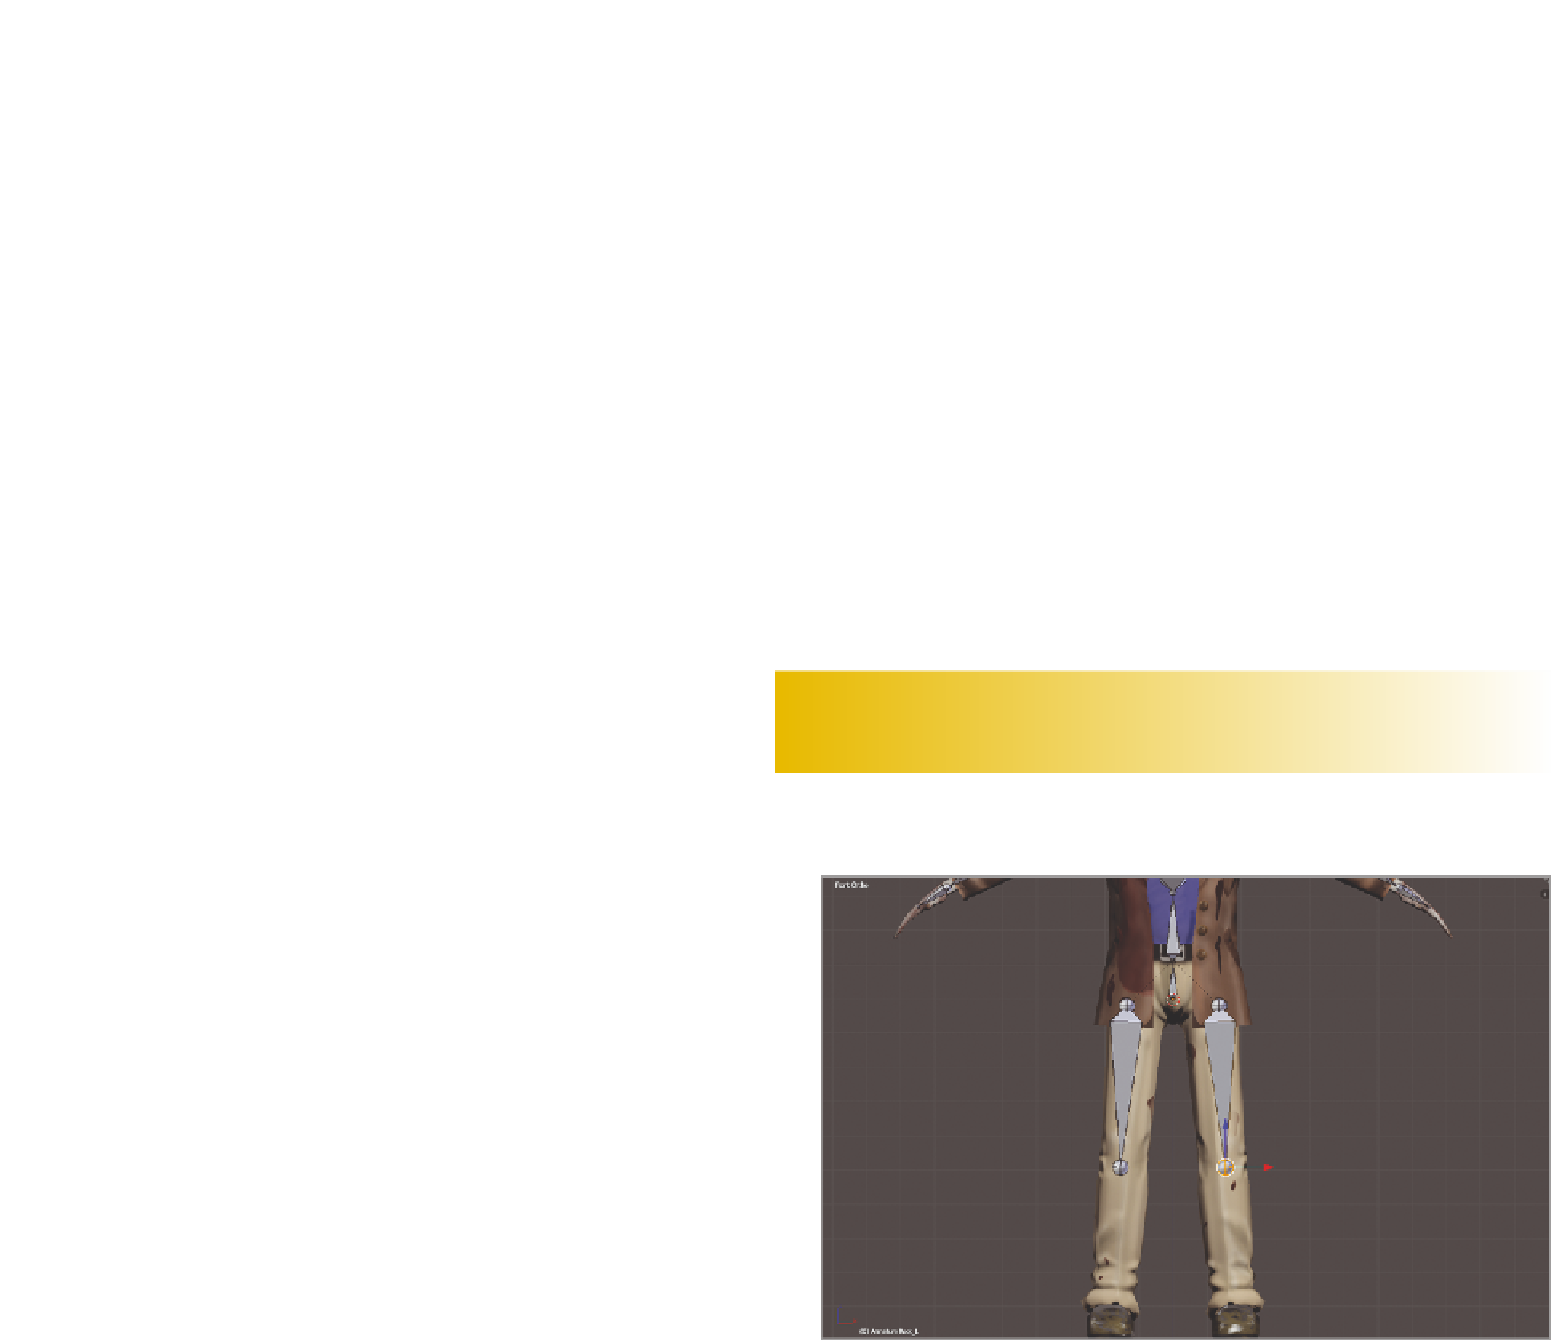
of one of the new bones and move it to the zombie's hips, and then move the tail/tip
down to the knee, as shown in Figure 7.16. Try to keep the bones as vertically straight
as possible. Rename your new bones
Thigh_L
and
Thigh_R.
. Try to follow Figure 7.16
as closely as possible; otherwise you will have bone roll issues.
Bone roll is the direction that the bones in a 3D model are facing. When bones are misaligned,
this can cause problems with rotation. To fix bone roll, press Ctrl+N to open the Recalculate
Roll menu and make adjustments until you are happy with the armature.
3. In the side view, extrude a bone from the knee joint to the zombie's ankle. Name the
two new bones
Shin_L
and
Shin_R
.
Figure 7.16
Creating the thigh
bones
Search WWH ::

Custom Search