Game Development Reference
In-Depth Information
4. Access the Add menu by pressing Shift+A. Hover over Armature in the menu and
select Single Bone (Figure 7.11).
5. Initially it will appear as though you have accomplished nothing, but there is actually
a large bone object inside the model, the tail/tip of which is peeking out the top of the
zombie's head. To work more efficiently, you will want
to turn on the armature's X-Ray setting. This will
make bones visible even when hidden by geometry.
In the Properties editor, go to the Object Data panel
for the armature, which looks like a small stick fig-
ure. Once there, move down to the Display panel and
check the X-Ray option (Figure 7.12).
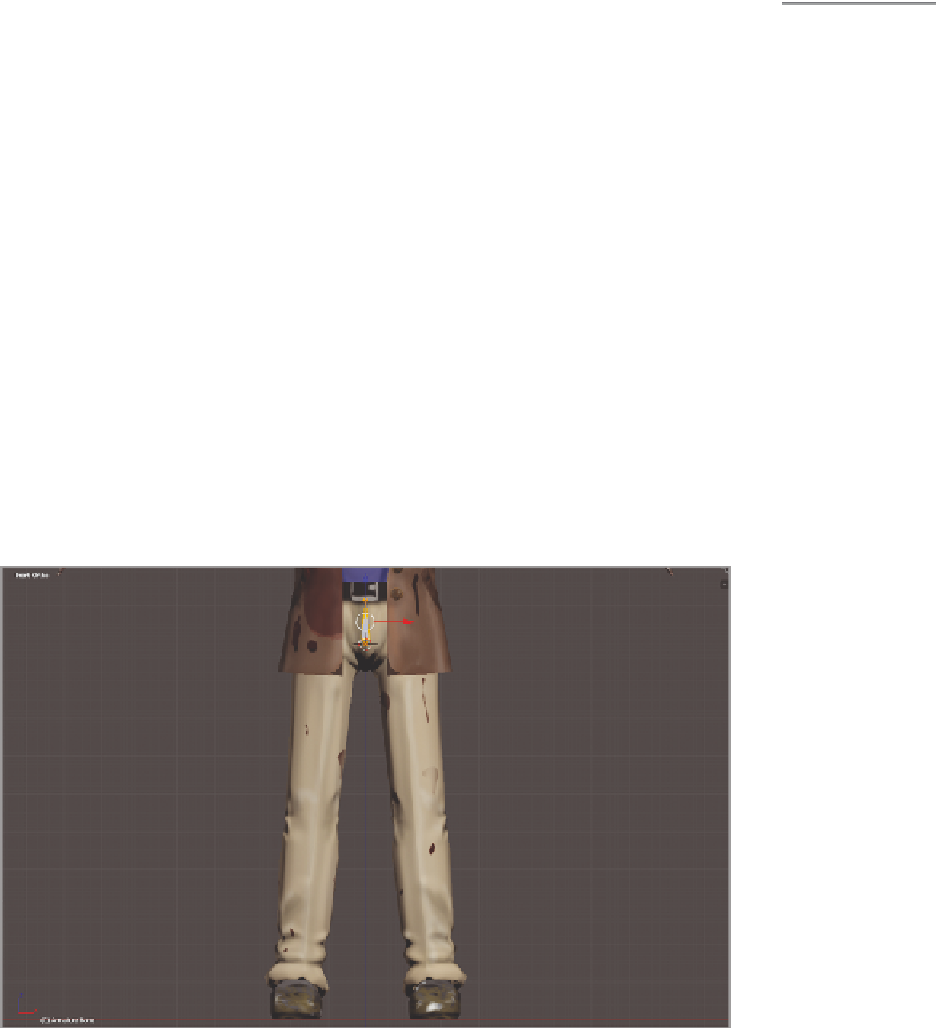
6. Now you will want to make the bone a bit smaller so
it fits inside the zombie's hips. Like models, armatures
have Object and Edit modes. Press Tab to enter Edit
mode for your new armature, and RMB-click the body
of the bone to select the whole thing.
For now, press S to scale the bone down to a size
that will allow it to it inside the zombie's hips below
its belt. When you have scaled the bone appropriately,
press Shift+S and select Selection To Cursor from the
Snap menu to bring the bone back to the right posi-
tion (Figure 7.13).
Figure 7.12
Turning on the
X-Ray option
Figure 7.13
Scaling and center-
ing the armature
bone in the zom-
bie's hips

Search WWH ::

Custom Search