Game Development Reference
In-Depth Information
You may not see the normal map's influence on the model. That is okay. There are a few
settings you can change to get the normals to show up in the viewport.
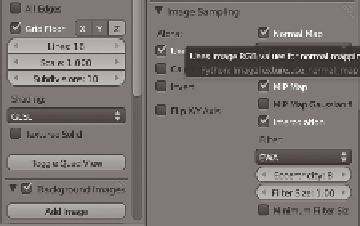
1. Find the Image Sampling panel in the Texture panel of the Properties editor. Make
sure the Normal Map check box is selected.
2. Open the Viewport Properties panel (accessed by pressing the N
key), and scroll down to find the Display panel. In the Shading
option Multitexture is selected by default. Open the pull-down
list and select GLSL (Figure 5.50). This is Blender's render-
ing mode for its game engine. This setting allows normal and
other advanced shading maps to appear in Blender-made video
games.
3. Save your file. Look at
C05_Zombie_Baked_Normals.blend
to see
how your model turned out.
Figure 5.50
Changing settings
so the normals
appear in the
viewport
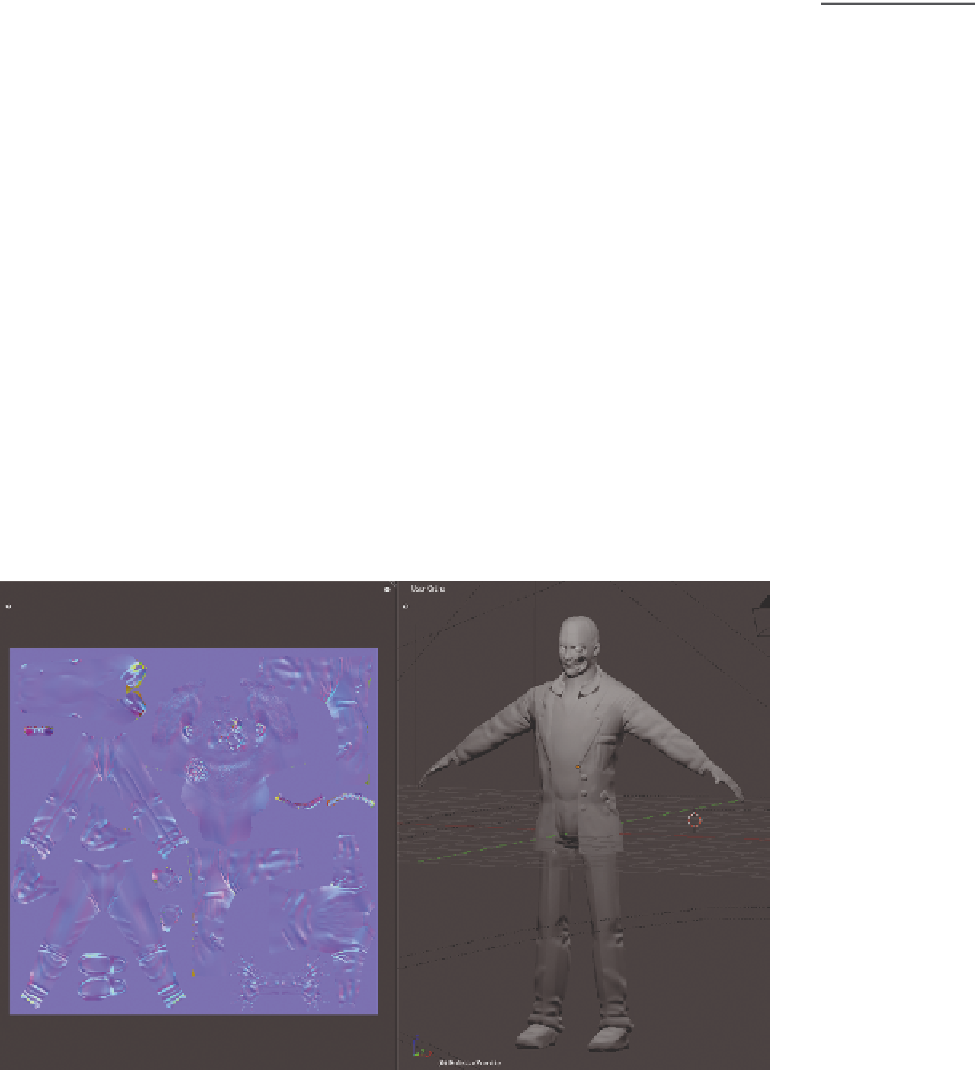
With these settings activated, you should now be able to see your zombie in its
sculpted and normal mapped glory, as shown in Figure 5.51. This model is also still
low-polygon, so it will not burden the game engine as much when you import it.
Your normal map will be very important in the next chapter. You will use it as a tem-
plate for creating your color map, which will add color to your sculpted zombie details.
Figure 5.51
Completed
zombie sculpt
Search WWH ::

Custom Search